Chill Out with Homemade Fudgesicles Made with Coconut Milk
There’s something about the first bite of a fudgesicle on a hot summer day that sinks deep into your childhood memories, isn’t there? I remember running through my grandparents’ backyard, the sun beaming down, and feeling that icy, chocolatey goodness slowly melting in my hands. I thought I was the luckiest kid in the world! Today, I’m bringing that nostalgic joy into our kitchens with my easy peasy Homemade Fudgesicles with Coconut Milk.
What makes these fudgesicles even more special is the creamy, rich texture of coconut milk, blending beautifully with dark chocolate. Unlike store-bought versions, which are often loaded with preservatives and artificial flavors, these homemade treats are pure, simple, and customizable! Whether you’re looking for a dairy-free option, a healthier dessert, or just something that brings back those cherished family memories, this recipe ticks all the boxes.
Get ready to impress your loved ones with a treat that’s not only delicious but also quick and easy to whip up. Trust me, once you make these Homemade Fudgesicles with Coconut Milk, you’ll never want to go back to the store-bought version again!
What Are Homemade Fudgesicles with Coconut Milk?
Fudgesicles have been a beloved treat for generations, probably because they capture the essence of summer fun in each creamy bite. This delightful dessert is basically a frozen chocolate pop, bringing kids and adults alike back to sun-drenched days filled with laughter and delight. But in the world of frozen treats, what makes Homemade Fudgesicles with Coconut Milk so unique?
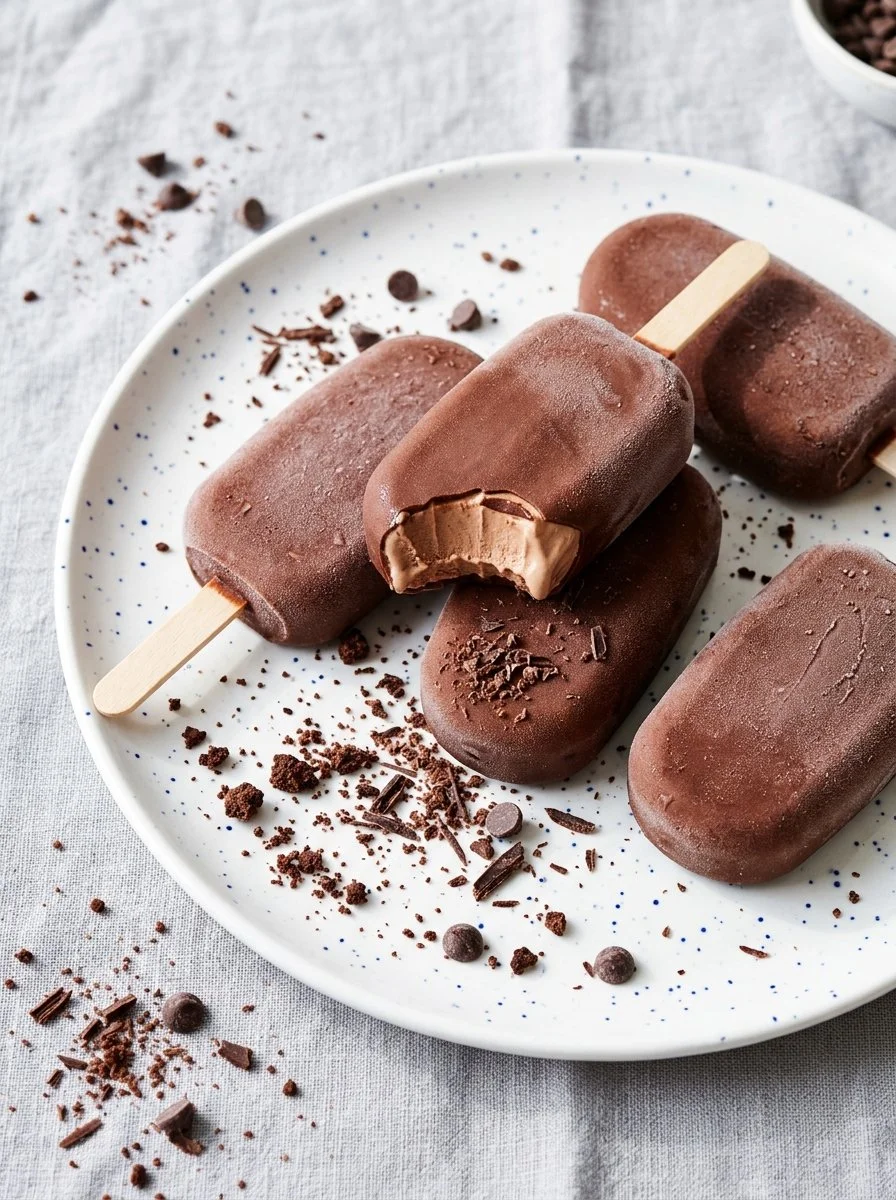
The magic lies in the coconut milk, which gives these fudgesicles a velvety smooth texture. The rich, chocolatey flavor is complemented by a hint of natural sweetness from the maple syrup and a whisper of vanilla—giving an indulgent taste that feels like a little luxury with every lick. Perfect for hot days, family gatherings, or just satisfying your chocolate cravings—a batch of these fudgesicles can turn any ordinary afternoon into something special.
You should absolutely whip these up on a sunny weekend or for an evening movie night! They’re incredibly forgiving and perfect for little hands to help with, making them a great way to connect over something delicious while creating lasting memories.
Why You’ll Love This Recipe
Simple Ingredients: You don’t need a long grocery list! Just grab some coconut cream, dark chocolate chips, maple syrup, vanilla extract, and a couple of pantry staples, and you’re good to go.
Customization Galore: The beauty of these fudgesicles is that you can tweak them however you like! Add a touch of sea salt for that sweet-salty contrast, or toss in some crushed nuts for an added crunch.
Healthier Than Store-Bought: Let’s be real—most commercial fudgesicles are packed full of artificial ingredients that you won’t find in my homemade version. With wholesome ingredients and no weird preservatives, you’re getting a treat made from the heart.
Budget-Friendly: Making these at home is way more cost-effective than buying a box of fudgesicles from the market. Plus, this recipe makes multiple pops, so you’ll have plenty to share—or keep all to yourself!
Easy to Make: This recipe is simple enough that even kitchen novices can tackle it. It takes less than an hour of hands-on time, and the hardest part is waiting for them to freeze!

Ingredients
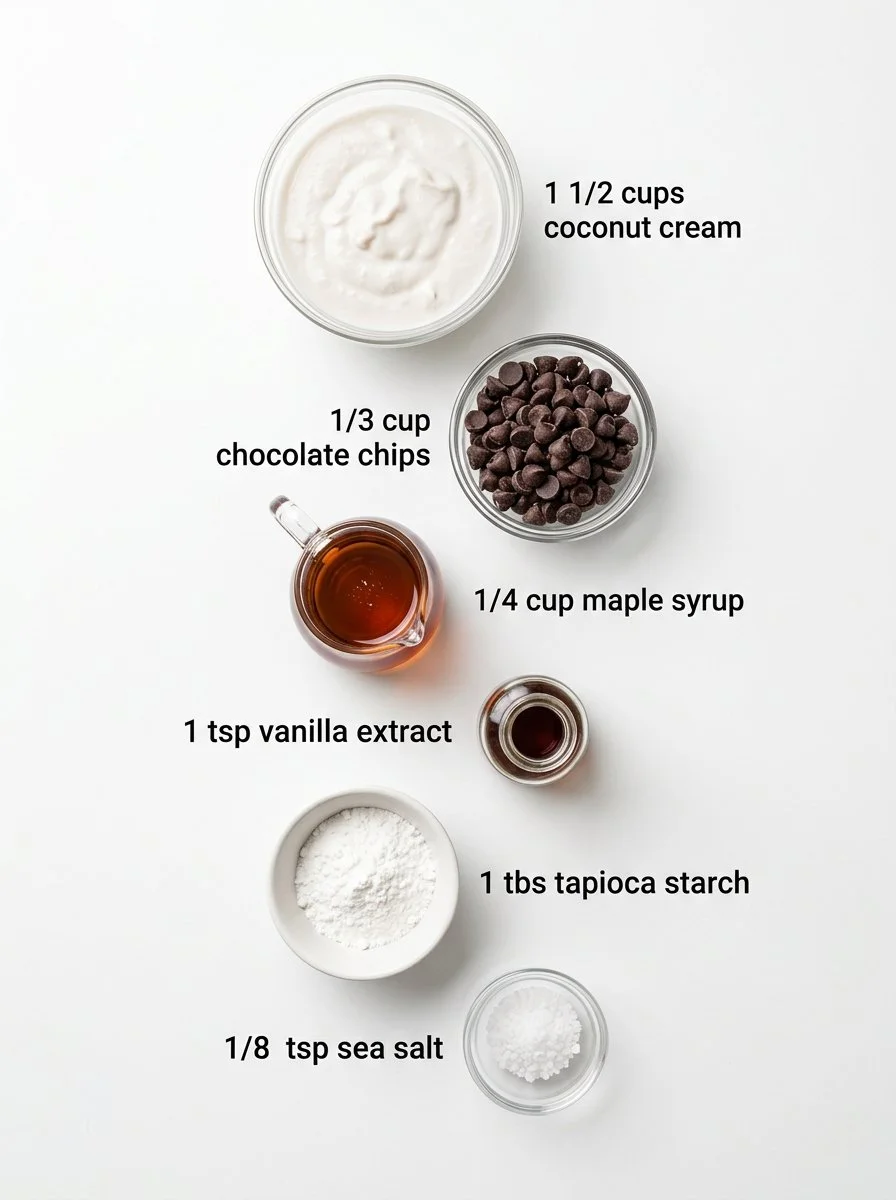
- 1 ½ cups coconut cream: Look for high-quality canned coconut milk; just be sure to use the full-fat variety for that luscious texture.
- 1/3 cup dark chocolate chips: I highly recommend using a good quality brand like Guittard or Ghirardelli for a rich chocolate flavor.
- 1/4 cup maple syrup: Pure maple syrup is key here for natural sweetness—no imitation syrup, please!
- 1 tsp vanilla extract: A quality pure vanilla will elevate the taste.
- 1 Tbsp tapioca starch (optional): This helps to thicken the mixture and give it a creamier consistency if desired.
- 1/8 tsp salt (optional): A pinch of salt enhances the chocolate’s richness.
Before you start, make sure the coconut cream is at room temperature for easier mixing and melting.
Step-by-Step Instructions
Melt the Base: In a small saucepan, combine the coconut cream, dark chocolate chips, maple syrup, and vanilla extract. Heat over low heat, stirring frequently until the chocolate has melted, and everything is effortlessly combined—this should take about 5-7 minutes.
Chef’s Tip: Make sure to keep the heat low to avoid burning the chocolate; you want it melted, not cooked.
Add the Thickeners: Once melted, whisk in the tapioca starch and salt until smooth and uniform. The mixture should be thick but pourable.
Mold the Fudgesicles: Carefully pour the luscious chocolate coconut mixture into silicone popsicle molds. Tap the molds lightly on the counter to eliminate air bubbles.
Freeze for an Hour: Place the molds in the freezer for about an hour.
Insert Sticks: After an hour, carefully insert popsicle sticks into the partially frozen fudgesicles, then return them to the freezer for a further 6-8 hours or overnight for the best results.
Common Mistakes to Avoid: Don’t skip the freezing time! For the best texture, let them freeze overnight if you can resist digging in sooner.
Serve and Enjoy: When you’re ready to enjoy your fudgesicles, run warm water over the outside of the mold for a few seconds to release them easily.
Expert Tips & Troubleshooting
- Storage: These fudgesicles can be stored in an airtight container in the freezer for up to a month. Just remember to wrap each one in parchment paper for easy access.
- Make-Ahead: You can prepare the mixture a day in advance and keep it in the fridge before pouring it into molds.
- Freezing Too Hard: If you find they’re too frozen to bite into nicely, just let them sit out at room temperature for about 5 minutes before enjoying.
- Want Extra Creaminess?: Consider adding a splash of coconut milk if you prefer a softer consistency.
- Troubleshooting Texture: If they’re too icy after freezing, it might be best to experiment with a little less coconut cream or add a tiny bit more tapioca starch next time!
Serving Suggestions
These fudgesicles are delightful on their own, but why not take it a step further? Serve them alongside a scoop of vegan vanilla ice cream or drizzled with some homemade chocolate sauce for that extra indulgent touch.
Perfect for summer BBQs or birthday parties, these pops will be the centerpiece of your dessert table. Plus, the vibrant chocolate color looks so appealing against a backdrop of fresh fruits and whipped cream!
Variations & Substitutions
Feel free to get creative! Here are some fun ideas to play around with:
Flavor Infusions: Swap out the dark chocolate for white chocolate or berry purees for fruity fudgesicles. Try mixing in some peanut butter for a nutty treat!
Dietary Adaptations: For a nut-free version, simply ensure that your chocolate chips are certified nut-free.
Seasonal Twists: In summer, blend in some fresh fruit like bananas or raspberries, and during the holidays, a dash of cinnamon can make for a festive treat.
Nutrition & Storage Info
- Prep Time: 15 minutes
- Cook Time: 10 minutes
- Total Time: 1 hour (plus freezing time)
- Yield: Approximately 6 fudgesicles
- Estimated Calories: 200 calories per serving
- Storage Instructions: Store in the freezer for up to a month. Wrap in parchment for best results.
FAQ Section
Can I use another type of milk?
- Absolutely! Almond or cashew milk could work, but be aware the texture may be lighter.
How do I make these sugar-free?
- You can use a sugar substitute designed for baking, like erythritol or stevia, adjusting to taste.
Will they melt too quickly?
- These fudgesicles hold up well against the heat, but they’re dessert! Just keep them in the cooler until ready to serve.
Can I add mix-ins?
- Yes! Collins could include crushed cookies, nuts, or even a swirl of berry puree.
My fudgesicles are icy—what happened?
- This can happen if there’s too much liquid; double-check your ratios, and don’t overblend your coconut cream.
Can kids help make these?
- Absolutely, they’ll love mixing and pouring the chocolate mixture!
How long does it take to freeze?
- It’s best to freeze overnight for the perfect consistency, but at least 6 hours should suffice!
Can I use coconut milk instead of cream?
- Yes! Just note that the texture may be slightly different if using coconut milk.
What’s the best way to release them from the molds?
- Run warm water over the outside for a few seconds—it should pop right out!
Can these fudgesicles be made vegan?
- They already are! All ingredients used are naturally vegan-friendly.
Conclusion
These Homemade Fudgesicles with Coconut Milk are more than just a treat—they’re a reminder of sunny days and happy memories, perfect for any occasion. I hope you’re just as excited to try making these as I am to share them with you! I’d love to hear how it turns out for you or any personal touches you added. And if you’re looking for more easy, delightful dessert ideas, don’t forget to check out my other recipes on the blog!
Homemade Fudgesicles with Coconut Milk
- Total Time: 60 minutes
- Yield: 6 fudgesicles 1x
- Diet: Vegan
Description
Delight in these creamy, rich fudgesicles made with coconut milk, perfect for hot summer days.
Ingredients
- 1 ½ cups coconut cream
- 1/3 cup dark chocolate chips
- 1/4 cup maple syrup
- 1 tsp vanilla extract
- 1 Tbsp tapioca starch (optional)
- 1/8 tsp salt (optional)
Instructions
- Melt the Base: In a small saucepan, combine the coconut cream, dark chocolate chips, maple syrup, and vanilla extract. Heat over low heat, stirring frequently until the chocolate has melted, about 5-7 minutes.
- Add the Thickeners: Whisk in the tapioca starch and salt until smooth and uniform.
- Mold the Fudgesicles: Pour the mixture into silicone popsicle molds and tap gently to eliminate air bubbles.
- Freeze for an Hour: Place molds in the freezer for about an hour.
- Insert Sticks: After an hour, insert popsicle sticks into the partially frozen fudgesicles, then freeze for an additional 6-8 hours.
- Serve and Enjoy: Run warm water over the outside of the mold to release the fudgesicles.
Notes
These fudgesicles can be stored in an airtight container in the freezer for up to a month.
- Prep Time: 15 minutes
- Cook Time: 10 minutes
- Category: Dessert
- Method: Freezing
- Cuisine: American
Nutrition
- Serving Size: 1 fudgesicle
- Calories: 200
- Sugar: 10g
- Sodium: 50mg
- Fat: 15g
- Saturated Fat: 12g
- Unsaturated Fat: 3g
- Trans Fat: 0g
- Carbohydrates: 18g
- Fiber: 1g
- Protein: 2g
- Cholesterol: 0mg
🥗 Free Custom Keto Meal Plan?
Do you want to lose weight while still enjoying delicious Asian & Thai Fusion meals? Take this quick quiz to get your personalized Keto plan based on your favorite foods!
- ✅ No more guessing what to eat
- ✅ Delicious & easy-to-make recipes
- ✅ Tailored to your body type
Get My Custom Plan Now! →
*Over 100,000+ people have transformed their lives with this quiz.