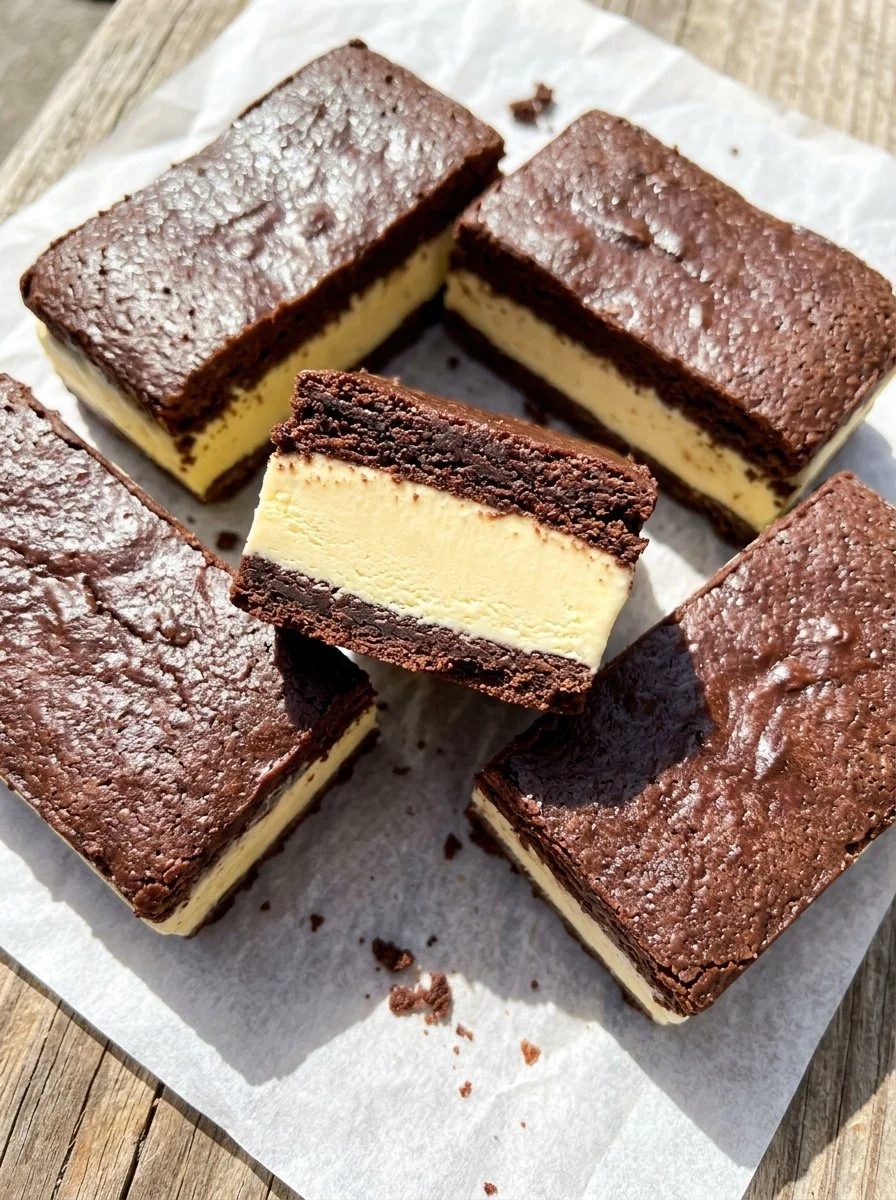
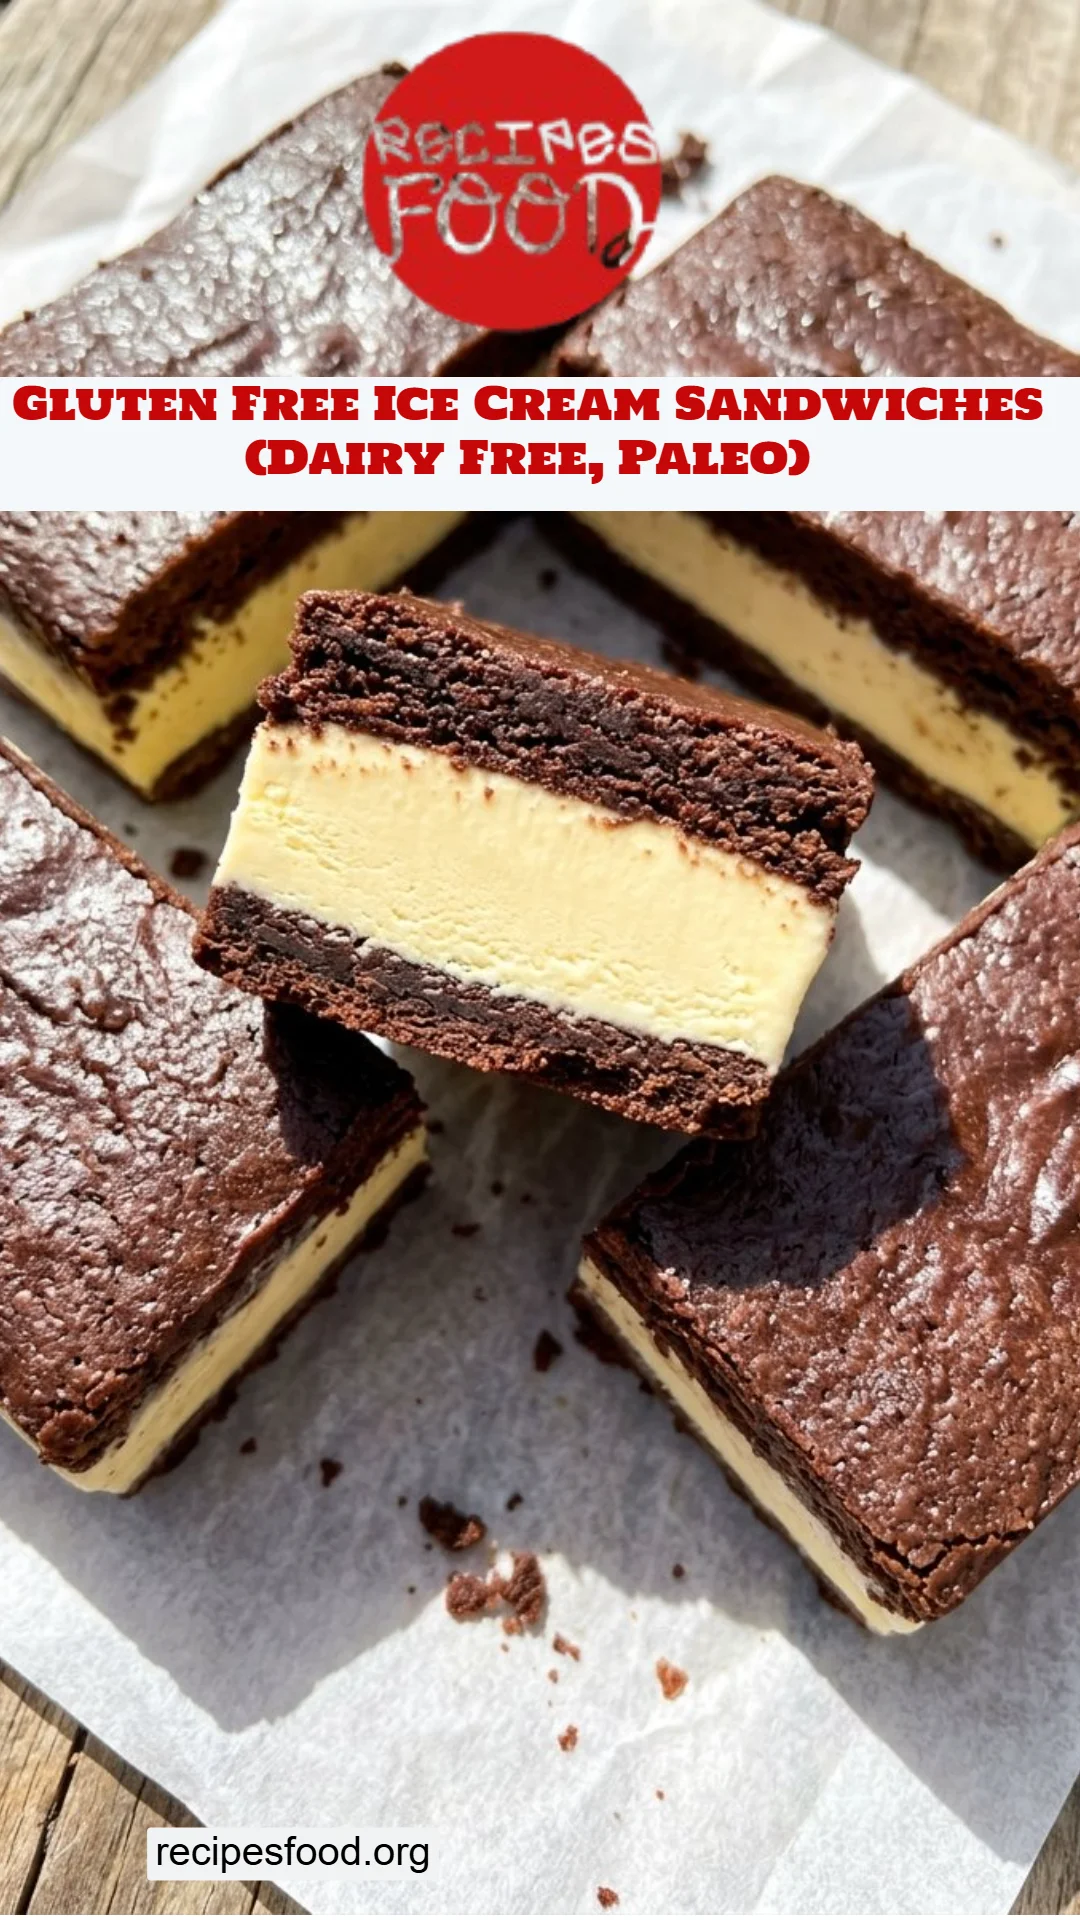
Irresistibly Delicious Gluten-Free Ice Cream Sandwiches (Dairy-Free, Paleo)
As a food lover, there are few things more delightful than the nostalgia of summer treats. One of my fondest childhood memories is sitting on the porch, drenched in sunlight, with a deliciously gooey ice cream sandwich in hand. The joy of sinking my teeth into that creamy middle, surrounded by soft, chewy cookies, is something I’ve always wanted to recreate in a healthier, gluten-free way. That’s where my recipe for Gluten-Free Ice Cream Sandwiches (Dairy-Free, Paleo) comes into play!
What makes these ice cream sandwiches special? Not only are they a delightful treat that can be enjoyed by everyone, regardless of dietary restrictions, but they’re also made with wholesome ingredients that won’t leave you feeling sluggish afterward. Unlike the store-bought versions filled with preservatives, my version allows the rich flavors of almond and cocoa to shine through, perfectly complemented by creamy dairy-free ice cream.
You’ll love how easy they are to make—perfect for family gatherings or when the craving hits on a lazy Sunday. In this post, I’m going to guide you step-by-step through making these mouthwatering treats, along with tips and tricks to make them your own! Get ready to create something special that will remind you of summer days and family barbecues!
What are Gluten Free Ice Cream Sandwiches (Dairy Free, Paleo)?
Gluten Free Ice Cream Sandwiches (Dairy Free, Paleo) are a modern take on a classic summer dessert. Traditionally, ice cream sandwiches consist of two soft cookies with a generous scoop of ice cream in between, but with this recipe, you can indulge guilt-free!
Originating as a cherished childhood treat, these sandwiches bring together the decadent taste of chocolate with the delightful creaminess of ice cream, resulting in a texture that’s chewy on the outside and refreshingly cool on the inside. The great part? You don’t have to compromise on flavor or texture to enjoy a dairy-free and gluten-free dessert.
Whether you’re enjoying them at a summer BBQ or as a midday snack, these ice cream sandwiches are perfect for satisfyingly sweeten your day while adhering to health-conscious choices. Let me share with you the reasons why you’ll fall in love with this recipe.
Why You’ll Love This Recipe
Dive into Flavor: You’ll savor the rich chocolate cookies made from almond flour and cocoa powder, which pack a nutty, decadent punch that pairs wonderfully with your favorite dairy-free ice cream.
Healthy Comfort Food: While traditional ice cream sandwiches are often loaded with refined sugars and gluten, these sandwiches are beautifully balanced. Almond flour and tapioca starch create a cookie with a light, airy texture—perfectly indulgent without the guilt.
Cost-Effective Treat: Making your own ice cream sandwiches at home can save you money compared to store-bought options. Plus, you can well and truly control the quality of your ingredients.
Tailor to Your Taste: Love chocolate mint ice cream? Or maybe vanilla coconut? With this recipe, you can customize the filling based on whatever flavors tickle your taste buds. The possibilities are endless!
Simple Yet Impressive: Perfect for novice bakers and seasoned pros alike, this recipe is easy to follow, taking about 1.5 hours (including freezing time) to transform your kitchen into a dessert oasis.
Get ready to whip up some delightful treats that will impress your friends and family, and make unforgettable memories along the way!
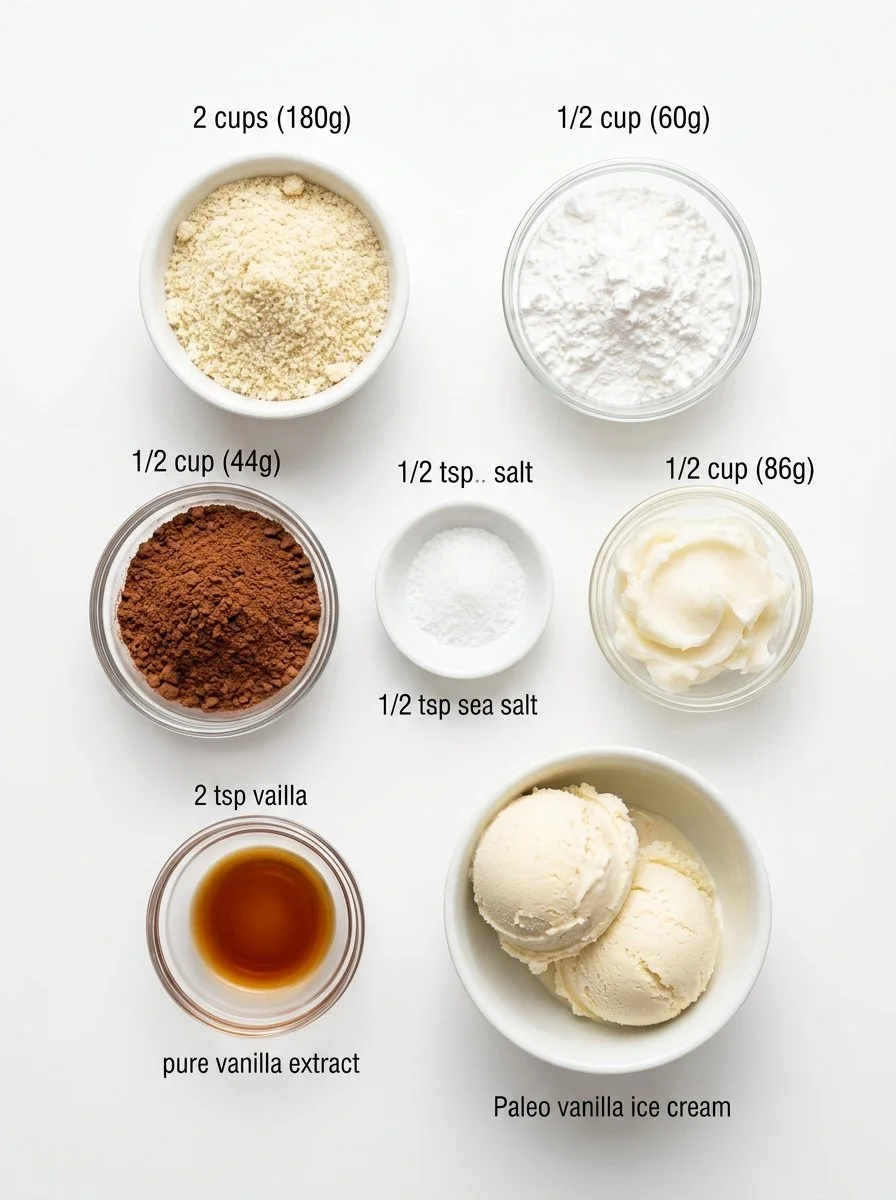
Ingredients for Gluten Free Ice Cream Sandwiches (Dairy Free, Paleo)
- 2 cups almond flour (180g): A fantastic gluten-free flour option that adds healthy fat and protein.
- 1/2 cup tapioca starch (60g): This helps keep the cookies chewy and adds structure.
- 1/2 cup cocoa powder (44g): Use unsweetened for that rich chocolate flavor.
- 1/2 tsp salt: Enhances flavor.
- 1/2 cup palm shortening (86g) or butter: For the perfect softness, bring your butter to room temperature if using it.
- 2 tsp vanilla extract: Adds warmth to the cookies.
- 2 cups paleo vanilla ice cream (or any dairy-free ice cream): To fill those delightful cookies with creamy goodness.
Notes on Ingredient Quality: Always choose almond flour that is finely ground for the best texture. If you’re looking for options, brands like Bob’s Red Mill make a great almond flour. For palm shortening, I recommend Nutiva; it’s organic and has a neutral flavor.
Step-by-Step Instructions
Now that we have our ingredients lined up, let’s dive into making these fabulous gluten-free ice cream sandwiches!
Make the Cookie Dough: In a large mixing bowl, combine the almond flour, tapioca starch, cocoa powder, and salt. Mix well. Now add in the palm shortening (or butter if you’re using it), maple syrup, and vanilla. Begin mixing with a spatula, then use your hands to knead the dough until it is well-combined. It should be soft and slightly sticky.
Split the Dough: Divide the dough into two equal halves. This will become your two cookie layers.
Prepare the Baking Dish: Line an 8" x 8" baking dish with parchment paper. Press one half of the cookie dough into the pan, creating an even, level layer.
Bake the First Layer: Remove that square cookie (with the parchment paper) to a small baking sheet or large plate.
Repeat: Line the baking dish with another sheet of parchment paper and press the remaining half of the cookie dough into the dish.
Freeze: Place both cookie layers in the freezer (keeping one in the baking dish and one on the baking sheet/plate). Freeze for at least 30 minutes, or until firm.
Prepare the Ice Cream (if homemade): If you’re making your own ice cream, follow those instructions now.
Assemble the Sandwiches: Once the cookies are frozen solid and your ice cream is creamy, remove the cookies from the freezer. Scoop the ice cream onto the cookie in the lined baking dish, spreading evenly to the sides.
Top it Off: Gently remove the other cookie from the parchment paper and place it on top of the ice cream, lightly pressing it down.
Final Freeze: Place your assembled ice cream sandwiches in the freezer overnight, or for at least 6 hours until firm.
Cut and Serve: Once completely frozen, remove the sandwiches from the baking dish and cut them into your desired size. I typically cut mine into 8 large sandwiches.
Storage: Store your glorious creations in an airtight container in the freezer. Enjoy within one month.
Chef’s Tips:
- Visual Cue: Your dough should be smooth and just barely sticky to the touch before freezing.
- Mistake to Avoid: Don’t skip the freezing time! This step is critical for the perfect texture.
Expert Tips & Troubleshooting
Make-Ahead Dreams: Prepare the cookie layers up to three days ahead and store them in the refrigerator, wrapped well. Assemble just before serving.
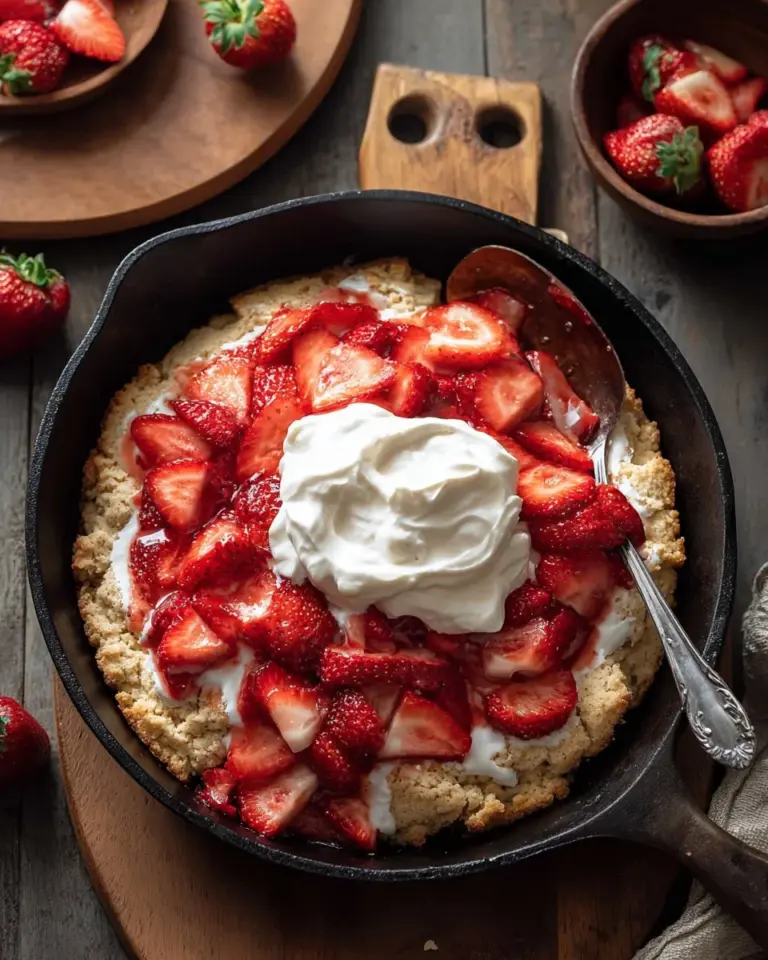
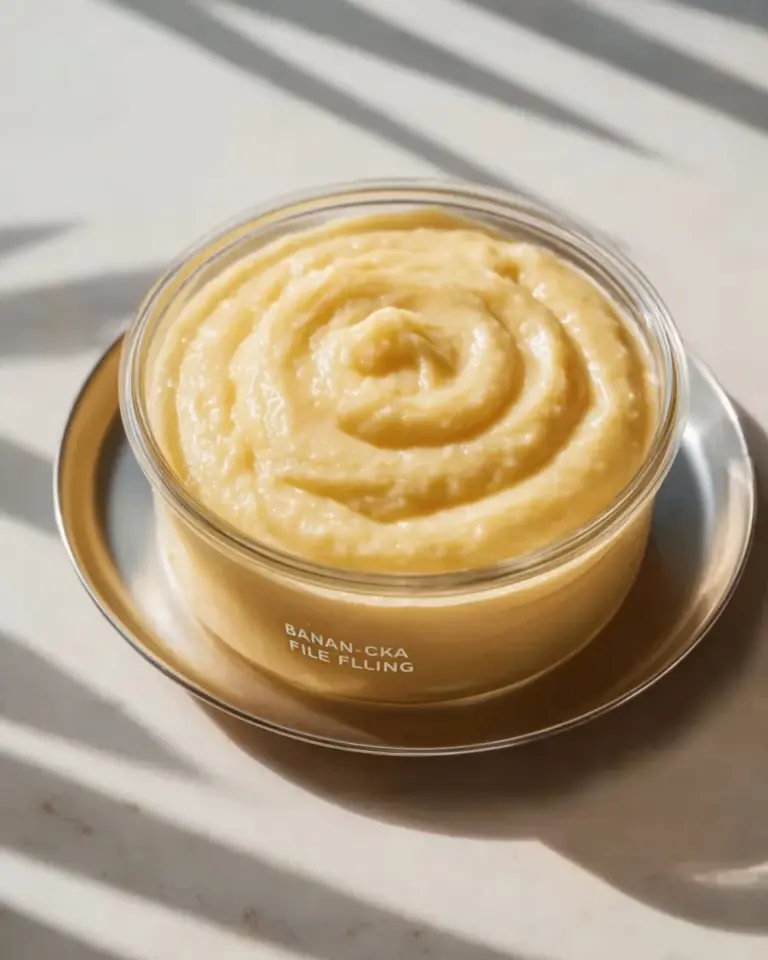
Customize Your Fillings: Try different flavors of ice cream or add a layer of fresh fruit like strawberries or banana slices for a fun twist!
Storage Recommendations: Try to keep each sandwich wrapped individually in parchment paper to maintain its freshness and avoid sticking.
Troubleshooting Texture: If the cookies are too crumbly, add a touch more palm shortening. If they’re too sticky, a little more almond flour can help!
Avoiding Ice Crystals: Store sandwiches in an airtight container to prevent ice crystals from forming around the ice cream.
Serving Suggestions
These gluten-free ice cream sandwiches are delightful on their own, but why stop there? Pair them with a dollop of fresh whipped coconut cream or a drizzle of homemade chocolate syrup. Set them out at summer BBQs or family gatherings—they’re sure to be a hit! You might also consider a fun presentation by stacking them on a colorful plate with fresh berries surrounding them for that extra pizzazz.
Variations & Substitutions
- Flavor Combinations: Swap the cocoa powder for beet or matcha powder for colorful cookies. You could also add spices like cinnamon or cardamom for a warm flavor twist.
- Dietary Restrictions: For a nut-free version, you could substitute the almond flour with sunflower seed flour or a gluten-free all-purpose blend.
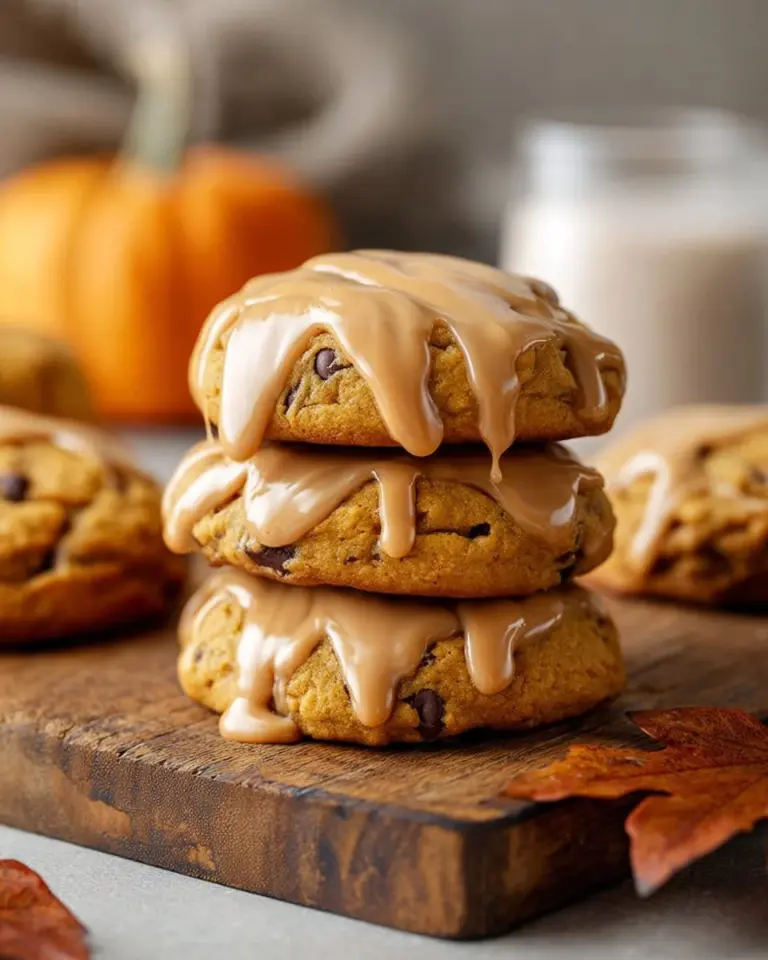
- Seasonal Variations: Think about adding pumpkin puree and spice during fall, or crush up candy canes for a minty twist in winter!
Nutrition & Storage Info
- Prep Time: 30 minutes
- Cook Time: 30 minutes (mostly freezer time)
- Total Time: 1.5 hours
- Yield: 8 large ice cream sandwiches
- Calories: Approximately 250 calories per sandwich (depending on ice cream choice)
- Storage: Keep in the freezer, enjoy within 30 days for the best flavor.
FAQ Section
Can I use store-bought ice cream?
Absolutely! Just make sure it’s dairy-free if you’re following that restriction.Can I make these vegan?
Yes! Use dairy-free butter and make sure your ice cream is plant-based.What’s the best way to cut the sandwiches?
Use a sharp knife or a pizza cutter for clean edges.How long do they last in the freezer?
I recommend consuming them within a month for maximum freshness.Can I change the size of the sandwiches?
Of course! Adjust the cutting size to your preference, but keep in mind they will freeze differently.Is there a nut-free alternative for almond flour?
Yes, you could try using sunflower seed flour or a certified gluten-free all-purpose flour.What if my dough is crumbly?
Add a teaspoon more palm shortening to moisten it up.Can I make these without ice cream?
You could substitute ice cream for whipped coconut cream for a lighter dessert!How can I avoid the cookies going soggy?
Always freeze before assembling and make sure your ice cream is not overly melted when spreading.What’s a good paleo-friendly ice cream brand?
Brands like So Delicious or Coconut Bliss have some fantastic options!

Conclusion
These Gluten-Free Ice Cream Sandwiches (Dairy-Free, Paleo) are a delightful treat that will rekindle your summer memories while keeping things healthy and fun. They’re perfect for those warm evenings or simply for indulging in a little comfort food. I can’t wait for you to try them out—your taste buds will thank you! If you love this recipe, drop a comment below and let me know how it turned out, and don’t forget to check out my other delicious recipes for more kitchen inspiration!
Print
Gluten-Free Ice Cream Sandwiches (Dairy-Free, Paleo)
- Total Time: 90 minutes
- Yield: 8 large ice cream sandwiches 1x
- Diet: Paleo, Vegan, Gluten-Free
Description
Delicious gluten-free ice cream sandwiches made with almond flour cookies and dairy-free ice cream.
Ingredients
- 2 cups almond flour (180g)
- 1/2 cup tapioca starch (60g)
- 1/2 cup cocoa powder (44g)
- 1/2 tsp salt
- 1/2 cup palm shortening (86g) or butter
- 2 tsp vanilla extract
- 2 cups paleo vanilla ice cream (or any dairy-free ice cream)
Instructions
- Make the cookie dough: In a large mixing bowl, combine the almond flour, tapioca starch, cocoa powder, and salt. Mix well. Now add in the palm shortening (or butter if you’re using it), maple syrup, and vanilla. Begin mixing with a spatula, then use your hands to knead the dough until it is well-combined. It should be soft and slightly sticky.
- Split the dough: Divide the dough into two equal halves. This will become your two cookie layers.
- Prepare the baking dish: Line an 8″ x 8″ baking dish with parchment paper. Press one half of the cookie dough into the pan, creating an even, level layer.
- Bake the first layer: Remove that square cookie (with the parchment paper) to a small baking sheet or large plate.
- Repeat: Line the baking dish with another sheet of parchment paper and press the remaining half of the cookie dough into the dish.
- Freeze: Place both cookie layers in the freezer (keeping one in the baking dish and one on the baking sheet/plate). Freeze for at least 30 minutes, or until firm.
- Prepare the ice cream (if homemade): If you’re making your own ice cream, follow those instructions now.
- Assemble the sandwiches: Once the cookies are frozen solid and your ice cream is creamy, remove the cookies from the freezer. Scoop the ice cream onto the cookie in the lined baking dish, spreading evenly to the sides.
- Top it off: Gently remove the other cookie from the parchment paper and place it on top of the ice cream, lightly pressing it down.
- Final freeze: Place your assembled ice cream sandwiches in the freezer overnight, or for at least 6 hours until firm.
- Cut and serve: Once completely frozen, remove the sandwiches from the baking dish and cut them into your desired size.
Notes
For best texture, use finely ground almond flour and let cookies freeze properly. Customize fillings with different ice cream flavors or add fruits.
- Prep Time: 30 minutes
- Cook Time: 30 minutes
- Category: Dessert
- Method: Freezing
- Cuisine: American
Nutrition
- Serving Size: 1 sandwich
- Calories: 250
- Sugar: 8g
- Sodium: 150mg
- Fat: 15g
- Saturated Fat: 5g
- Unsaturated Fat: 9g
- Trans Fat: 0g
- Carbohydrates: 30g
- Fiber: 2g
- Protein: 3g
- Cholesterol: 0mg
🥗 Free Custom Keto Meal Plan?
Do you want to lose weight while still enjoying delicious Asian & Thai Fusion meals? Take this quick quiz to get your personalized Keto plan based on your favorite foods!
- ✅ No more guessing what to eat
- ✅ Delicious & easy-to-make recipes
- ✅ Tailored to your body type
Get My Custom Plan Now! →
*Over 100,000+ people have transformed their lives with this quiz.