Table of Contents
Table of Contents
Picture this: it’s a chilly Sunday morning, and the aroma of freshly baked bread fills your home. That warm, comforting smell takes me back to my childhood, where weekends were all about family, laughter, and of course, bread-making sessions with my grandma. After countless trials, I’ve finally perfected an No-Knead Gluten-Free Bread recipe that captures that nostalgic flavor and texture!
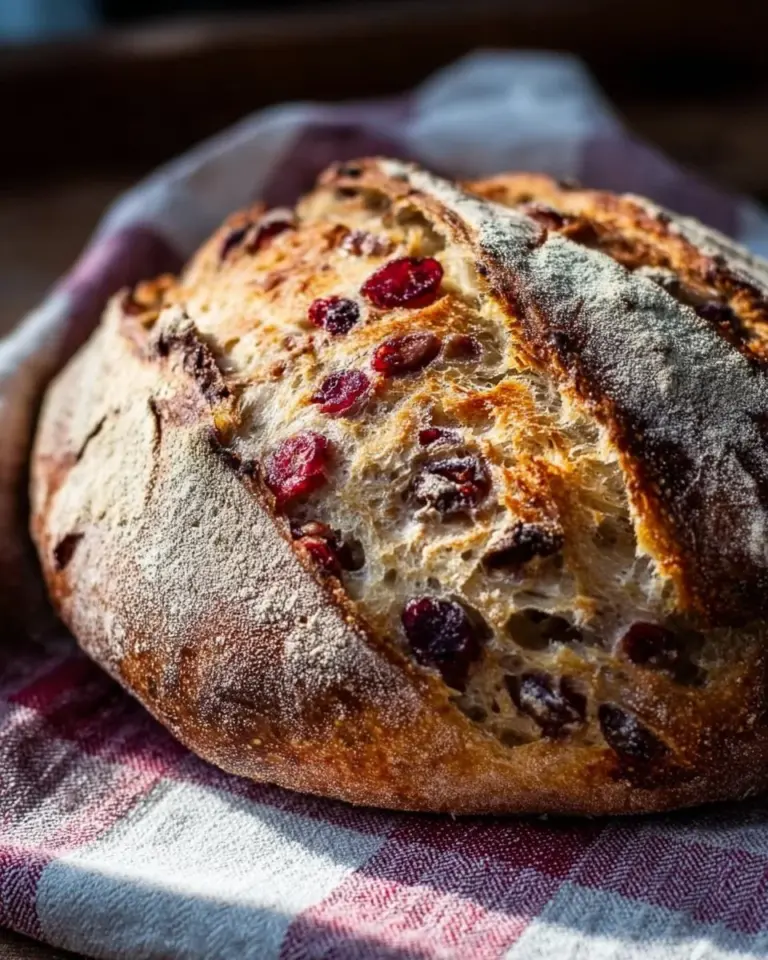
What makes this bread truly special is its divine crust and soft, doughy interior—without the need to knead! This is not just another bread recipe; it’s a gateway to rekindling memories and creating new ones with every slice. Unlike store-bought gluten-free bread that often resembles a brick, my version is airy and light, making it an excellent companion for everything from breakfast toast with jam to elegant sandwiches at lunch.
In this post, I’m thrilled to share all the details—from the simplest steps to enjoying the fruits of your labor—so you can bring that same joy to your loved ones. By the end, you’ll learn how to whip up this delightful bread, indelibly transforming your baking game.
What Are No-Knead Gluten-Free Bread?
No-knead bread has exploded in popularity thanks to its ease of preparation, and the gluten-free version is no different! Initially conceptualized by Jim Lahey, this method relies on a long fermentation process that produces a beautifully risen loaf with minimal effort. The gluten-free variant is designed for those avoiding wheat, using special flours like Caputo Fioreglut to ensure a tender and flavorful result.
With its crunchy crust and soft, pillowy interior, each bite is a balance of flavors that dances on your palate. The unique combination of ingredients forms a light, airy structure that contrasts beautifully with the crispy exterior. If you’ve ever been frustrated with dense gluten-free bread, you’ll revel in the sheer delight this recipe brings!
So when should you make this bread? It’s perfect for any occasion—be it a holiday feast, a cozy family meal, or simply a self-care baking day to lift your spirits.
Why You’ll Love This Recipe
Let me share some compelling reasons why this Gluten-Free No-Knead Bread should become your new favorite:
Simplicity: You don’t need to be a seasoned baker to succeed! With just a few ingredients and no kneading involved, this recipe is practically foolproof—perfect for beginners and busy home cooks alike.
Cost-Effective: Have you ever seen the prices of gluten-free loaves at the store? Yikes! The beauty of making your own bread lies in the affordability. The ingredients, especially the Caputo Fioreglut flour, will still save you money in the long run.
Customization Opportunities: Want to add your twist? Throw in some herbs, seeds, or even cheese to create a signature loaf that reflects your taste. This is a canvas for creativity!
Better Than Store-Bought: Say farewell to crumbly, pre-packaged gluten-free bread! This homemade variety doesn’t just taste better; it’s healthier too, made without preservatives or artificial flavors.
Less Time Than You Think: Sure, there’s waiting time as the dough rises, but your active time? It’ll only set you back about 25 minutes! Plus, it frees you up to enjoy a cup of coffee while the magic happens.
Ingredients
For the Dough:
- 1¾ cups warm water (410g, 110ºF is generally a good temperature for yeast.)
- 2¼ tsp instant yeast (8g)
- 1 tsp honey or granulated sugar (7g)
- 3 cups Caputo Fioreglut gluten-free flour (475g) – This premium flour is a game-changer for texture and rise.
- 2½ tsp fine sea salt (10g)
Notes on Ingredient Quality:
- Caputo Fioreglut Flour: Highly recommended for achieving the best structure in gluten-free bread. If unavailable, a high-quality gluten-free flour blend can work, but results may vary.
- Warm Water: Ensure it’s not too hot—hot water can kill the yeast! Aim for the temperature of a warm bath.
- Honey/Sugar: Both function to activate the yeast while providing a touch of sweetness.
Prep Notes:
- Make sure all ingredients are at room temperature for the best outcome. Using room temperature butter during the buttering process is ideal to help it spread more easily.
Step-by-Step Instructions
Activate the Yeast: In a large bowl, whisk together the warm water, yeast, and honey. Let it sit undisturbed for 10 minutes. You’ll know it’s ready when you see a foamy layer forming on the surface. This frothy goodness indicates your yeast is alive and kicking!
Mix the Dough: Stir in half of the gluten-free flour and salt with a fork. Expect it to be quite sticky—this is normal! Gradually add the rest of the flour until your dough pulls away from the sides of the bowl and feels fairly dry.
Let It Rise: Cover your bowl with a kitchen towel and place it in a warm area to allow the dough to rise for 1½ hours. If it’s a chilly day, it might take closer to 2 hours for the dough to double in size. (A good trick is to turn on your oven to the lowest setting for a few minutes, then turn it off and place the bowl inside to create a warm rising environment.)
Preheat the Dutch Oven: Just before your dough is ready, preheat a Dutch oven or a heavy oven-safe pot (with the lid) at 450ºF (232ºC) for 20-30 minutes. This ensures that the bread bakes evenly and achieves that crispy crust you desire!
Transfer the Dough: Using a dough scraper or spoon, gently plop your dough onto a square of parchment paper. Careful now—don’t deflate it too much! Trim any excess parchment if necessary.
Bake It!: Carefully remove the hot Dutch oven, using oven mitts, and lift the parchment paper to lower the dough inside. Place the lid back on and bake for 30 minutes covered. Then, remove the lid and continue baking for another 10-15 minutes, until the top is a gorgeous golden brown.
Cool Down: Once your loaf is beautifully baked, use the parchment paper to carefully lift it out and onto a wire rack. Slide off the parchment paper and discard it. Allow the bread to cool for at least 30 minutes, but ideally 2 hours, for the best texture. (I know, waiting is tough, but it makes all the difference!)
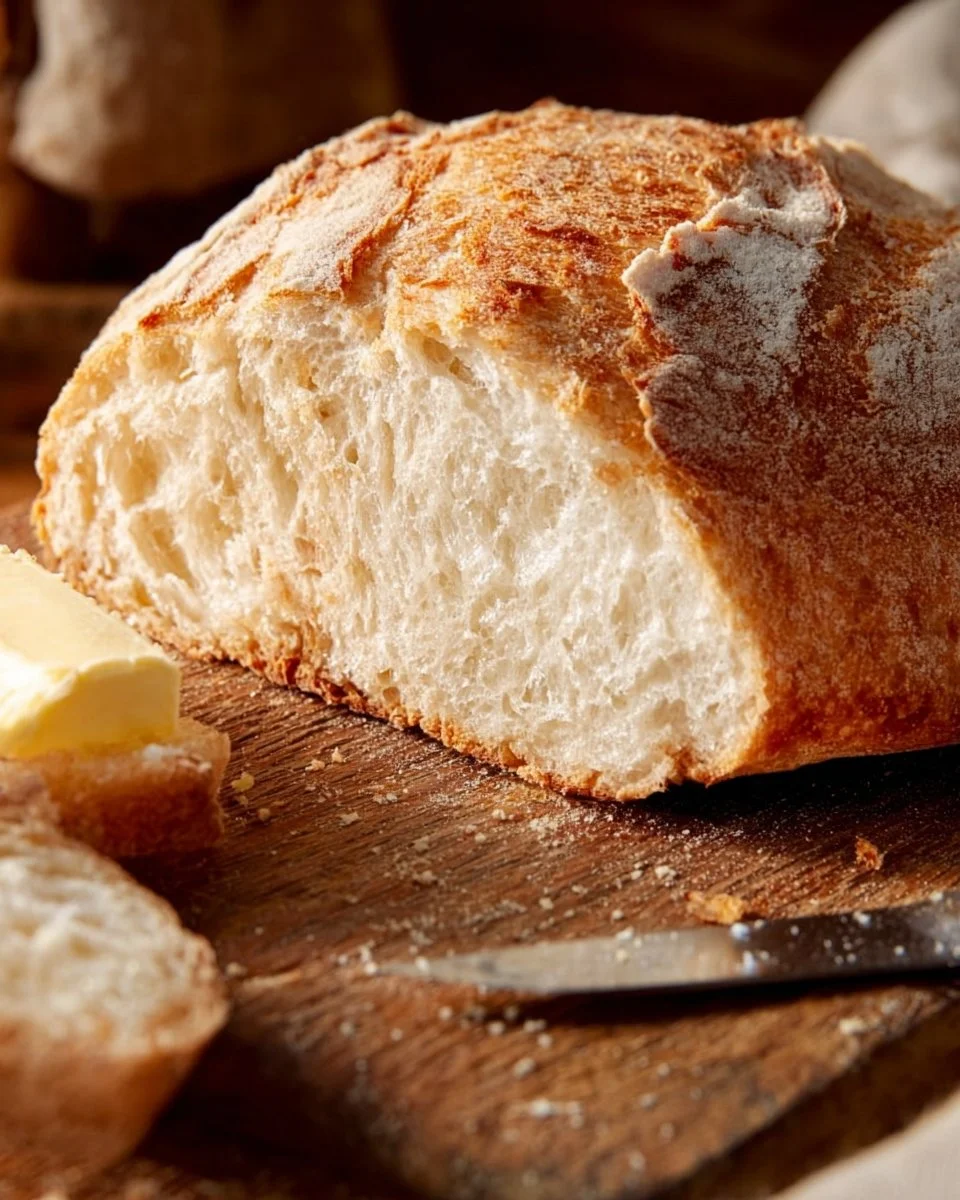
Slice & Enjoy: Use a serrated knife to slice your bread—trust me, it’s heavenly with a smear of butter or your favorite spread!
Chef’s Tips:
- For a crustier loaf, consider leaving the Dutch oven in the preheating oven a bit longer (just be careful not to burn yourself!).
- If your dough feels too wet, add a little more flour, but it’s important to keep the hydration high for a nice texture.
Common Mistakes to Avoid:
- Using Water That’s Too Hot: This can kill the yeast. Stick to warm, but not steamy!
- Not Enough Rising Time: Patience is key for great flavor and texture.
Expert Tips & Tricks
Storage Recommendations: Once cooled, store your bread in an airtight container at room temperature for up to three days. For longer storage, slice and freeze—great for quick toast during busy mornings!
Make-Ahead Instructions: You can prepare the dough the night before and allow it to rise in the refrigerator. Just be sure to bring it back to room temperature before baking.
Troubleshooting Common Problems: If your bread didn’t rise properly, check if your yeast is fresh. Old yeast can lead to dense bread.
Troubleshooting Soggy Loaf: Ensure you’re preheating your Dutch oven and that your dough isn’t overly wet. Baking times and temperatures may vary depending on your oven.
No Dutch Oven?: You can substitute a baking stone, but you’ll want to create steam in the oven. A pan with hot water placed on the lower rack during baking can help achieve that divine crust.
Serving Suggestions
Pair this glorious Gluten-Free No-Knead Bread with fresh soups, sumptuous salads, or even a charcuterie board. For a breakfast treat, spread it with homemade jam or almond butter for a wholesome start to your day. If you’re hosting a gathering, simply slice and arrange it in a beautiful basket with a pat of herb-infused butter on the side!
Variations & Substitutions
Feeling adventurous? Here are some fun ideas to switch things up:
- Add Herbs: Incorporate fresh rosemary or thyme for an aromatic twist.
- Cheesy Delight: Mix in shredded cheese like cheddar or gouda to create a savory loaf.
- Seeds & Grains: Toss in chia seeds or sunflower seeds for added crunch and nutrition.
- Seasonal Flavors: In the fall, consider adding pumpkin spices and bits of roasted pumpkin for a unique autumn twist.
Nutrition & Storage Info
- Prep Time: 25 minutes
- Cook Time: 40 minutes
- Total Time: 2 hours (including rising)
- Yield: 1 large loaf (approximately 12 slices)
- Estimated Calories: 120 calories per slice
- Storage Instructions: Store at room temperature in an airtight container for up to 3 days; slice and freeze for up to 3 months.
FAQ Section
Can I use a different gluten-free flour?
- Yes, a blend will work, but results may vary. Stick to flour blends designed for bread-making for best results.
Does it have to be a Dutch oven?
- While a Dutch oven is ideal for achieving that crust, you can also bake it on a baking stone or tray. Just be sure to create steam to aid in crust formation.
Why isn’t my bread rising?
- Ensure your yeast is fresh and your water isn’t too hot, as it can kill the yeast.
Can I add sweeteners?
- Sure! You can use sugars, honey, or even maple syrup in moderation; just know that it may affect the flavor and browning!
How can I tell when it’s done baking?
- Look for a golden-brown crust and tap the bottom of the loaf—if it sounds hollow, it’s ready!
Can I use this recipe for dinner rolls?
- Yes! Divide the dough into smaller portions and bake them in a muffin tin for delightful dinner rolls.
How do I prevent it from getting stale quickly?
- Storing it in an airtight container helps, and if you notice it getting dry, toast it for a wonderful comeback!
Can I make this dairy-free?
- Absolutely! Just skip any butter in serving, or substitute with olive oil or a dairy-free spread.
How do I slice it without smashing?
- A serrated knife will give you the best result—take your time slicing gently.
Any tips for variations?
- Experiment with flavors like herbs, spices, or different gourmet cheeses to create a unique loaf!
Conclusion
There you have it—my treasured Gluten-Free No-Knead Bread recipe that’s bound to become a staple in your kitchen! Not only is it delicious, but it also allows you to create lasting memories around the table with family and friends. I encourage you to give it a try and unleash your inner baker!
If you enjoyed this recipe or have your twist to share, please drop a comment below! Don’t forget to check out my other bread recipes on the blog for more delicious inspiration.
Garlic Rosemary Focaccia Muffins
Happy baking!
Print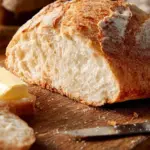
Easy No-Knead Gluten-Free Bread
- Total Time: 2 hours (including rising)
- Yield: 1 loaf (12 slices) 1x
- Diet: Gluten Free
Description
An incredibly easy gluten-free bread with a crispy crust and soft, airy interior, requiring no kneading and using simple ingredients for a perfect homemade loaf every time.
Ingredients
- 1¾ cups warm water (410g)
- 2¼ tsp instant yeast (8g)
- 1 tsp honey or granulated sugar (7g)
- 3 cups Caputo Fioreglut gluten-free flour (475g)
- 2½ tsp fine sea salt (10g)
Instructions
- Whisk together warm water, yeast, and honey. Let sit for 10 minutes until foamy.
- Add half the flour and salt, mixing with a fork. Gradually add remaining flour until dough pulls away from bowl.
- Cover and let rise in warm place for 1½-2 hours until doubled.
- Preheat Dutch oven at 450°F (232°C) for 20-30 minutes.
- Transfer dough to parchment paper and place in preheated Dutch oven.
- Bake covered for 30 minutes, then uncovered for 10-15 minutes until golden brown.
- Cool on wire rack for at least 30 minutes before slicing.
Notes
- Use Caputo Fioreglut flour for best results
- Water temperature should be warm but not hot to avoid killing yeast
- Bread stores best in airtight container for up to 3 days
- Can be frozen for longer storage
- Prep Time: 25 minutes
- Cook Time: 40 minutes
- Category: Bread
- Method: Baking
- Cuisine: International
Nutrition
- Serving Size: 1 slice
- Calories: 120
- Sugar: 1g
- Sodium: 240mg
- Fat: 0.5g
- Saturated Fat: 0g
- Unsaturated Fat: 0.3g
- Trans Fat: 0g
- Carbohydrates: 25g
- Fiber: 2g
- Protein: 4g
- Cholesterol: 0mg
Ask the Community
🥗 Free Custom Keto Meal Plan?
Do you want to lose weight while still enjoying delicious Asian & Thai Fusion meals? Take this quick quiz to get your personalized Keto plan based on your favorite foods!
- ✅ No more guessing what to eat
- ✅ Delicious & easy-to-make recipes
- ✅ Tailored to your body type
Get My Custom Plan Now! →
*Over 100,000+ people have transformed their lives with this quiz.