Delightfully Fun Easter Egg Rice Krispie Treats: A Sweet Surprise for Spring!
Growing up, Easter was always a magical time in my family. We’d gather together in the kitchen, laughter echoing as we whipped up colorful treats to celebrate the season. One of my fondest memories is making Rice Krispie Treats shaped like Easter eggs—those gooey, sweet bites were not just treats but treasures. Enter my Easter Egg Rice Krispie Treats, a nostalgic twist that brings comfort and joy to this festive occasion.
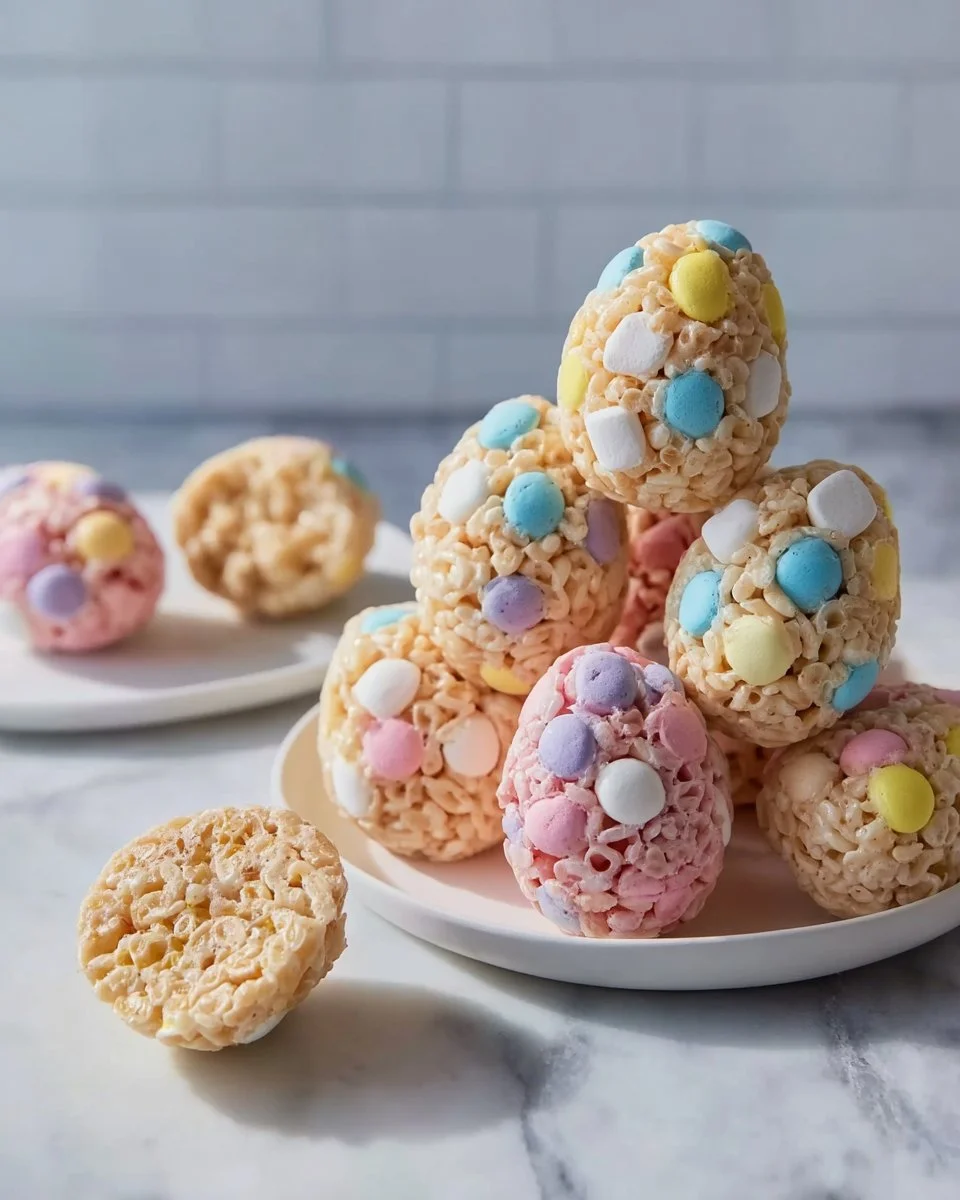
What sets this recipe apart? Well, not only do these treats boast that irresistibly chewy texture and sweet marshmallow flavor we all know and love, but they’re also filled with pastel candy-coated chocolates that create a delightful surprise in every bite. With the perfect balance of crunch and creaminess, they become the star of your dessert table.
This recipe elevates the classic Rice Krispie Treat with a fun twist that kids adore (and let’s be honest, adults do too!). You’ll learn how to create these sweet creations quickly and easily, while also making unforgettable family memories this Easter. So, roll up your sleeves—let’s whip up something magical together!
What Are Easter Egg Rice Krispie Treats?
Easter Egg Rice Krispie Treats are a fun, festive spin on the classic Rice Krispie treats we all love. Originating in the United States in the 1930s, Rice Krispie Treats were concocted when the Rice Krispies brand marketed them as a way to use their cereal in delicious desserts. Over the years, I’ve taken this simple treat and transformed it into egg-shaped delights that are perfect for the Easter season!
These treats have a sweet, buttery taste with a slight crunch from the Rice Krispies, complemented by the soft chewiness of marshmallows. The real kicker? They’re loaded with pastel candy-coated chocolates that melt in your mouth, creating an explosion of flavor with every bite.
Making these treats is a wonderful way to embrace the Easter spirit—perfect for Easter brunch, family gatherings, or as thoughtful gifts for your loved ones. Trust me, once you’ve made these colorful creations, they will become a staple in your holiday celebrations!
Why You’ll Love This Recipe
Simple & Quick: Compared to store-bought varieties, which can be overly sweet or lacking in quality, these homemade treats are straightforward. You can whip them up in under an hour with just a handful of ingredients and minimal skill required!
Cost-Effective: These Easter Egg Rice Krispie Treats are not only delightful but budget-friendly. You can make them for a fraction of the cost of pre-packaged candies or other holiday desserts.
Customization Galore: This recipe is so versatile! Change the candy toppings to match your mood or the occasion—think M&Ms, chocolate chips, or even dried fruit. The possibilities are endless!
Perfect for Gifting: Whether wrapped in cellophane or displayed on a festive platter, these treats make for stunning gifts. Share some with your neighbors or send them along with your kids to school for a spring surprise.
Nostalgic and Fun: These treats take us back to our childhood, sparking memories with every gooey bite. Each batch is a chance to create joyful moments with family and friends during the Easter celebration.
Ingredients Section

Here’s what you’ll need to make your delightful Easter Egg Rice Krispie Treats:
- 6 cups Rice Krispies cereal: choose store-brand or Kellogg’s for the classic taste.
- 1 bag (10 oz) mini marshmallows: I prefer Jet-Puffed for their softness.
- 3 tablespoons unsalted butter: use room temperature butter for easy melting.
- 1 teaspoon vanilla extract: pure vanilla extract is always best for flavor.
- Pinch of salt: this enhances the sweetness.
- 2 to 2½ cups pastel candy-coated chocolates: M&M’s Pastels or similar brands add a beautiful touch.
Prep Tips: Ensure your butter is at room temperature for easier melting and better incorporation into the marshmallows.
Step-by-Step Instructions
Prepare the molds: Lightly grease the inside of plastic Easter egg molds with nonstick spray or a small amount of butter to prevent sticking.
Melt the butter: In a large pot over low heat, melt the butter completely, stirring for about 2-3 minutes. Make sure it doesn’t brown.
Add marshmallows: Once the butter is melted, add the mini marshmallows. Stir constantly until they are fully melted and the mixture is smooth. This should take about 3 minutes.
Incorporate flavor: Remove from heat and stir in the vanilla extract and a pinch of salt until combined.
Add Rice Krispies: Quickly add the Rice Krispies cereal to the marshmallow mixture. Using a spatula, stir until the cereal is evenly coated, working quickly before the mixture cools. Allow to cool for about 2 minutes.
Mold the treats: Spoon a small amount of the mixture into one half of each plastic egg mold, pressing down gently to create a base layer.
Add candy-coated chocolates: Press pastel candy-coated chocolates into the surface, then fill the other half of the mold with more mixture, pressing down firmly to close.
Set them: Let the molded treats set at room temperature for 30 to 45 minutes, or until firm.
Unmold and serve: Carefully open the molds and remove the treats. Arrange them on a serving platter or wrap them for gifts. Store in an airtight container for up to 3 days.
Chef’s Tips:
- Work quickly when mixing the Rice Krispies, as the mixture cools rapidly.
- If you find the mixture gets too sticky, lightly butter your hands for shaping.
Common Mistakes to Avoid:
- Don’t overheat the butter; it should melt gently.
- Allow the mixture to cool slightly before molding to prevent burns.

Expert Tips & Tricks
Precision is Key: Measure ingredients carefully to ensure the right balance of flavor and texture.
Quality Matters: Always use fresh ingredients, especially marshmallows. Stale marshmallows can affect the final texture.
Storage Recommendations: Keep your Rice Krispie treats in an airtight container at room temperature to maintain their chewy texture.
Make-ahead Instructions: You can prepare the molds and melt the mixture a day in advance. Just assemble and set the next day.
Troubleshooting: If your treats are too sticky, you may have added too many marshmallows. Next time, scale back slightly.
Serving Suggestions
Easter Egg Rice Krispie Treats are fantastic on their own, but they can also be served alongside other delightful goodies! Consider pairing them with a refreshing fruit salad or a light, whipped carrot cake for a lovely contrast.
For presentation, place them on a cheerful spring-themed platter or gift them in colorful cellophane bags tied with pastel ribbons. They are perfect for Easter egg hunts or as a centerpiece at a spring gathering!
Variations & Substitutions
Flavor Combinations: For a twist, try adding a dash of coconut extract or almond extract into the marshmallow mixture for unique flavor profiles.
Dietary Restrictions: To make these treats gluten-free, use gluten-free Rice Krispies. You can also replace the candies with allergy-friendly chocolate or dried fruit for a healthier option.
Seasonal Variations: For Halloween, use orange and black candy-coated chocolates or other seasonal decorations; for Christmas, try red and green!
Nutrition & Storage Info
- Prep Time: 15 minutes
- Cook Time: 10 minutes
- Total Time: 45 minutes
- Yield: Roughly 12 egg-shaped treats
- Estimated Calories: About 150 calories per treat
- Storage Instructions: Keep in an airtight container at room temperature; they will stay fresh for about 3 days.
FAQ Section
1. Can I use regular marshmallows instead of mini ones?
Absolutely! Just use about 4-5 cups of regular marshmallows as they take a bit longer to melt.
2. What if I don’t have Easter egg molds?
No worries! You can shape the mixture into small balls using your hands or press it into a lined baking dish, then cut them into squares after they set.
3. How far in advance can I make these treats?
You can prepare these treats up to two days in advance. Just store them in an airtight container.
4. Can I freeze Easter Egg Rice Krispie Treats?
Yes! Wrap them tightly in plastic wrap and store in a freezer-safe container. They can be frozen for up to two months.
5. How can I make these treats more colorful?
Consider adding food coloring to the melted marshmallow mixture for a fun touch or using colorful candies.
6. How do I fix sticky Rice Krispie Treats?
If they’re too sticky, you might have a little too much marshmallow. Adding an extra bit of cereal can help balance it out.
7. Can I add peanut butter?
Yes! For a delicious twist, mix in 1/2 cup of peanut butter with the marshmallows while they melt.
8. Do I need to spray the molds every time?
Not necessarily! If you find them sticking, a thin layer of non-stick spray can help, especially if you’re making multiple batches.
9. What’s the best way to cut Rice Krispie Treats?
If you’ve set them in a baking dish, use a sharp, buttered knife to cut clean lines. For molded treats, just gently squeeze the molds.
10. What do I do if my treats are too dry?
If you find them dry, consider adding a bit more melted butter or marshmallows next time. The key is to achieve a gooey yet stable mixture.
Conclusion
These Easter Egg Rice Krispie Treats are more than just a recipe—they’re a ticket to cherished family moments and bursts of joy in every bite. I encourage you to give this easy, fun recipe a try—you won’t regret it! If you do, please let me know in the comments how they turned out or if you added your own twist.
For more delightful Easter fun, check out my other recipes like Bunny Butt Cupcakes or Candy Bark! Happy baking and enjoy your festive creations!

Easter Egg Rice Krispie Treats
- Total Time: 45 minutes
- Yield: 12 egg-shaped treats 1x
- Diet: Vegetarian
Description
Delightful Easter Egg Rice Krispie Treats filled with pastel candy-coated chocolates, creating a sweet surprise in every bite.
Ingredients
- 6 cups Rice Krispies cereal
- 1 bag (10 oz) mini marshmallows
- 3 tablespoons unsalted butter
- 1 teaspoon vanilla extract
- Pinch of salt
- 2 to 2½ cups pastel candy-coated chocolates
Instructions
- Lightly grease the inside of plastic Easter egg molds with nonstick spray.
- In a large pot over low heat, melt the butter completely, stirring for about 2-3 minutes.
- Add mini marshmallows and stir until fully melted and smooth, around 3 minutes.
- Remove from heat and stir in vanilla extract and a pinch of salt.
- Quickly add Rice Krispies cereal to the marshmallow mixture and stir until evenly coated.
- Let the mixture cool for about 2 minutes.
- Spoon a small amount into one half of each mold, pressing down to create a base layer.
- Press pastel candy-coated chocolates into the surface, then fill the other half of the mold with more mixture, pressing down firmly.
- Let the treats set at room temperature for 30 to 45 minutes, or until firm.
- Carefully open the molds and remove the treats. Arrange on a platter or wrap for gifts.
Notes
Store in an airtight container for up to 3 days.
- Prep Time: 15 minutes
- Cook Time: 10 minutes
- Category: Dessert
- Method: No-Bake
- Cuisine: American
Nutrition
- Serving Size: 1 treat
- Calories: 150
- Sugar: 12g
- Sodium: 60mg
- Fat: 5g
- Saturated Fat: 3g
- Unsaturated Fat: 2g
- Trans Fat: 0g
- Carbohydrates: 24g
- Fiber: 0g
- Protein: 1g
- Cholesterol: 15mg
🥗 Free Custom Keto Meal Plan?
Do you want to lose weight while still enjoying delicious Asian & Thai Fusion meals? Take this quick quiz to get your personalized Keto plan based on your favorite foods!
- ✅ No more guessing what to eat
- ✅ Delicious & easy-to-make recipes
- ✅ Tailored to your body type
Get My Custom Plan Now! →
*Over 100,000+ people have transformed their lives with this quiz.