Bread Bowls: The Ultimate Comfort Food Recipe You’ll Fall in Love With!
INTRODUCTION
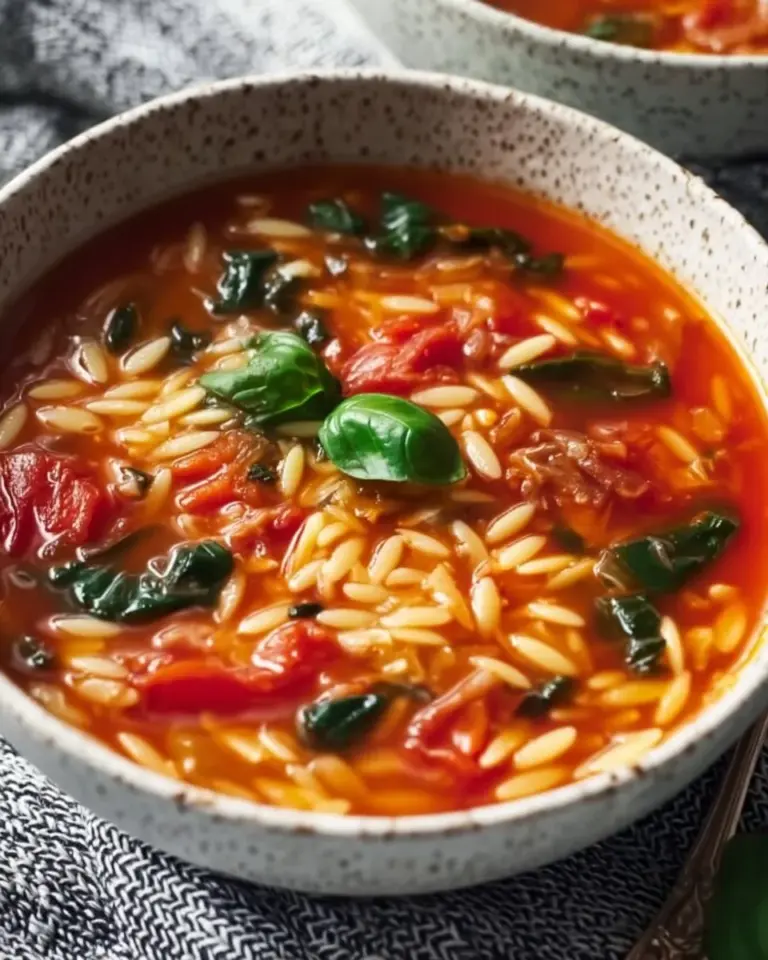
Ah, bread bowls! The memory of dunking a crusty, warm bowl of bread into savory chili or creamy tomato soup fills my heart (and stomach) with joy. I can still recall those cozy winter evenings spent gathered around the dining table, my family excitedly passing around steaming bowls of soup, each resting comfortably in its own edible vessel. There’s something magical about bread bowls—they aren’t just delicious; they’re an experience of comfort wrapped in warm, golden-brown goodness.
Why spend extra on store-bought versions when you can make them right at home? This recipe is better than any restaurant offering I’ve encountered because it’s crafted with love, quality ingredients, and a pinch of nostalgia. You’ll learn how to create these delightful morsels from scratch, producing crusty exteriors with pillowy centers that are perfect for scooping up your favorite soups, salads, or stews. So grab your apron and let’s embark on this mouthwatering baking adventure together!
WHAT ARE BREAD BOWLS?
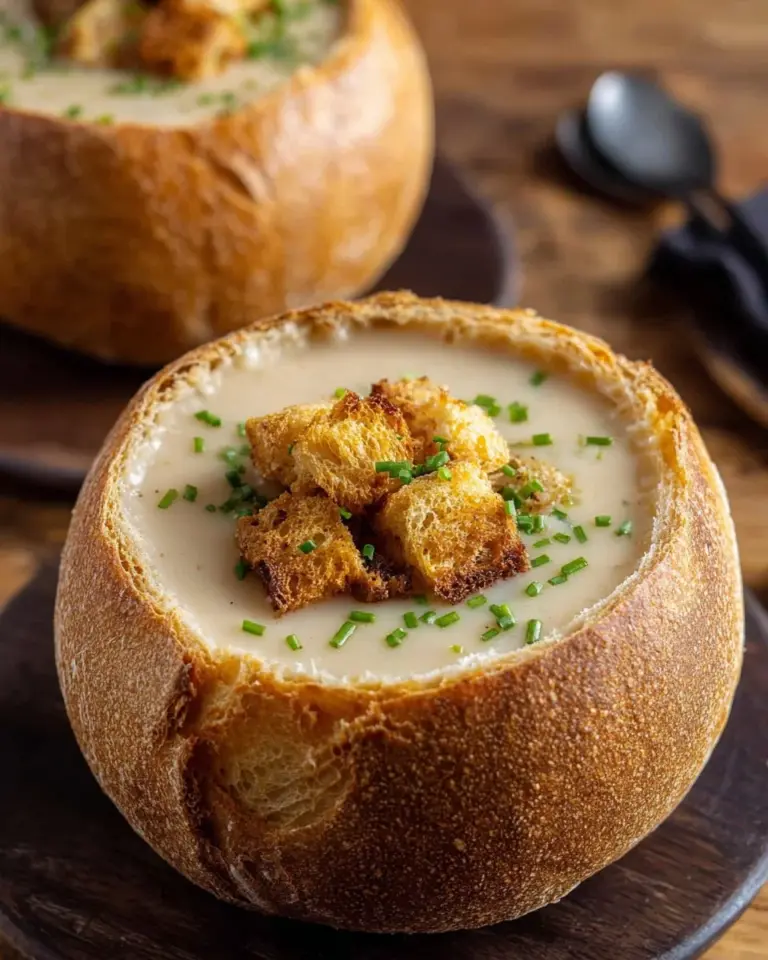
Bread bowls have a delightful origin story that harkens back to the heart of Europe, but they truly gained popularity in the United States during the 20th century. These unique edible vessels combine the warmth of fresh bread with the hearty flavors of your favorite fillings. Imagine sinking your teeth into a crusty exterior that yields to a soft and chewy inside—all while being filled to the brim with comforting soups and stews.
What sets bread bowls apart from regular bread is their versatility and functional design. They are not just great for eating; they add a charming touch to any meal. These bowls are perfect for gatherings, casual dinners, or even just a cozy night in. Why not get creative and use them for everything from classic clam chowder to a fresh garden salad? Whether it’s a chilly day or a fun dinner party, bread bowls bring a sense of occasion and warmth to any table.
WHY YOU’LL LOVE THIS RECIPE
Why should you give this bread bowl recipe a try? Let me count the ways:
Cost-Effective: Forget about paying premium prices for gourmet bread bowls at restaurants. This recipe allows you to whip up a batch at home for a fraction of the cost. Seriously, it’s amazing how little you spend without sacrificing on taste or quality!
Customization: These bread bowls are a blank canvas for your culinary creativity. Want them to be whole-wheat? Go for it! Fancy adding herbs or spices? Absolutely! Your options are endless, and I encourage you to experiment and make them your own.
Healthier Option: Making these at home means you know exactly what goes in them. There aren’t any hidden preservatives or unnatural ingredients—just good old-fashioned goodness.
Difficulty Level: You don’t need to be a master baker to pull this off! The instructions are straightforward, and I’ll guide you through each step. With a little patience (and some dough-tastic fun), you’ll be impressing everyone with your newfound baking prowess.
Time Investment: You might think making your own bread bowls is a lengthy process, but trust me, most of that time is just letting the dough rise and do its magic. You’ll be amazed at how quickly they come together!
INGREDIENTS SECTION
2 cups warm water (between 105-110 degrees F)
Tip: Use a thermometer for accuracy!2 envelopes instant yeast (1½ tablespoons)
I love using Red Star Instant Yeast—never fails!1 tablespoon granulated sugar
For a hint of sweetness that helps the yeast bloom.5 cups all-purpose flour
King Arthur Flour gives a great texture, but anything you have on hand will do!2 teaspoons kosher salt
Essential for flavor and balance; avoid table salt here.1 large egg (room temperature)
Brings color and richness to the crust!1 tablespoon water
This adds moisture to the egg wash.
Preparation Notes:
- Ensure your butter and eggs are at room temperature for optimal mixing.
- Use high-quality ingredients for the best flavor.
STEP-BY-STEP INSTRUCTIONS
Bloom the Yeast: In a stand mixer bowl, combine 2 cups of warm water, 1 tablespoon of granulated sugar, and 2 envelopes of instant yeast. Let it rest for 5-8 minutes until the yeast blooms and becomes frothy. Chef’s Tip: If the mixture doesn’t froth, your yeast might be inactive. Start over with fresh yeast!
Mix Dry Ingredients: In a large bowl, combine 5 cups of all-purpose flour and 2 teaspoons of kosher salt.
Combine and Knead: Gradually add the flour mixture to the yeast mixture while mixing on low speed. Scrape down the bowl as needed, and knead the dough for 5-6 minutes until it forms a smooth ball. Look for a soft, elastic texture—you’ll know it’s ready!
First Rise: Place the dough in an oiled bowl, cover with plastic wrap, and allow it to rise for about 1 hour or until doubled in size. Visual Cue: The dough should be puffy and soft.
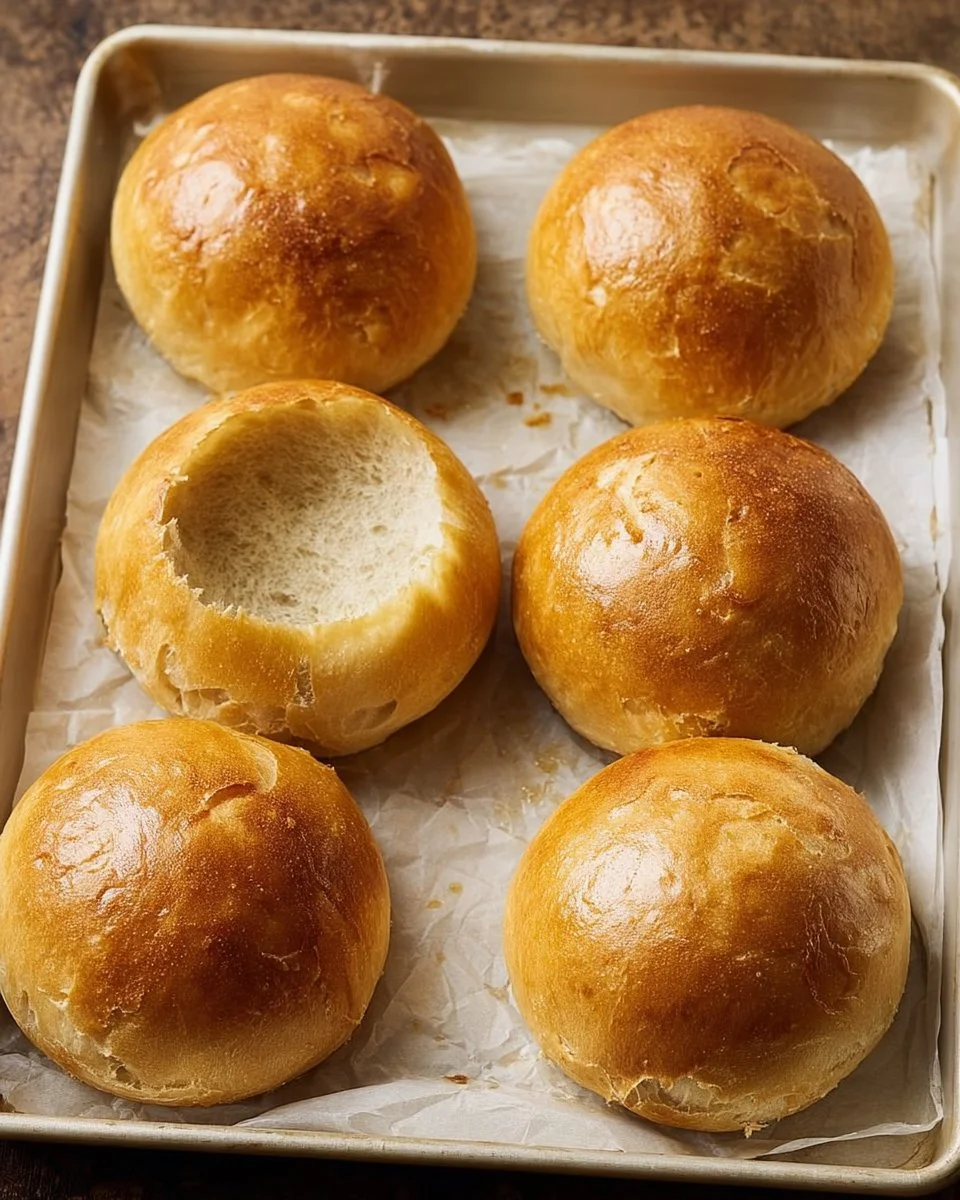
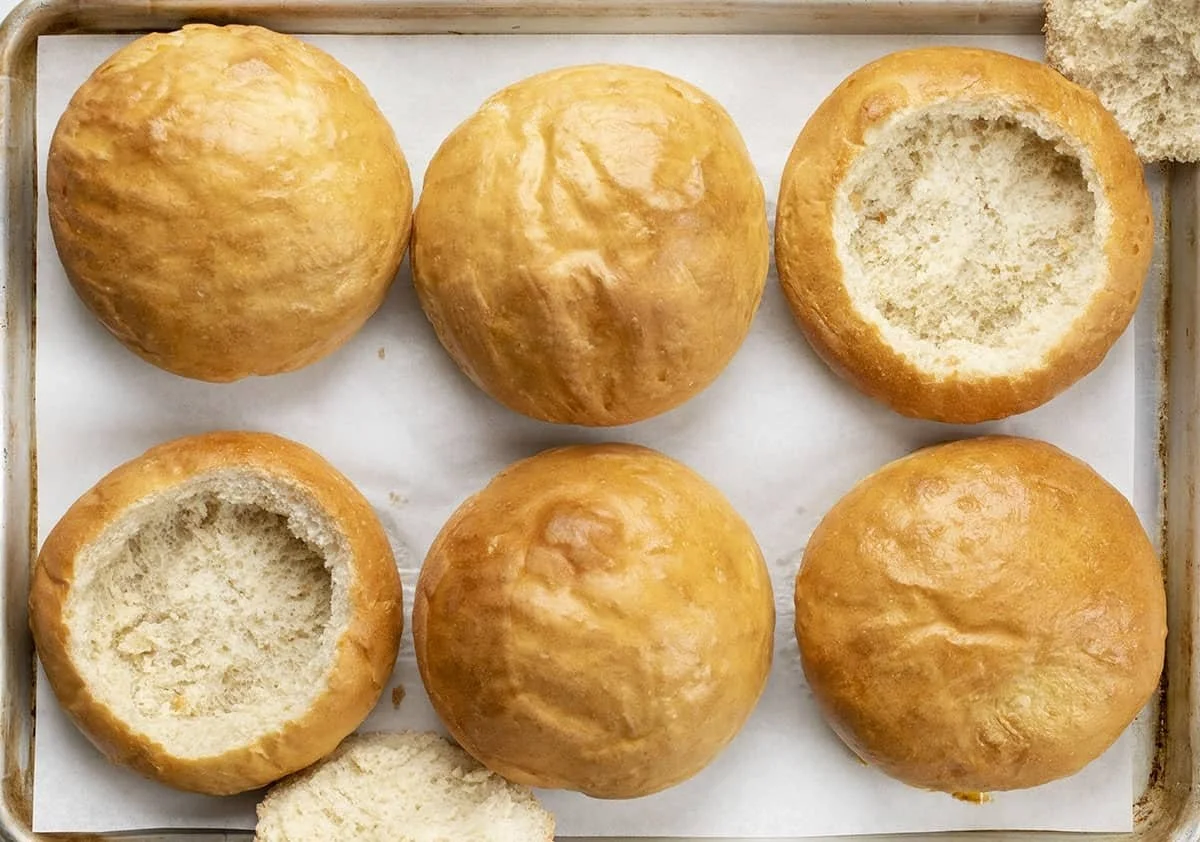
Shape the Dough: Once risen, divide the dough into 6 equal sections. Shape each section into a smooth ball and place them on parchment-lined baking sheets. Cover and let rise for another 30-45 minutes. It’s crucial to let them rise again for that fluffy texture!
Preheat and Glaze: Preheat your oven to 400 degrees F. In a small bowl, mix 1 egg with 1 tablespoon of water for an egg wash. Brush the mixture over the dough to give it that beautiful golden color.
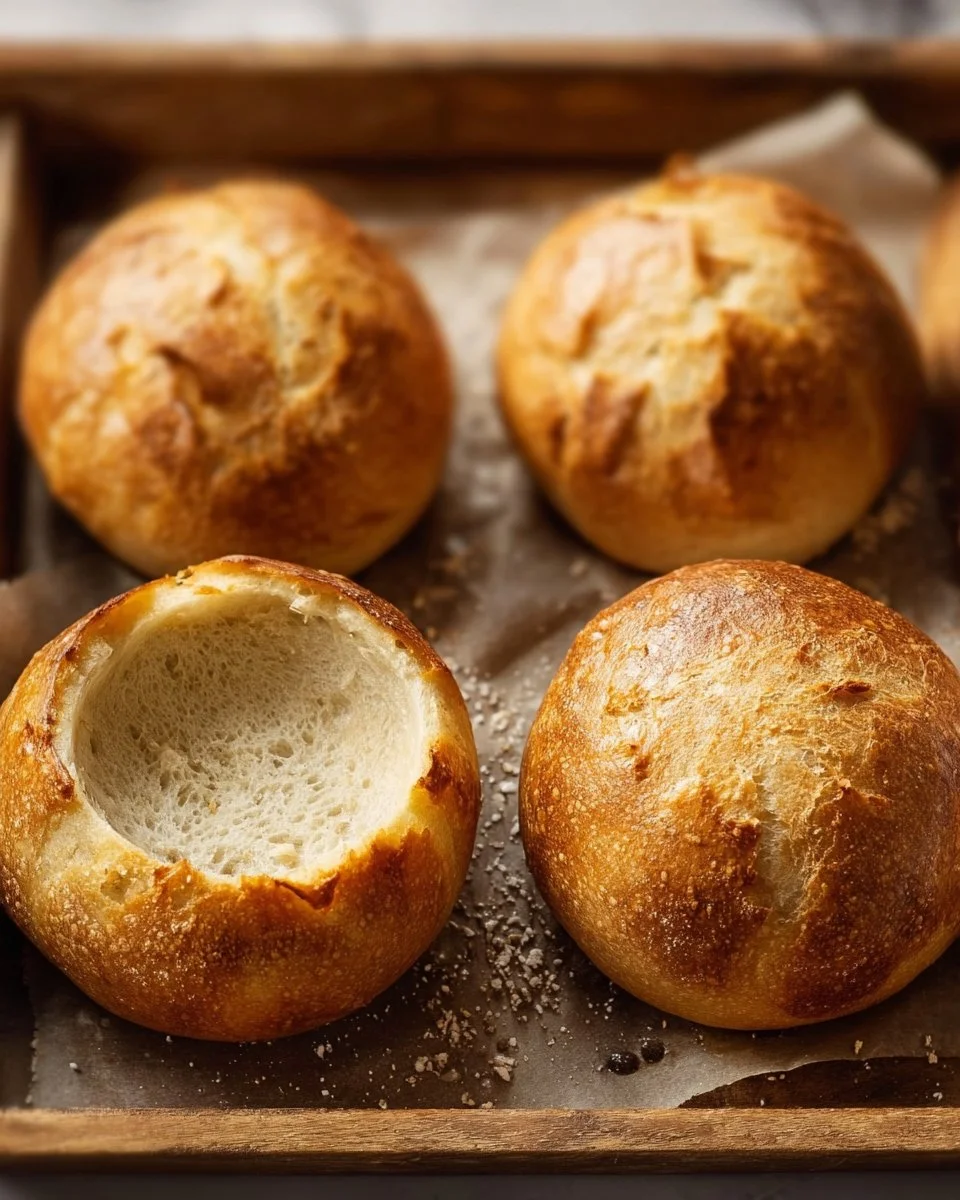
Bake: Bake in the preheated oven for 16-18 minutes, or until golden brown. You’ll know they’re done when your kitchen is filled with the irresistible aroma of fresh bread. Tip: Look for a deep golden color—if you tap the bottom, it should sound hollow!
Cool and Scoop: Allow the bread bowls to cool slightly. Once cooled, carefully cut a circle in the top of each bowl and scoop out the insides gently. They’re now ready to be filled with your favorite soups, salads, chili, or stews!
EXPERT TIPS & TRICKS
- Use the Right Temperature: Ensure your water temperature is precise; too hot can kill the yeast, while too cold won’t activate it. Aim for a warm bath-like feel!
- Storage: Keep unfilled bread bowls covered with plastic wrap at room temperature for up to 2 days. They can also be stored in the refrigerator for about a week.
- Make-Ahead: You can make the dough ahead of time and refrigerate it overnight. Let it come to room temperature before kneading and shaping.
- Troubleshooting: If your bread bowls deflate after baking, they may have over-proofed. Watch the dough closely during the second rise!
- Freeze for Later: You can freeze unbaked, shaped bowls for up to a month. Thaw overnight in the fridge and let them rise before baking.
SERVING SUGGESTIONS
Pair your bread bowls with a crisp, fresh salad or a side of roasted veggies to balance the hearty filling. For a cozy dinner, serve alongside garlic bread or a platter of assorted cheeses and charcuterie. Presentation is key, so consider using beautiful platters or wooden boards to display your bread bowls at gatherings or special occasions!
VARIATIONS & SUBSTITUTIONS
- Herb-Infused: Add chopped fresh herbs like rosemary, thyme, or basil into the dough for a fragrant twist.
- Cheesy Bread Bowls: Stir in some shredded cheese directly into the dough—cheddar or mozzarella works wonders!
- Seasonal: During the holidays, you can infuse flavors like cranberries and walnuts for a festive touch.
- Dietary Adaptations: Use gluten-free all-purpose flour for a gluten-free version, but be aware that the texture may differ slightly.
NUTRITION & STORAGE INFO
- Prep time: 30 minutes
- Cook time: 18 minutes
- Total time: Approximately 1 hour 48 minutes (includes rising time)
- Yield: 6 bread bowls
- Estimated calories per serving: 250 calories (without filling)
- Storage instructions: Keep at room temperature for up to 2 days, in the fridge for about a week, or freeze for up to a month.
FAQ SECTION
Can I use active dry yeast instead of instant yeast?
Yes! Just remember to activate it in warm water for about 5-10 minutes before mixing it with the other ingredients.How do I keep my bread bowls fresh?
Store them in an airtight container at room temperature for 1-2 days or refrigerate for up to a week.What fillings do you recommend?
Tomato soup, chili, creamy chicken, or salads work wonderfully! Get creative!Can I prepare the dough in advance?
Absolutely! You can chill the dough overnight in the fridge and let it come to room temperature before shaping and baking.How do I reheat the bread bowls?
Pop them in a preheated oven at 350°F for about 10 minutes to refresh them.Why did my bread bowls collapse?
Over-proofing is usually the culprit. Ensure you’re watching them during the rise time!Can I make these vegan?
Yes! Substitute the egg with a flaxseed egg or leave it out altogether; it should still bake up nicely.Why are my bread bowls dense?
It could be that they didn’t rise enough, or the flour was over-measured. Be precise with measurements!Can I freeze the baked bread bowls?
Yes! You can freeze them after they cool, then just thaw and warm them up when you’re ready to use.What kind of soups or fillings do you recommend?
Anything from creamy potato soup to a hearty beef stew would be fantastic!
CONCLUSION
Bread bowls are truly special because they bring together the deliciousness of bread with your favorite heartwarming meals. They encapsulate not just flavor but also fond memories—like family dinners and cozy nights in. I can’t wait for you to try this recipe and share your thoughts! If you loved these, you might also enjoy my recipes for hearty soups or homemade chili featured on my blog. Happy baking, and don’t forget to drop a comment below to let me know how yours turned out!
Print
Bread Bowls
- Total Time: 108 minutes
- Yield: 6 servings 1x
- Diet: Vegetarian
Description
Homemade bread bowls that are perfect for scooping up soups, stews, or salads, offering a delicious and cozy dining experience.
Ingredients
- 2 cups warm water (between 105–110 degrees F)
- 2 envelopes instant yeast (1½ tablespoons)
- 1 tablespoon granulated sugar
- 5 cups all-purpose flour
- 2 teaspoons kosher salt
- 1 large egg (room temperature)
- 1 tablespoon water
Instructions
- Bloom the Yeast: In a stand mixer bowl, combine 2 cups of warm water, 1 tablespoon of granulated sugar, and 2 envelopes of instant yeast. Let it rest for 5-8 minutes until frothy.
- Mix Dry Ingredients: In a bowl, combine 5 cups of all-purpose flour and 2 teaspoons of kosher salt.
- Combine and Knead: Gradually add the flour mixture to the yeast mixture and knead for 5-6 minutes until smooth.
- First Rise: Place the dough in an oiled bowl, cover, and let rise for about 1 hour or until doubled in size.
- Shape the Dough: Divide into 6 sections, shape into balls, place on parchment, cover, and let rise for another 30-45 minutes.
- Preheat and Glaze: Preheat the oven to 400°F. Mix 1 egg with 1 tablespoon of water for an egg wash and brush it over the dough.
- Bake: Bake for 16-18 minutes until golden brown.
- Cool and Scoop: Allow to cool slightly, then cut a circle in the top and scoop out the insides.
Notes
Use high-quality ingredients for the best flavor. Ensure your water temperature is correct to activate the yeast.
- Prep Time: 30 minutes
- Cook Time: 18 minutes
- Category: Side Dish
- Method: Baking
- Cuisine: American
Nutrition
- Serving Size: 1 bowl
- Calories: 250
- Sugar: 1g
- Sodium: 400mg
- Fat: 3g
- Saturated Fat: 1g
- Unsaturated Fat: 2g
- Trans Fat: 0g
- Carbohydrates: 50g
- Fiber: 2g
- Protein: 8g
- Cholesterol: 23mg
🥗 Free Custom Keto Meal Plan?
Do you want to lose weight while still enjoying delicious Asian & Thai Fusion meals? Take this quick quiz to get your personalized Keto plan based on your favorite foods!
- ✅ No more guessing what to eat
- ✅ Delicious & easy-to-make recipes
- ✅ Tailored to your body type
Get My Custom Plan Now! →
*Over 100,000+ people have transformed their lives with this quiz.