Table of Contents
Growing up, my Sunday mornings always began with the aroma of freshly baked bread wafting through the house. My mom would often whip up a loaf so hearty that it could fuel a week’s worth of breakfasts, sandwiches, and warm buttered slices on cosy afternoons. Fast forward to today, as I navigate gluten-free living, I find myself on a passionate quest for the Best Gluten-Free Bread that can evoke those same cherished memories while being kind to my dietary restrictions.
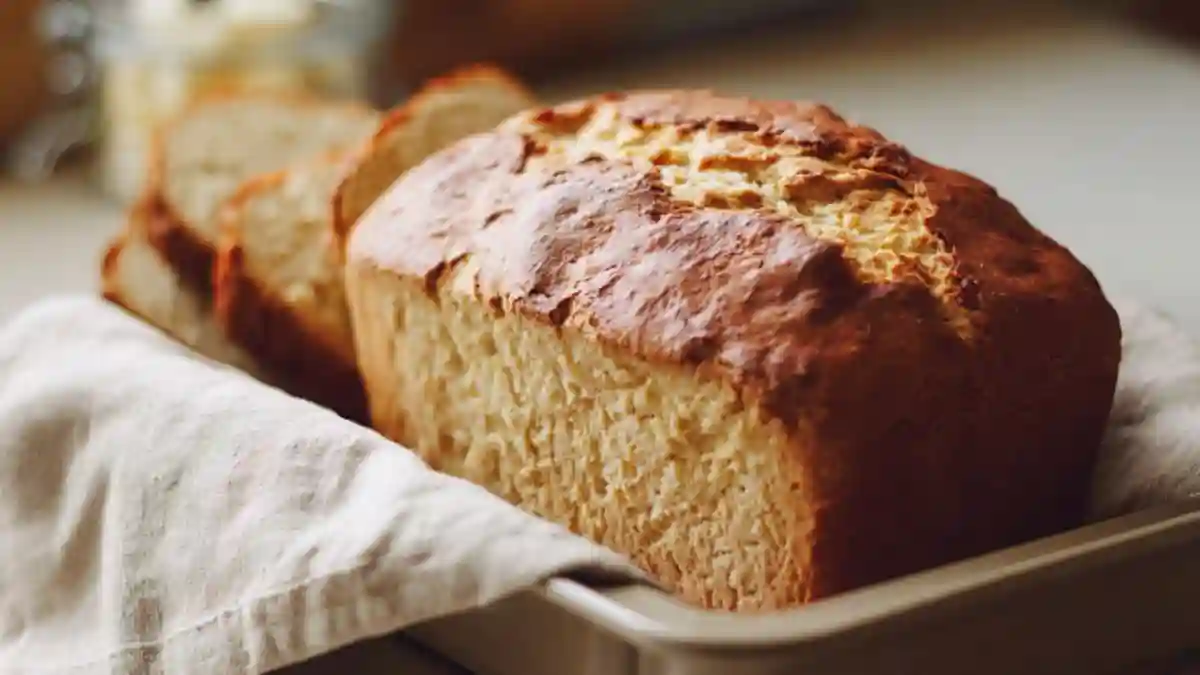
What makes this recipe special? It’s not just incredible taste and texture; this gluten-free bread has that light, fluffy interior with a perfectly crisp crust that you’d expect from classic bread—without the gluten! Engineered with love and a touch of science, this recipe offers a texture and taste that surpasses store-bought gluten-free bread.
This recipe isn’t just a food item; it’s a nostalgic slice of my childhood and the comfort I can still share with loved ones around the table. In this post, I promise you’ll learn how to create your perfect loaf, capturing those memories in every slice!
What is the Best Gluten-Free Bread?
The origins of gluten-free bread can be traced back to the rise of awareness about gluten intolerance and celiac disease, prompting many to explore grain-free baking. This particular bread stands out because it combines a blend of gluten-free flours, like rice flour or almond flour, with a touch of magic—the gluten-free all-purpose flour blend that mimics traditional wheat flour, allowing for marvellous results.
In terms of taste and texture, this gluten-free bread has a delicate crumb and slight chewiness, much like traditional recipes. Its unique combination of ingredients yields a loaf that is not only tender but also perfectly moist, allowing it to hold up well under layers of butter or favourite spreads.
When to make it? This bread is perfect for everything—from lazy brunches to festive gatherings, or even just as a solitary snack warm out of the oven!
Why You’ll Love This Recipe
- Unparalleled Flavour: Unlike store-bought varieties that often taste bland or chalky, this gluten-free bread bursts with the rich flavours of your favourite home-baked delights. It’s such a treat that your gluten-loving friends won’t even guess it’s gluten-free!
- Cost-Effective: Making your gluten-free bread can save you a significant amount of money. Store-bought gluten-free bread is notorious for its high price point, while this recipe allows you to whip up a loaf at a fraction of the cost, and with ingredients you handpick.
- Customizable to Your Taste: Experimentation is key in the kitchen, and this recipe is no different. Add herbs, garlic powder, or even cheese for an exciting twist. Want a hint of sweetness? Try adding honey or additional sugar!
- Straightforward & straightforward: This isn’t an intimidating “professional” recipe; it’s easy peasy! If you can mix, pour, and wait a little while, you can bake this gorgeous loaf. Plus, it’s typically ready in under two hours.
- Quality Family Time: Baking is an excellent way to bring family together. So, roll up your sleeves, get the kids involved, and create memories that are as warm as the bread you pull from the oven.
Ingredients Section
To get started, gather these key ingredients:
- 2.5 cups gluten-free all-purpose flour blend (with xanthan gum): Look for high-quality brands like Bob’s Red Mill or King Arthur Flour.
- 0.25 cup powdered milk (optional, for added richness): This is great for flavour but can be omitted if dairy-free.
- 2 tablespoons sugar: Acts as food for the yeast, making your bread rise!
- 1.5 teaspoons salt: Enhances flavour.
- 1 tablespoon active dry yeast: Ensure your yeast is fresh for optimal results; check the expiration date on the package.
- 1.25 cups warm water (110°F or 45°C): This is essential for activating yeast (not too hot or you’ll kill it).
- 0.25 cup olive oil (or any neutral oil): Adds moisture; you could also use melted coconut oil.
- 2 large eggs (room temperature): Helps with the structure and moisture of the bread.
- 1 teaspoon apple cider vinegar: Balances the flavours and helps with the rise.
Preparation Notes:
- Ensure that your eggs and any dairy products are at room temperature for optimal mixing! You can soak the gluten-free flour for an added magical softness if you have extra time.
Step-By-Step Instructions
- Activate the Yeast: In a small bowl, combine the warm water, sugar, and active dry yeast. Stir gently and let it sit for 5-10 minutes until the yeast becomes frothy, indicating it’s active.
- Chef’s Tip: If the mixture doesn’t froth, your yeast might be dead! Time to start with a fresh batch.
- Mix the Dry Ingredients: In a large mixing bowl, whisk together the gluten-free flour, powdered milk (if using), and salt until well combined.
- Combine Everything: Add the frothy yeast mixture, olive oil, eggs, and apple cider vinegar to the dry ingredients. Mix well using a stand mixer with a paddle attachment or a hand mixer on medium speed for about 3-4 minutes. The dough, as expected with gluten-free bread, will be sticky.
- Visual Cue: You want a dough that holds together but doesn’t form a smooth ball like traditional bread dough.
- Let it Rise: Transfer the dough to a lightly greased 9×5-inch loaf pan. Smooth the top with a spatula or wet hands. Cover the pan with a clean kitchen towel or plastic wrap and let the dough rise in a warm, draft-free area for 30-45 minutes, or until it has been increased to the top of the pan.
- Mistake to Avoid: Don’t rush this step; a good rise is crucial for achieving the right texture.
- Preheat the Oven: While the dough rises, preheat your oven to 375°F (190°C).
- Bake the Bread: Once the dough has risen, remove the cover and place the pan in the preheated oven. Bake for 35-40 minutes, or until the top is golden brown and the internal temperature reaches 200°F (93°C).
- Chef’s Tip: Rotate the pan halfway through for even baking.
- Cool the Bread: Remove the bread from the oven and let it cool in the pan for 10 minutes. Then, transfer it to a wire rack to cool completely before slicing.
Expert Tips & Tricks
- Storage Recommendations: Keep your bread in an airtight container at room temperature for up to 3 days. For extended storage, slice the loaf and freeze it. It will last up to 3 months.
- Make-Ahead Instructions: You can prepare the dough and refrigerate it overnight before baking, which helps develop flavours.
- Troubleshooting Common Problems: If your bread is dense, check if your yeast is active and if your flour blend contains xanthan gum for structure. Ensuring all ingredients are at room temperature is crucial for optimal rise.
- Double the Recipe: Baking extra loaves is a great way to ensure you have easy-access bread on hand!
- Watch for Humidity: Gluten-free bread does absorb moisture differently than regular bread. On humid days, you may want to reduce the amount of eggs or liquids slightly.
Serving Suggestions
Serve warm with a pat of butter melting into the golden crust, or slather with your favourite jam for breakfast. This gluten-free bread is excellent for sandwiches—try it packed with your go-to deli meats and cheeses for a delicious lunch.
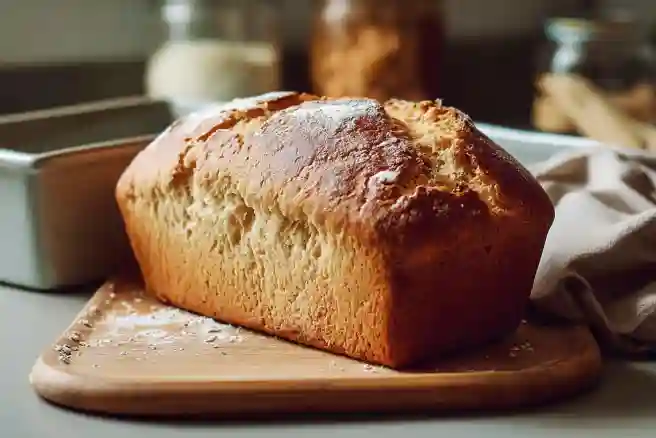
For presentation, consider slicing the bread into thick pieces for a rustic feel and serving it on a wooden cutting board. Looking for an occasion? This bread pairs beautifully at brunch gatherings or cosy family dinners, making it the star of the show!
Variations & Substitutions
- Herbed Delight: Add chopped rosemary or thyme to the dough for aromatic flavour.
- Sweet Twist: Swap out sugar with honey and add a sprinkle of cinnamon for a lovely breakfast treat.
- Nutty Version: Add crushed nuts or seeds (such as sunflower seeds) for added texture and nutrition.
- Dairy-Free Adaptation: Substitute powdered milk with almond milk powder or omit it for a lighter loaf.
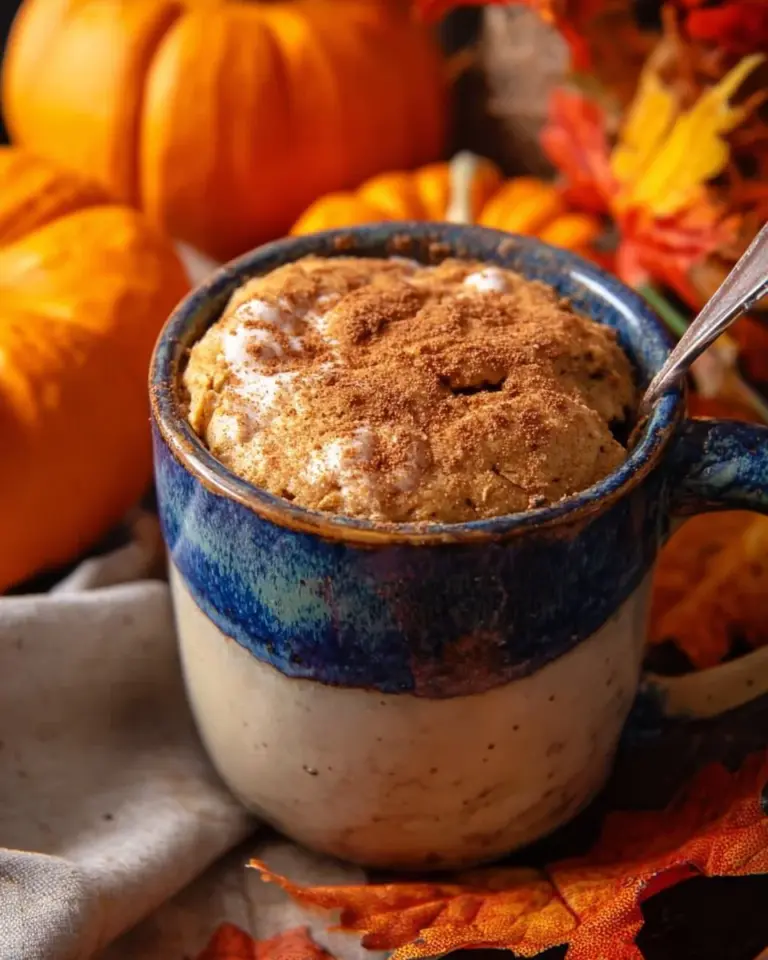
- Seasonal Options: In the fall, add pumpkin puree to the dough for a seasonal touch that will wow your guests!
Nutrition & Storage Info
- Prep Time: 15 minutes
- Cook Time: 40 minutes
- Total Time: Approximately 1.5 hours
- Yield: 12 slices
- Estimated Calories per Serving: 120
Storage Instructions:
- Room Temperature: 3 days
- Fridge: 1 week (though may dry out)
- Freezer: Up to 3 months, wrap slices in plastic for best results.

FAQ Section
- What gluten-free flour should I use?
- Look for a blend that includes xanthan gum; my top picks are King Arthur and Bob’s Red Mill.
- Can I make this bread dairy-free?
- Absolutely! Omit the powdered milk or use a plant-based alternative.
- Why did my bread not rise?
- Check if your yeast was active. The water temperature is crucial; it must be too hot to kill the yeast.
- Can I add more flavour to the bread?
- Yes! Herbs, spices, or even cheeses can be added right into the dough for a unique flavour profile.
- Why does gluten-free bread sometimes come out dense?
- If it’s too dense, it might need more liquid, a better mixing technique or a longer rise time.
- What’s the best way to store leftover bread?
- Store in an airtight container at room temperature, or slice and freeze for longer freshness.
- Can I use different oils?
- Yes, any neutral oil should work. Coconut oil can also add a subtle flavour twist.
- How do I know when it’s done baking?
- The top should be golden brown, and you can check the internal temperatureit ; it should reach about 200°F.
- Can I use this dough for rolls instead of a loaf?
- Certainly! Divide it into smaller portions and shape them into rolls.
- Does this recipe require special baking equipment?
- A standard loaf pan and a mixer are all you need. No fancy tools required!
Conclusion
Baking the Best Gluten-Free Bread is a heartwarming and satisfying journey that taps into the comfort of our favourite childhood meals while catering to current dietary needs. Its incredible taste and texture are sure to win over even the most sceptical bread lovers in your life. So why not roll up your sleeves and give it a try? I promise you’ll be delighted with the results.
I’d love to hear your thoughts and feedback on this recipe, so please drop your comments below! And don’t forget to check out my other favourite baking recipes on the blog—they’re just as comforting and yummy as this one. Happy baking!
Print
Gluten-Free Bread
- Total Time: 2 hours (includes rising)
- Yield: 1 loaf (12 slices)
- Diet: Gluten Free
Description
A soft, fluffy gluten-free bread with perfect texture and taste, ideal for sandwiches or toast. Made with a blend of gluten-free flours and xanthan gum for optimal rise and structure.
Ingredients
2.5 cups gluten-free all-purpose flour blend (with xanthan gum)
0.25 cup powdered milk (optional, for added richness)
2 tablespoons sugar
1.5 teaspoons salt
1 tablespoon active dry yeast
1.25 cups warm water (110°F or 45°C)
0.25 cup olive oil (or any neutral oil)
2 large eggs (room temperature)
1 teaspoon apple cider vinegar
Instructions
- In stand mixer bowl, whisk together flours, yeast, sugar, and salt.
- Add vinegar, eggs, oil, and warm water. Beat on medium-high for 4 minutes (dough will be sticky).
- Grease 9×5-inch loaf pan. Transfer dough to pan, smoothing top with wet spatula.
- Cover with oiled plastic wrap. Let rise in warm place for 45-60 minutes until nearly doubled.
- Preheat oven to 375°F (190°C). Brush loaf with egg white if using.
- Bake 40-45 minutes until golden and internal temperature reaches 205°F (96°C).
- Cool in pan 10 minutes, then transfer to wire rack to cool completely before slicing.
Notes
- For dairy-free version, use olive oil and ensure flour blend is dairy-free
- Let bread cool completely to prevent gummy texture
- Store wrapped at room temperature 3 days or freeze up to 3 months
- Add 1 tbsp psyllium husk powder for extra fiber and structure
- Prep Time: 15 mins
- Cook Time: 45 mins
- Category: Bread
- Method: Baking
- Cuisine: Gluten-Free
Nutrition
- Serving Size: 1 slice
- Calories: 150
- Sugar: 2g
- Sodium: 210mg
- Fat: 7g
- Saturated Fat: 1g
- Unsaturated Fat: 5g
- Trans Fat: 0g
- Carbohydrates: 20g
- Fiber: 2g
- Protein: 4g
- Cholesterol: 45mg
Ask the Community
🥗 Free Custom Keto Meal Plan?
Do you want to lose weight while still enjoying delicious Asian & Thai Fusion meals? Take this quick quiz to get your personalized Keto plan based on your favorite foods!
- ✅ No more guessing what to eat
- ✅ Delicious & easy-to-make recipes
- ✅ Tailored to your body type
Get My Custom Plan Now! →
*Over 100,000+ people have transformed their lives with this quiz.