Homemade Bread: The Heartwarming Recipe for Fluffy Loaves
I remember a rainy afternoon at my grandmother’s house, the smell of freshly baked bread wafting through the air as we gathered around the table for family stories and laughter. That artisanal touch of Homemade Bread, warm and inviting out of the oven, created an atmosphere that felt like a cozy hug. Each slice was soft, yet sturdy enough to hold a generous slather of butter or some homemade jam, making me feel like we could conquer the world just by sharing a meal.
This recipe for Homemade Bread is special because it brings back those cherished memories while crafting a beautifully fluffy loaf that’s better than anything you’d find at a store. The secret? It’s all in the love and care you pour into each step, plus a few little tricks I’ve learned along the way. With this easy-to-follow guide, you’ll not only create a delicious loaf that fills your kitchen with tantalizing scents; you’ll also forge new memories with your own family.
Join me as we embrace the art of kneading and rising, turning simple ingredients into something extraordinary. By the end of this post, you’ll have all the skills you need to start baking your own loaf that rivals any bakery’s glory!
What Are Homemade Bread?
Homemade Bread, as we know it, has roots that stretch back thousands of years, transcending cultures and regions. It embodies a universal human experience: the practice of transforming basic ingredients—flour, water, yeast, and salt—into something extraordinary and comforting. When you take your first bite, the experience of its warm, pillowy texture resonates like a forgotten memory.
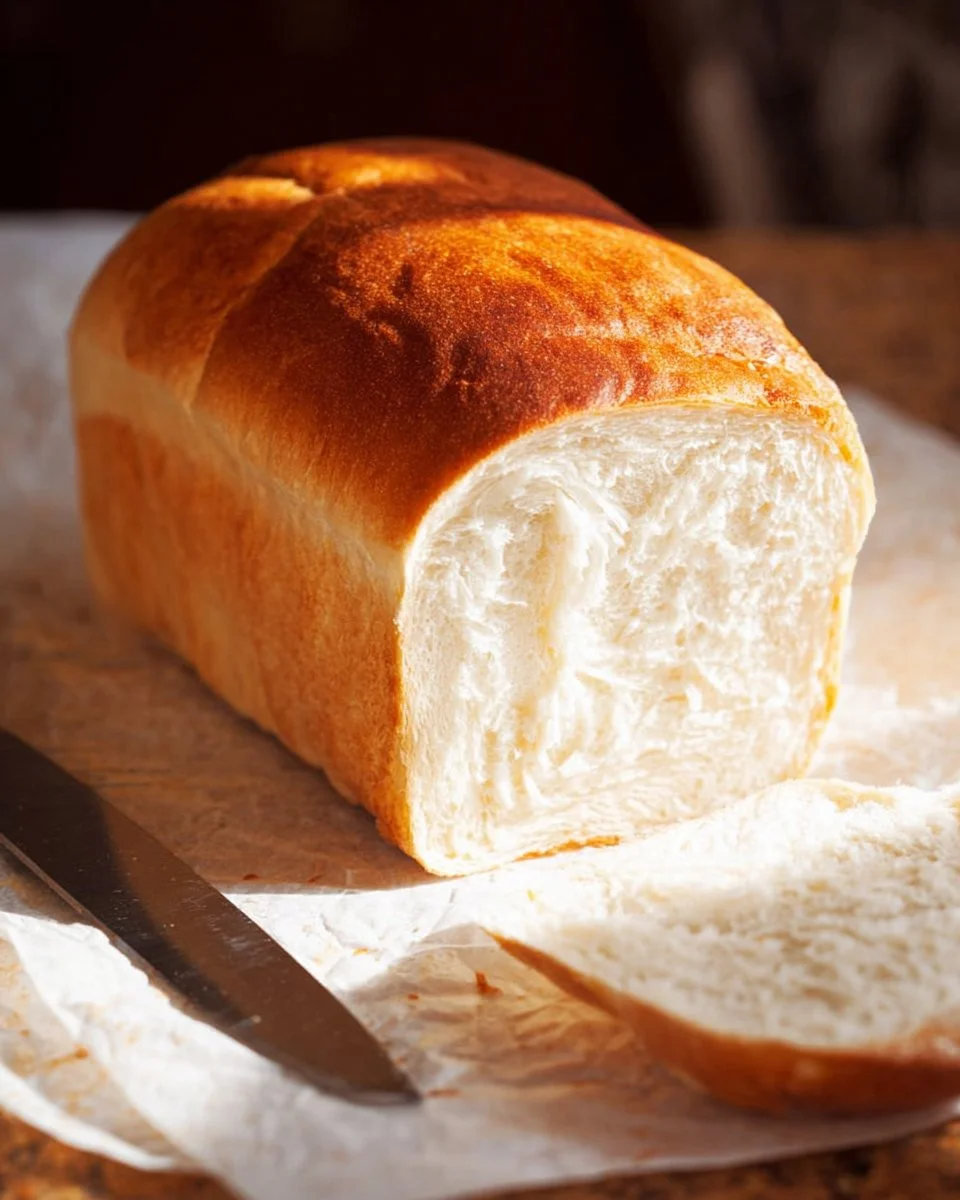
Imagine breaking through the golden crust to soft, airy bread inside. The taste is a delightful balance of slightly sweet, nutty, and savory notes, inviting you to have just one more slice! What makes Homemade Bread unique is its personal touch; each loaf is crafted with care and love, reflecting both the baker’s personality and experiences.
This is the perfect project for gatherings, holidays, or just a cozy evening at home. Whether you’re celebrating a birthday, welcoming guests, or just craving comfort food, this wholesome bread connects us in profound ways.
Why You’ll Love This Recipe
Unbeatable Freshness: There’s nothing like the aroma of Homemade Bread filling your kitchen. While store-bought loaves may taste fine, they can’t compete with the warm, fresh-out-of-the-oven satisfaction you’ll feel when you bake your own.
Cost-Effective: Baking bread at home is not only rewarding but wallet-friendly. With just a few inexpensive ingredients, you can create multiple loaves that will likely save you money compared to frequent trips to the bakery.
Customization Galore: This recipe is a blank canvas; feel free to add herbs, cheese, or even dried fruits to make it your own. Want to experiment? Add some rosemary or garlic for an aromatic twist!
Easier Than You Think: The skill level for this Homemade Bread is beginner-friendly! With minimal hands-on time and a few hours for rising, you’ll be astonished at how easy it is to create a gorgeous loaf.
Family Bonding: Baking bread is a delightful activity to involve your kids or significant other. The joy of working together—kneading dough, sharing laughter, and waiting impatiently as it rises—creates beautiful memories.
Ingredients Section
To make this scrumptious Homemade Bread, gather these simple ingredients:
- 1 cup warm water (110-120°F): Helps activate the yeast. Make sure it’s not too hot, or you’ll kill the yeast!
- 1/3 cup granulated sugar: Adds a hint of sweetness and helps the yeast ferment.
- 1 packet (2 1/4 teaspoons) instant yeast: The magic ingredient that makes the dough rise.
- 3 cups all-purpose flour: Provides structure and texture; using unbleached flour is a great choice for better flavor.
- 3/4 teaspoons salt: Enhances flavor; never skip this!
- 2 tablespoons vegetable or canola oil: Keeps the bread soft. You can also use olive oil for a hint of flavor.
- 2 tablespoons unsalted butter, melted: Gives a deliciously rich crust; ensure it’s at room temperature before incorporating.
Prep Notes
- Measure your ingredients accurately for the best results.
- Use room temperature butter for easy mixing.
- I recommend brands like King Arthur or Gold Medal for reliable flour quality.
Step-by-Step Instructions
Activate the Yeast: In a small bowl, stir together the warm water, sugar, and yeast. Let sit for about 10 minutes until it becomes bubbly and frothy.
Mix the Dough: In the bowl of a stand mixer fitted with the dough hook attachment, combine the flour, salt, and vegetable oil. Pour in the yeast mixture. Turn the mixer to medium and knead until the dough pulls away from the sides of the bowl, about 8-10 minutes. The dough should feel soft and elastic.
First Rise: Roll the dough into a tight ball and transfer it to a greased bowl. Cover it loosely with plastic wrap and let it rise in a dark, warm, draft-free place for 60-90 minutes, or until it has doubled in size.
Shape the Dough: Once risen, gently deflate the dough and shape it into a log that fits a 9×5 loaf pan. Cover loosely again with plastic wrap and let rise for another 50-60 minutes, until doubled.
Preheat the Oven: About 20 minutes before the second rise is complete, preheat your oven to 350°F.
Bake: Bake for 25-30 minutes, until the top is golden brown and sounds hollow when tapped.
Cool: Brush the crust with melted butter. Let the bread cool for 10 minutes in the pan before removing it and transferring it to a cooling rack to cool completely.
Chef’s Tips:
- Timing is Key: Don’t rush the rises; they are crucial for fluffy texture.
- Common Mistakes: Over-kneading the dough can lead to tough bread; stop once it’s elastic and just smooth enough to form a ball.
- Visual Cues: Dough should roughly double in size; look for it to be smooth and slightly domed.

Expert Tips & Tricks
Storage Recommendations: Wrap your Homemade Bread in plastic wrap or parchment paper and store at room temperature for up to 3 days. For longer storage, freeze the loaf in a freezer-safe bag for up to 3 months.
Make-Ahead Instructions: You can prepare the dough, shape it into a loaf, and freeze it right before the second rise. Just thaw and allow it to rise before baking!
Troubleshooting: If your bread doesn’t rise, check the temperature of your water; it should be warm but not hot. If it feels dry, you can add a tablespoon of warm water to the dough.
Customization: Experiment with different flours, like whole wheat or spelt, for added nutrition and flavor.
Scent & Sound: The best way to check if the bread is done is the smell! Also, tap the bottom; a hollow sound means it’s ready!
Serving Suggestions
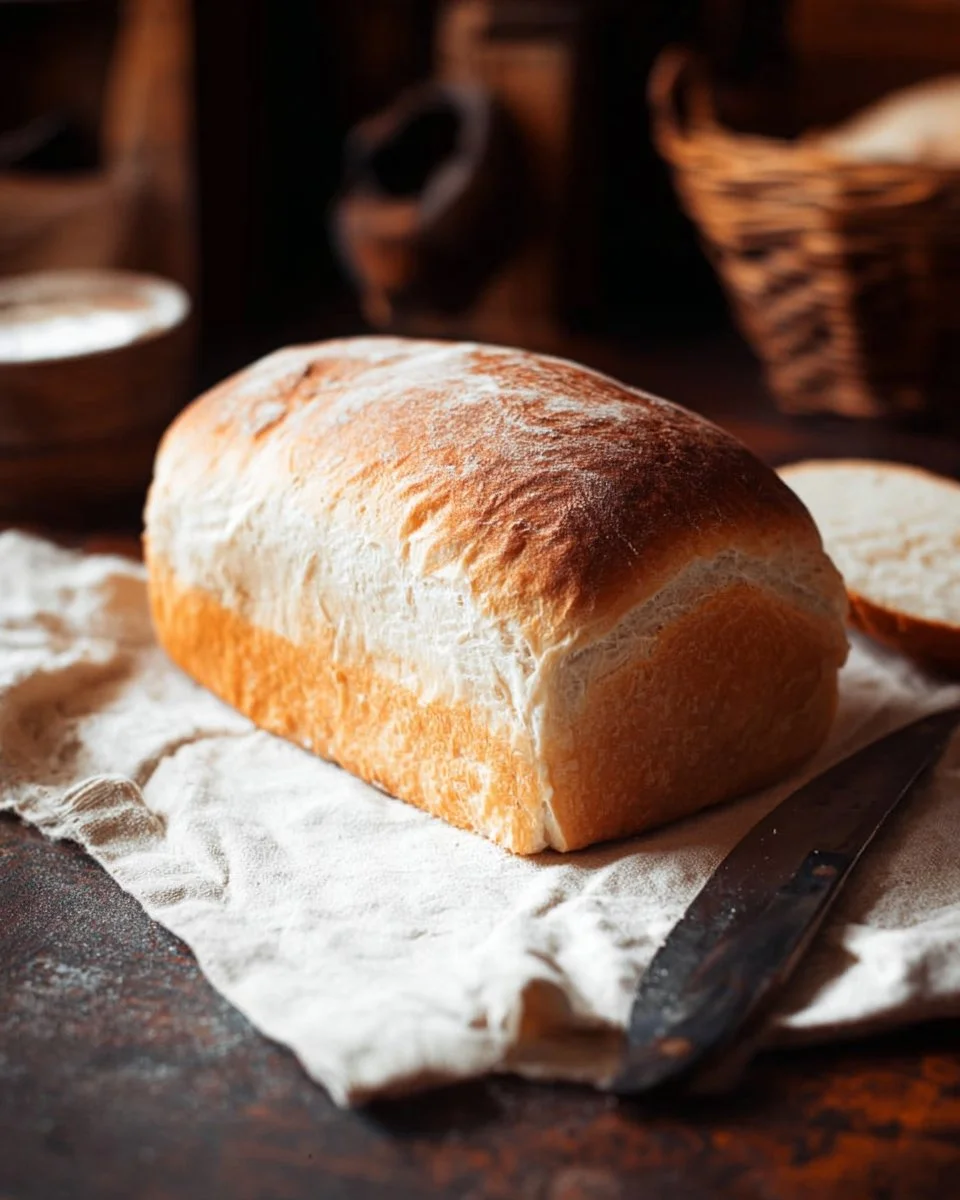
Homemade Bread is a star on any table. Serve it with a pat of butter, drizzle of honey, or spread of your favorite jam for breakfast. It can hold its own alongside hearty soups or salads for lunch, or use it for sandwiches at picnics or gatherings. To impress your guests, display it on a rustic cutting board for a beautiful presentation!
Variations & Substitutions
Flavors: Add herbs like rosemary, or spices like cinnamon and nutmeg for a unique twist. For a savory loaf, incorporate grated cheese or sun-dried tomatoes.
Dietary Restrictions: Want gluten-free? Swap all-purpose flour for a gluten-free flour blend designed for baking or try using almond flour.
Seasonal Variations: In the fall, add pumpkin puree and spices for a pumpkin bread that’s perfect for cozy gatherings.
Nutrition & Storage Info
- Prep Time: 15 minutes
- Cook Time: 30 minutes
- Total Time: 2 hours (including rise times)
- Yield: 1 loaf (about 12 slices)
- Estimated Calories: 120 calories per slice
- Storage Instructions: At room temperature for up to 3 days or freeze for up to 3 months.
FAQ Section
Can I use active dry yeast instead of instant yeast?
Yes! Just dissolve it in warm water with the sugar and let it activate before mixing with the dry ingredients.What should I do if my bread is too dense?
Dense bread can result from under-kneading or not allowing enough time for the dough to rise.How do I know when my bread is done baking?
It should be golden brown on the top and sound hollow when tapped. You can also insert a thermometer; it should read around 190°F.Can I add ingredients like nuts or seeds?
Absolutely! Just ensure not to add too much; about 1/2 cup will keep the dough balanced.Do I really need to let the dough rise for that long?
Yes, allowing the dough ample time to rise is essential for achieving that amazing airy texture.How do I know if my yeast is active?
If it bubbles and foams after mixing with water and sugar, it’s good to go!Can I use whole wheat flour instead of all-purpose?
Yes, but you may need to adjust the water content, as whole wheat absorbs more moisture.What can I do with leftover bread?
Use it for croutons, bread pudding, or even French toast!Why did my dough not rise?
This can occur if the yeast is expired or if the water was too hot (which kills the yeast).Can I make this recipe dairy-free?
Yes! Simply omit the butter or substitute with olive oil.
Conclusion
This Homemade Bread recipe is more than just instructions; it’s a gateway to memories, family connections, and the comfort of a warm loaf pulling everyone around the table. Each step encourages you to embrace the process and enjoy delicious results. I hope you feel inspired to try it, share your experiences, and leave a comment with your thoughts or questions. Don’t forget to check out my other related recipes that celebrate the joy of baking! Happy bread-making!
Print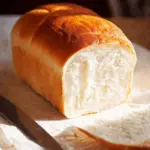
Homemade Bread
- Total Time: 120
- Yield: 1 loaf (about 12 slices) 1x
- Diet: Vegetarian
Description
A heartwarming recipe for fluffy homemade bread that brings back cherished memories of family gatherings.
Ingredients
- 1 cup warm water (110-120°F)
- 1/3 cup granulated sugar
- 1 packet (2 1/4 teaspoons) instant yeast
- 3 cups all-purpose flour
- 3/4 teaspoons salt
- 2 tablespoons vegetable or canola oil
- 2 tablespoons unsalted butter, melted
Instructions
- In a small bowl, stir together the warm water, sugar, and yeast. Let sit for about 10 minutes until it becomes bubbly and frothy.
- In the bowl of a stand mixer fitted with the dough hook attachment, combine the flour, salt, and vegetable oil. Pour in the yeast mixture. Turn the mixer to medium and knead until the dough pulls away from the sides of the bowl, about 8-10 minutes. The dough should feel soft and elastic.
- Roll the dough into a tight ball and transfer it to a greased bowl. Cover it loosely with plastic wrap and let it rise in a dark, warm, draft-free place for 60-90 minutes, or until it has doubled in size.
- Once risen, gently deflate the dough and shape it into a log that fits a 9×5 loaf pan. Cover loosely again with plastic wrap and let rise for another 50-60 minutes, until doubled.
- About 20 minutes before the second rise is complete, preheat your oven to 350°F.
- Bake for 25-30 minutes, until the top is golden brown and sounds hollow when tapped.
- Brush the crust with melted butter. Let the bread cool for 10 minutes in the pan before removing it and transferring it to a cooling rack to cool completely.
Notes
Timing is key; don’t rush the rises for the best texture. Use room temperature butter for easier mixing.
- Prep Time: 15
- Cook Time: 30
- Category: Baking
- Method: Baking
- Cuisine: American
Nutrition
- Serving Size: 1 slice
- Calories: 120
- Sugar: 5g
- Sodium: 200mg
- Fat: 4g
- Saturated Fat: 2g
- Unsaturated Fat: 2g
- Trans Fat: 0g
- Carbohydrates: 22g
- Fiber: 1g
- Protein: 3g
- Cholesterol: 10mg
🥗 Free Custom Keto Meal Plan?
Do you want to lose weight while still enjoying delicious Asian & Thai Fusion meals? Take this quick quiz to get your personalized Keto plan based on your favorite foods!
- ✅ No more guessing what to eat
- ✅ Delicious & easy-to-make recipes
- ✅ Tailored to your body type
Get My Custom Plan Now! →
*Over 100,000+ people have transformed their lives with this quiz.