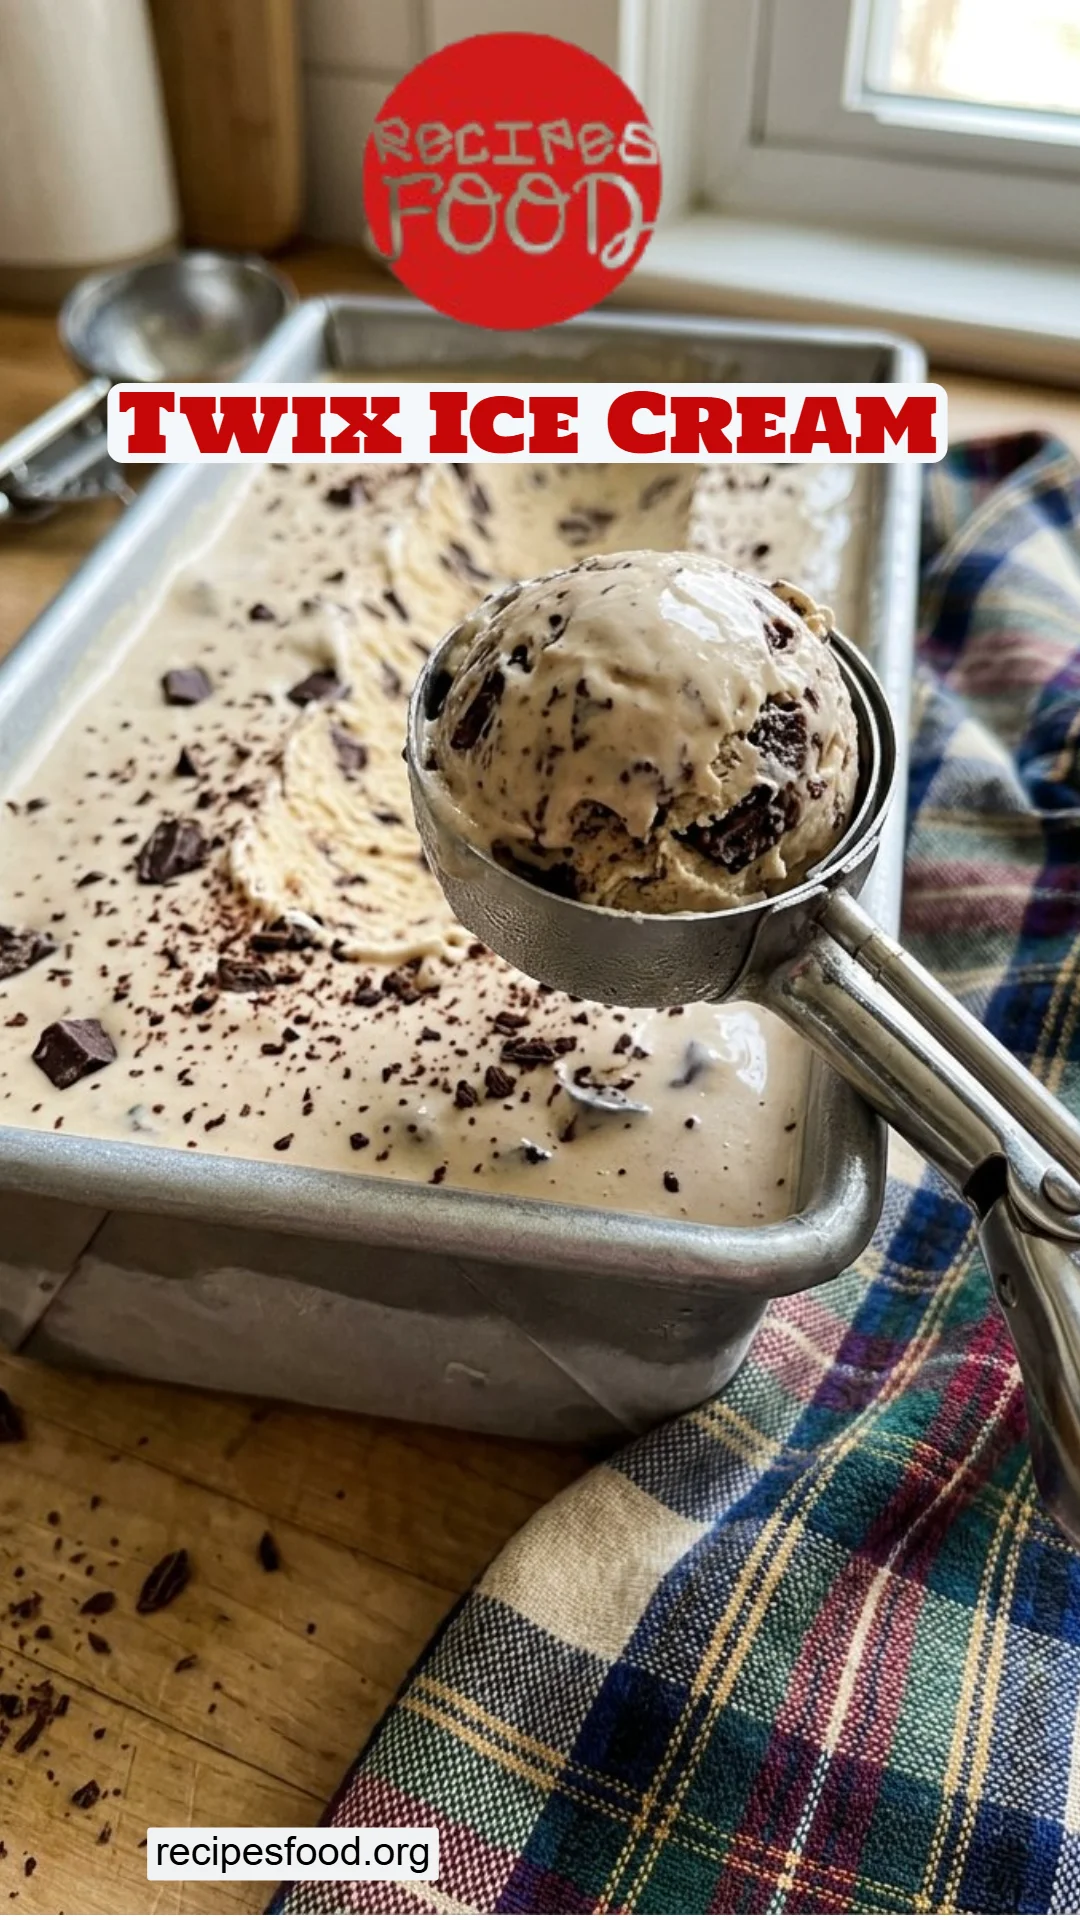
Twix Ice Cream: Indulge in This Dreamy, Homemade Treat!
As a kid, there was nothing quite like the moment my family would gather around the kitchen, anticipating a night filled with laughter and homemade desserts. One of my fondest memories revolves around ice cream – how we’d each scoop out our favorite flavors, the sound of the churning machine buzzing in the background, and the sweet scent wafting through the air. Fast forward to today, and my love for ice cream remains, especially when it comes to one of my ultimate guilty pleasures: Twix Ice Cream.
This recipe brings together the creamy, rich indulgence of ice cream and the delightful crunch of Twix bars, creating a treat that’s nothing short of magical. What sets my version apart from store-bought or even similar homemade recipes? For one, it’s crafted with wholesome ingredients, ensuring you’re savoring every bite guilt-free, while still delivering that nostalgic taste we all adore. Plus, it’s a great way to reconnect with those family moments spent in the kitchen, clad in aprons and laughter.
Join me in discovering how to make this luscious Twix Ice Cream that’s as easy to whip up as it is to devour. You’ll learn all the tips and tricks to achieve that creamy texture and how to customize it to suit your preferences. Ready to dive into a delightful world of flavors? Let’s get started!
What Are Twix Ice Cream?
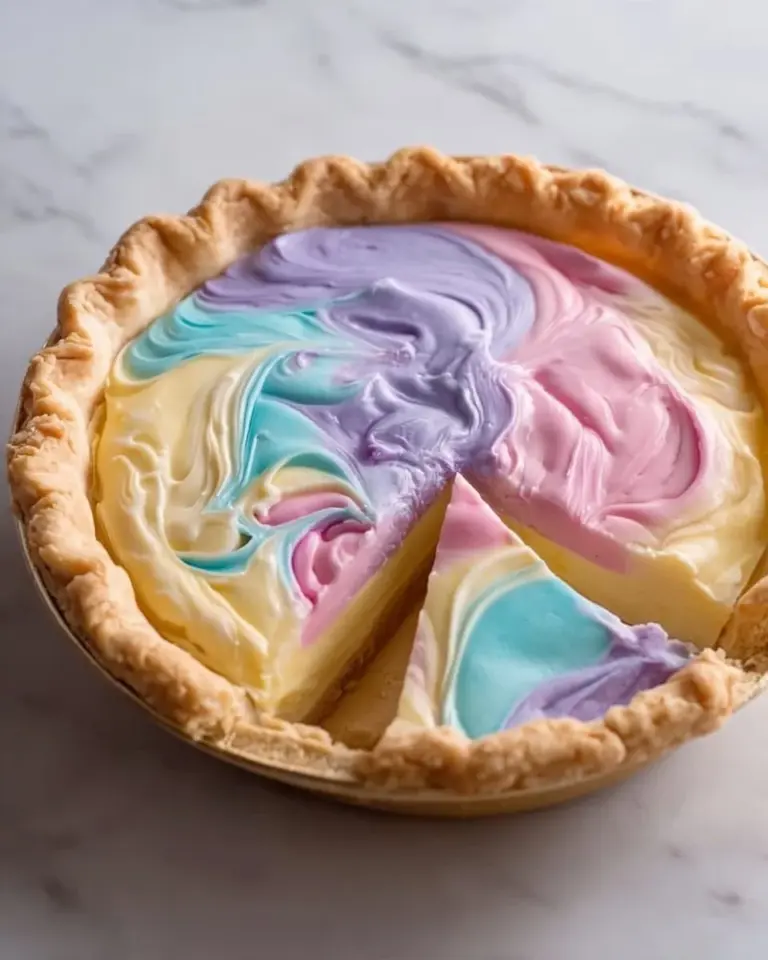
You might be wondering, what exactly are Twix Ice Cream? Well, it’s a delightful fusion that captures the essence of your favorite candy bar—crunchy biscuit, gooey caramel, and creamy chocolate—transformed into an ice cream marvel. The origin of this treat is rooted in the nostalgia of enjoying a candy bar on a sunny afternoon, but this version takes it to another level.
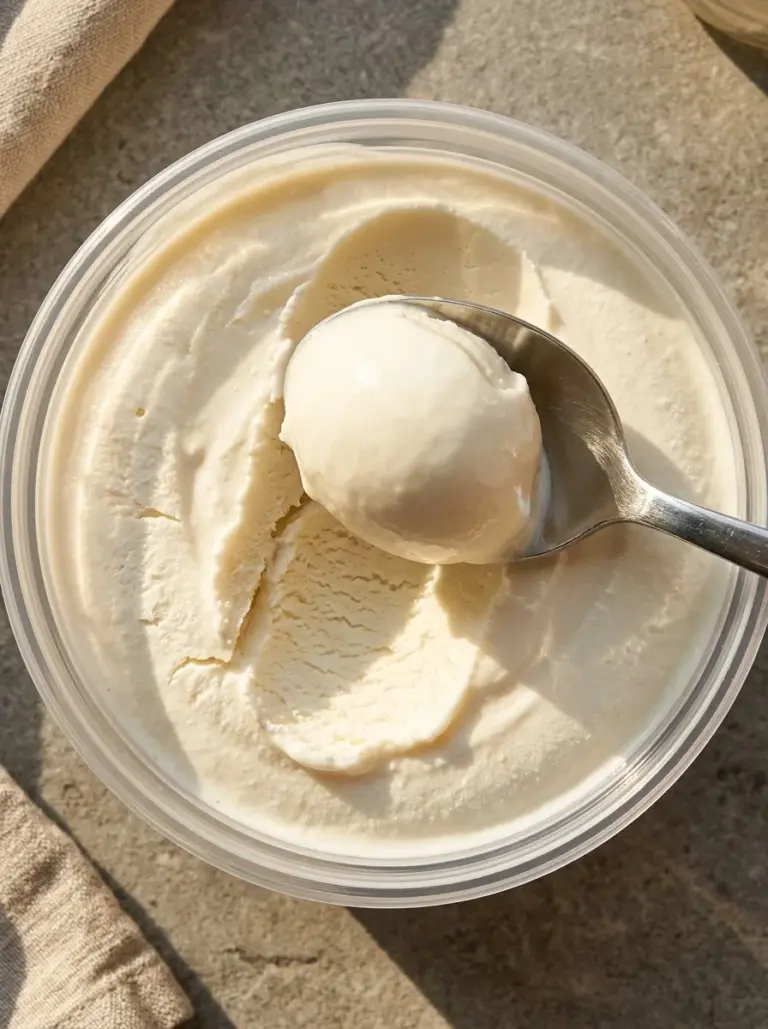
Imagine the bright flavor of creamy vanilla ice cream mixed with chunks of chocolate-covered Twix bars. The texture is rich and silky, buttery smooth, and with every scoop, you encounter the satisfying crunch of cookie and the melt-in-your-mouth sweetness of caramel. It’s perfect for summer barbecues, cozy movie nights, or any occasion that calls for a scoop of happiness. Whether you make it from scratch or top it with additional goodies, this ice cream promises to be a crowd favorite, one that brings smiles and happy tummies to the table.
Why You’ll Love This Recipe
Homemade Goodness: Unlike store-bought versions packed with preservatives and artificial flavors, this Twix Ice Cream is made with simple, wholesome ingredients. You can feel good about what you’re serving to your loved ones.
Cost-Effective: Making ice cream at home is not only cheaper than buying those premium pints but also allows you to see exactly what goes into it. You save money while indulging in a luxury, and that’s something to savor.
Customizable: One of the beauties of this recipe is its versatility. Love nuts? Toss in some chopped almonds or pecans. Want a bit more chocolate? Swirl in some fudge. You’re the artist, and this ice cream is your canvas!
Easy to Make: Don’t be intimidated—making ice cream at home is surprisingly simple. With just a few steps and a bit of waiting time for churning, you’ll have a delicious treat ready to enjoy.
Quality Time: Making this Twix Ice Cream can easily become a fun family project. Get the kids involved in the measuring, mixing, and even the taste-testing. It’s a great way to create lasting memories while teaching cooking skills!
So grab your mixer and let’s whip up some delicious homemade Twix Ice Cream that even your ice cream machine will thank you for.
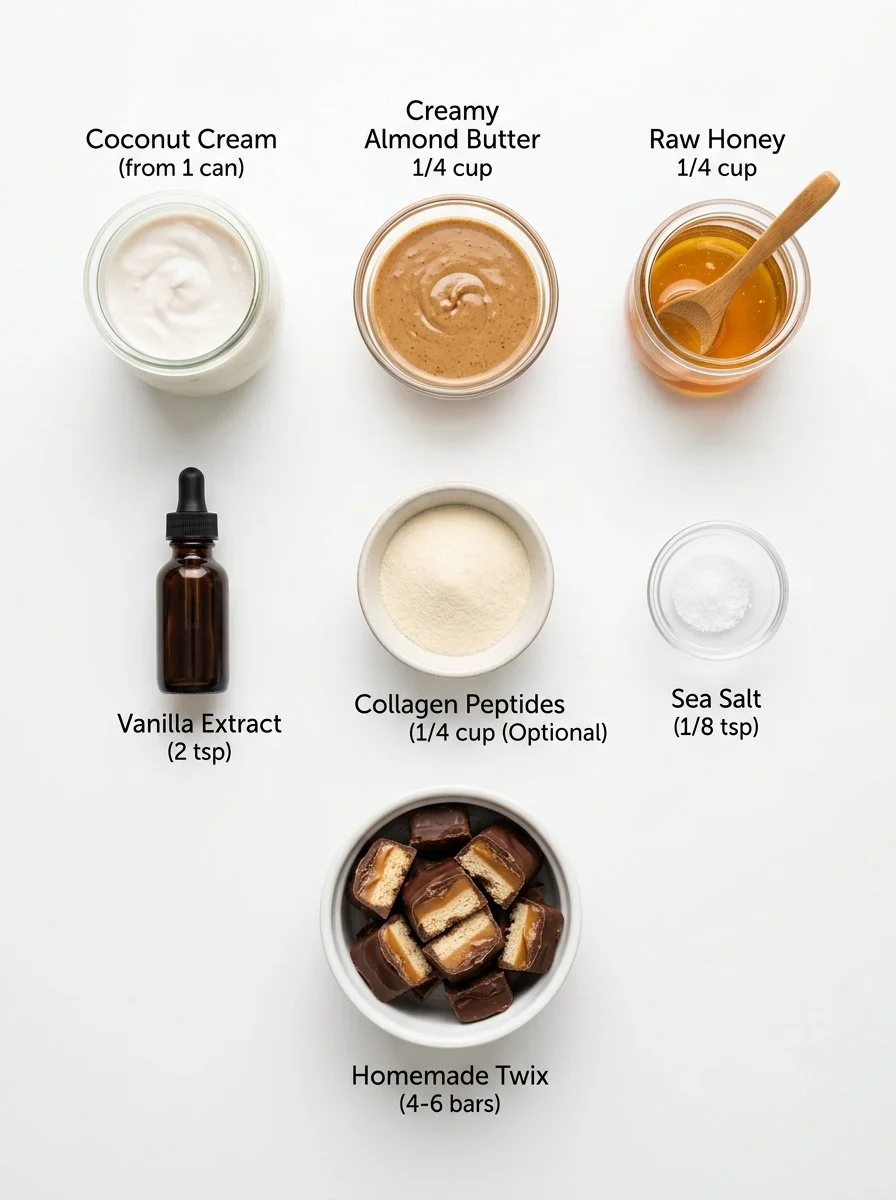
Ingredients
- 1 can coconut cream (full-fat for best consistency)
- 1/4 cup creamy almond butter (or peanut butter if you prefer)
- 1/4 cup raw honey (substitute maple syrup for a vegan option)
- 2 tsp vanilla extract (always use pure vanilla for best flavor)
- 1/4 cup collagen peptides (optional; omit for vegan)
- 1/8 tsp salt (to enhance sweetness)
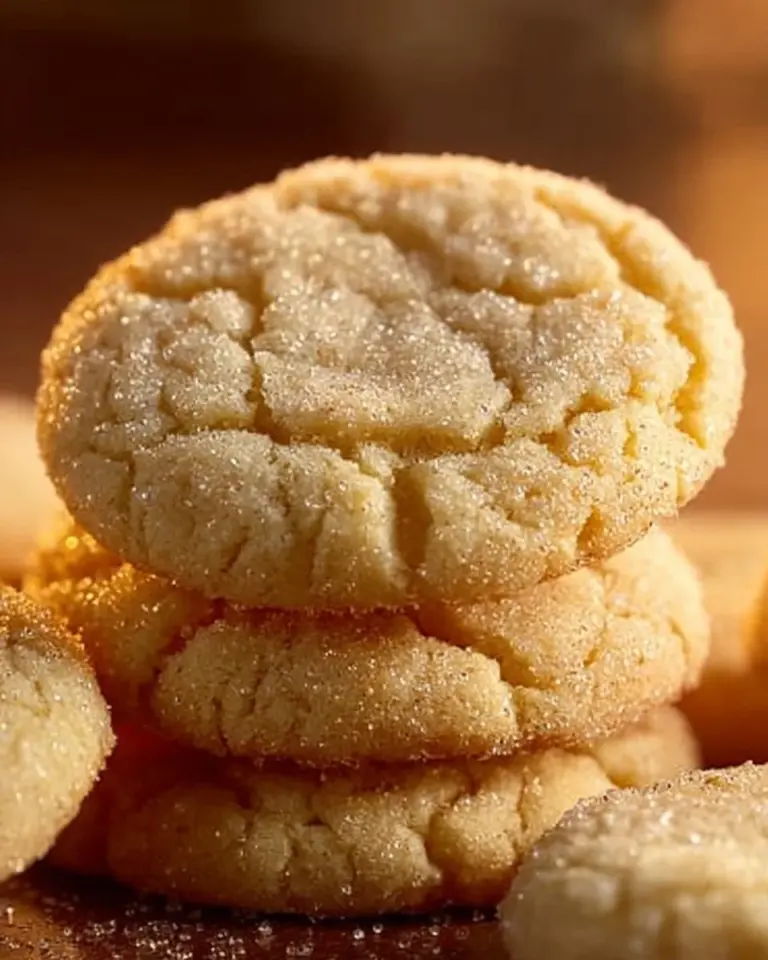
- 4-6 homemade Twix bars, chopped into bite-sized pieces
Ingredient Notes
- Coconut Cream: Look for brands that contain only coconut and water for a clean flavor. The coconut cream lends a rich, creamy texture essential for ice cream.
- Almond Butter: Ensure it’s creamy and not too oily. Consider brands like Justin’s or Whole Foods 365 for quality options.
- Collagen Peptides: These are optional but add a nice boost of protein and creaminess. Vital Proteins is a popular choice among health-conscious consumers.
Prep Notes
- Allow your coconut cream and almond butter to be at room temperature for easy mixing.
- Chilling your ice cream maker bowl overnight will ensure optimal freezing!
Step-by-Step Instructions
Prepare Your Ingredients: Ensure your coconut cream is at room temperature. This helps it blend smoothly. Additionally, if your almond butter is cold, warm it slightly in the microwave for easier incorporation.
Combine in Blender: In a high-speed blender, combine the coconut cream, almond butter, honey, vanilla extract, collagen peptides (if using), and salt. Blend on low, gradually increasing the speed until you achieve a smooth and creamy mixture. This should take about 1-2 minutes.
Churn the Ice Cream: Pour the blended mixture into your ice cream maker. Turn it on and start churning! If you don’t have an ice cream maker, transfer the mixture into a freezer-safe container and whisk every 30 minutes until it’s thickening up (usually takes about 2-3 hours).
Add the Twix Bars: Once the ice cream starts to thicken (around the 20-minute mark of churning), add in the chopped Twix candy bars. Continue churning until the ice cream is thick enough to stick to the paddle, approximately another 5-10 minutes.
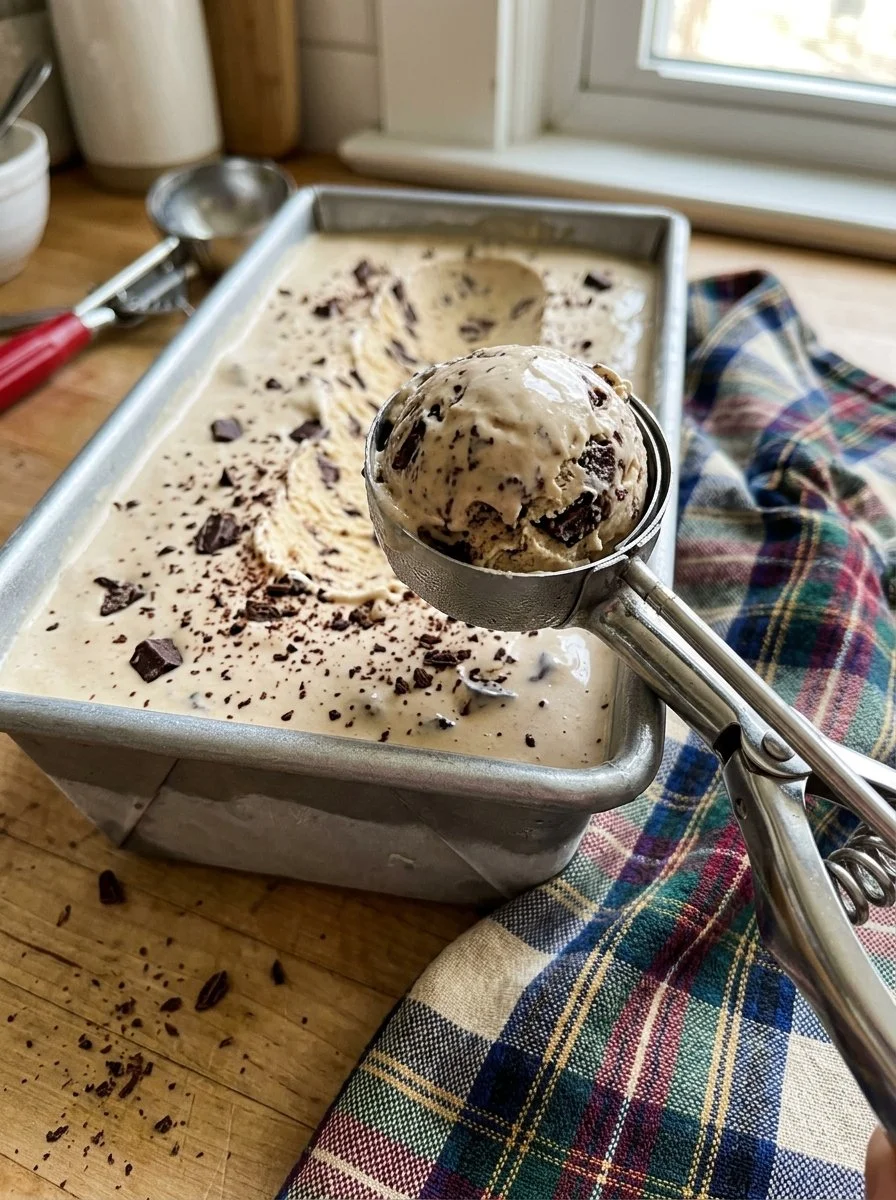
Freeze or Serve: If you want to enjoy your Twix Ice Cream right away, scoop it out and dig in! For a firmer consistency, transfer it into a loaf pan and freeze for another 2-3 hours. Store in the freezer (covered not required) and consume within one month.
Chef’s Tips
- Tip 1: If your mixture appears too thin during churning, allow it to churn longer. The colder the mixture, the creamier your ice cream will be!
- Tip 2: When chopping your Twix bars, try freezing them for a few minutes first to make cutting easier.
- Common Mistake: Avoid over-blending; you want a smooth mixture, not a whipped cream.
Expert Tips & Troubleshooting
Don’t Over-Churn: If the mixture begins to harden too much, stop churning! You want it thick and creamy, not rock hard.
Storage: Homemade ice cream can be stored in an airtight container in the freezer for about a month. If it seems too hard when you take it out, let it sit at room temperature for 5-10 minutes before scooping.
Make Ahead: You can prepare the ice cream mixture a day ahead and store it in the fridge until you’re ready to churn.
Texture Troubles: If your ice cream is icy instead of creamy, try adding a tablespoon of alcohol (like vodka or rum) to the mixture. It helps reduce ice crystals.
Serving Suggestions
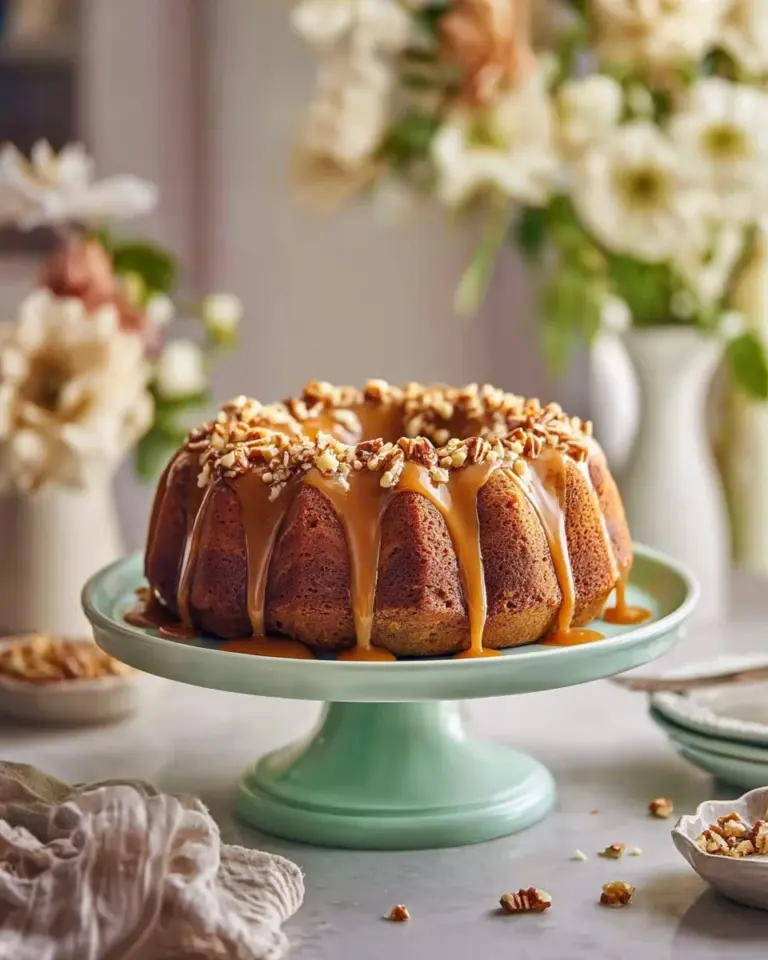
What pairs well with this decadent Twix Ice Cream? Consider serving it alongside a thin slice of homemade brownie or a handful of salty pretzels to elevate the sweet-salty flavor profile. If you’re feeling fancy, drizzle some melted chocolate on top for an extra indulgence. Perfect for summer gatherings, cozy winter nights, or any occasion that calls for something sweet!
Variations & Substitutions
- Nut-Free Version: Substitute almond butter with sunflower seed butter or tahini for a nut-free base.
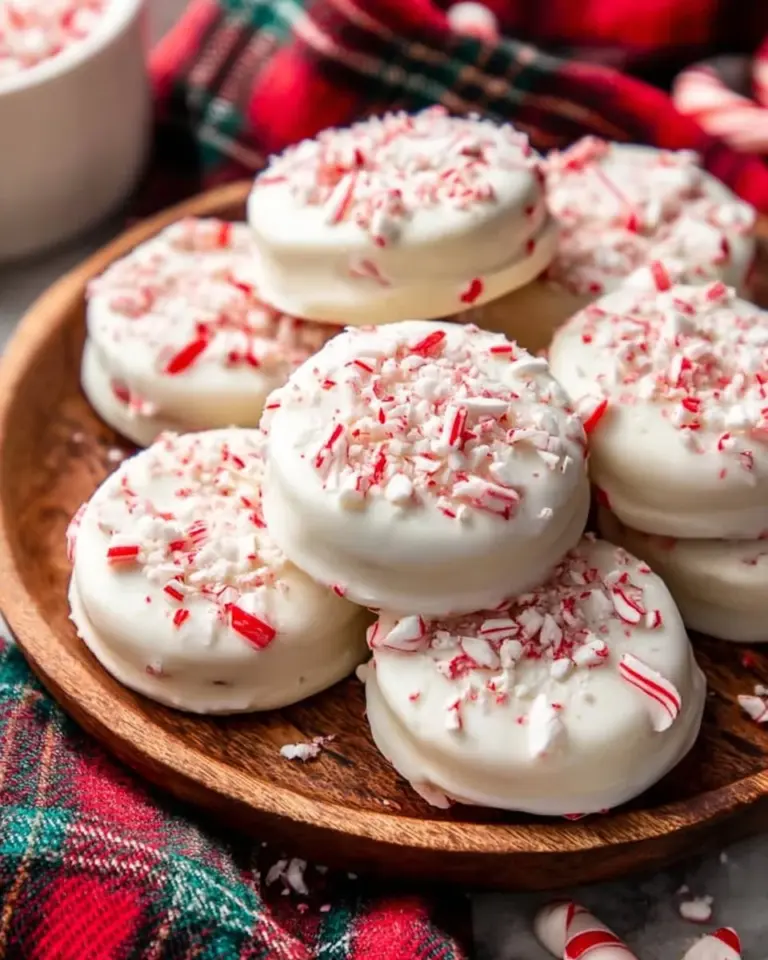
- Flavor Twists: Experiment with adding peppermint extract for a festive twist, or swirl in caramel or fudge sauce for extra sweetness.
- Seasonal Variations: During fall, add a pinch of pumpkin spice for a cozy, autumn-inspired treat.
Nutrition & Storage Info
- Prep Time: 15 minutes
- Cook Time: 20-30 minutes (churning)
- Total Time: 45-60 minutes (plus freezing)
- Yield: Approximately 4-6 servings
- Estimated Calories: 300 calories per serving
- Storage: Keep in the freezer for up to one month; no need for refrigeration.
FAQ Section
Can I use regular cream instead of coconut cream?
Yes, you can! However, coconut cream gives it a unique tropical flavor and a creamy texture.Is this recipe vegan?
Substitute honey with maple syrup and omit the collagen peptides for a fully vegan version.Can I make this without an ice cream maker?
Absolutely! Just place the blended mixture in a container and freeze it, whisking every 30 minutes until set.How do I make it gluten-free?
As long as you use gluten-free bars or make your own Twix bars, it can easily be gluten-free!Is there a different sugar option?
You can use agave nectar or coconut sugar as alternatives for honey.How long will this ice cream last?
It’ll maintain its best quality for about one month in the freezer.Can I add other candies?
Yes! Feel free to mix in chocolate chunks, nuts, or any candy you enjoy.What if my ice cream is too hard?
Let it sit out for a few minutes before trying to scoop.Can I make this ahead of time?
Definitely! It’s perfect for preparing ahead of parties or family gatherings.How can I make this in a dairy-free version?
This recipe is already dairy-free! Just ensure all substitute ingredients are also dairy-free.
Conclusion
This Twix Ice Cream recipe is not just a dessert; it’s a summary of love, family memories, and delicious moments shared around the table. From its creamy texture to the delightful crunch of Twix bars, it promises to be a favorite amongst family and friends alike. Don’t just take my word for it—try making it yourself and dive into a world of flavors that remind you of childhood and whimsy.
After you give this a shot, I’d love to hear your thoughts! Did you customize it? What did your family think? Let me know in the comments below. And if you’re hungry for more delicious recipes, explore the other delightful desserts on my blog. Happy scooping!
Print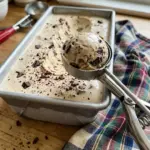
Twix Ice Cream
- Total Time: 45 minutes
- Yield: 4–6 servings 1x
- Diet: Vegan
Description
Indulge in this creamy, rich Twix Ice Cream that combines the delightful crunch of Twix bars with a luscious homemade ice cream base.
Ingredients
- 1 can coconut cream (full-fat for best consistency)
- 1/4 cup creamy almond butter (or peanut butter if you prefer)
- 1/4 cup raw honey (substitute maple syrup for a vegan option)
- 2 tsp pure vanilla extract
- 1/4 cup collagen peptides (optional; omit for vegan)
- 1/8 tsp salt
- 4–6 homemade Twix bars, chopped into bite-sized pieces
Instructions
- Prepare your ingredients: Ensure your coconut cream is at room temperature for smooth blending.
- Combine in a blender: Blend the coconut cream, almond butter, honey, vanilla, collagen peptides (if using), and salt until smooth.
- Churn the ice cream: Pour the mixture into your ice cream maker and churn until thick. If you don’t have an ice cream maker, place it in a freezer-safe container and whisk every 30 minutes for about 2-3 hours.
- Add the Twix bars to the mixture once it’s thickening, and churn for an additional 5-10 minutes.
- Freeze or serve immediately: For a firmer texture, transfer to a loaf pan and freeze for 2-3 hours before serving.
Notes
Consider adding nuts, fudge, or experimenting with flavors like peppermint extract to customize your ice cream.
- Prep Time: 15 minutes
- Cook Time: 30 minutes
- Category: Dessert
- Method: Freezing
- Cuisine: American
Nutrition
- Serving Size: 1 serving
- Calories: 300
- Sugar: 24g
- Sodium: 15mg
- Fat: 20g
- Saturated Fat: 10g
- Unsaturated Fat: 10g
- Trans Fat: 0g
- Carbohydrates: 32g
- Fiber: 2g
- Protein: 5g
- Cholesterol: 0mg
🥗 Free Custom Keto Meal Plan?
Do you want to lose weight while still enjoying delicious Asian & Thai Fusion meals? Take this quick quiz to get your personalized Keto plan based on your favorite foods!
- ✅ No more guessing what to eat
- ✅ Delicious & easy-to-make recipes
- ✅ Tailored to your body type
Get My Custom Plan Now! →
*Over 100,000+ people have transformed their lives with this quiz.