Discover the Joy of Homemade Soy Milk: Your Go-To Recipe for Creamy Plant-Based Bliss
Picture this: you wake up to the sound of sizzling pancakes on a lazy Sunday morning, the aroma of fresh coffee filling the air, and a tall glass of creamy homemade soy milk waiting on the table. It’s more than just a drink; it’s a comforting hug in a glass, filled with memories of family breakfasts and leisurely chats.
Homemade soy milk is my little secret—a simple yet magical creation that has brightened countless mornings. What makes this recipe so special? For one, it utilizes fresh ingredients that I can customize to suit my taste. Unlike store-bought options, which can be loaded with preservatives and artificial flavors, this soy milk is velvety smooth and bursting with authenticity.
Growing up, my mom would whip up this delicious plant-based drink, and it instantly became our family’s favorite. The creamy texture and delicate sweetness made it perfect for everything from smoothies to morning cereals. I promise that by the end of this post, you’ll not only know how to make the best homemade soy milk but also feel inspired to make it your way.
What Are Homemade Soy Milk?
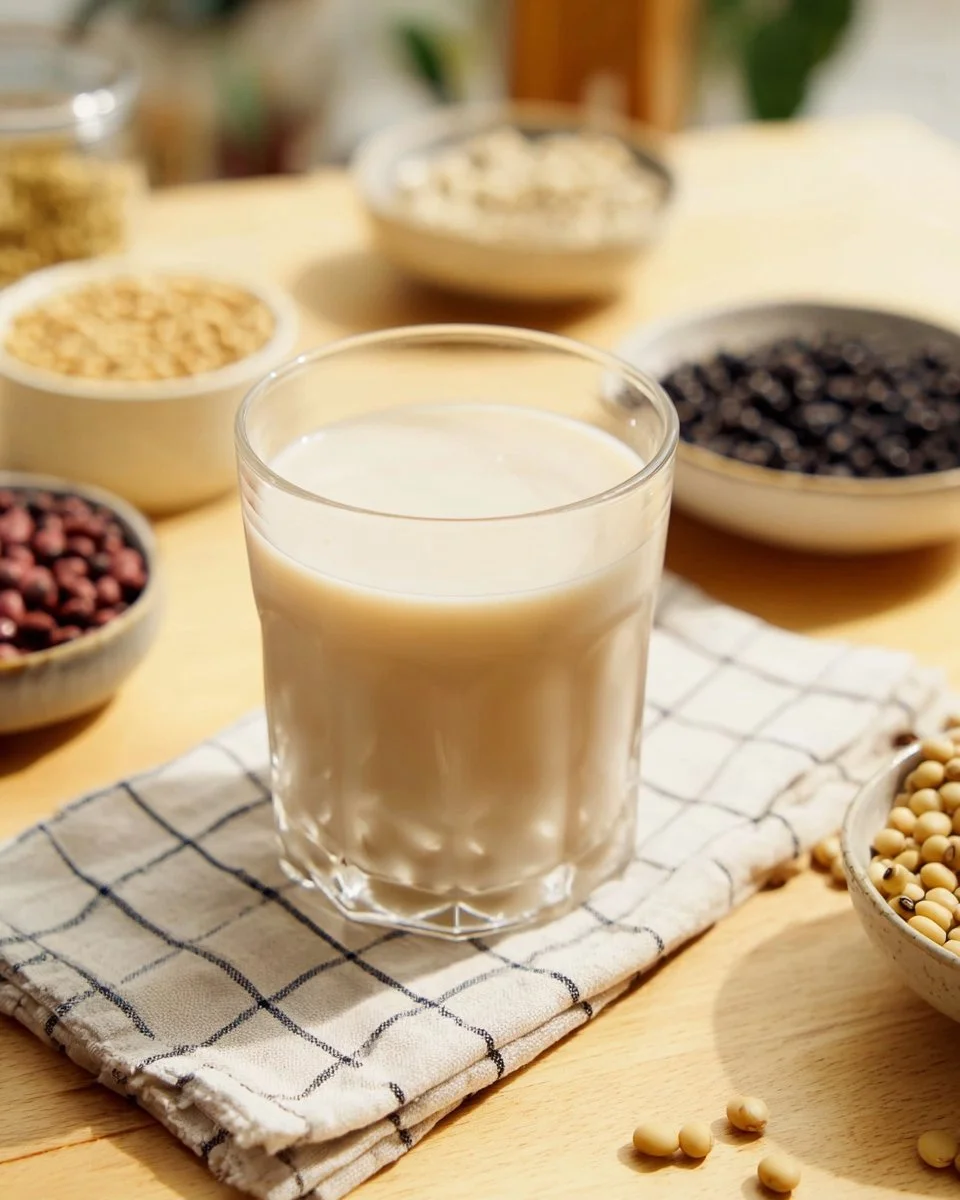
Homemade soy milk is a nutritious beverage made from soaked, blended soybeans and water. With roots tracing back to ancient China, it has been a staple in many Asian cultures since. The process is simple yet transformative—when you blend the beans with water, you create a creamy drink that’s both versatile and delicious.
Visually, homemade soy milk has a rich, creamy consistency that can vary from a thin, refreshing drink to a thicker, creamier texture depending on how you make it. The flavor is nutty and mildly sweet, making it an excellent base for lattes, smoothies, or even just enjoyed on its own.
You might wonder when to make this delightful treat. Consider whipping it up for breakfast during the week or when you’re hosting friends for brunch. No matter the occasion, homemade soy milk can elevate your meals and reminds you of those cherished family moments.
Why You’ll Love This Recipe
There’s a multitude of reasons to fall head over heels for this homemade soy milk recipe:
Freshness at Your Fingertips: This recipe is all about utilizing whole soybeans, giving you control over the quality and freshness of your ingredients. You’ll notice a substantial difference in flavor compared to store-bought brands.
Cost-Effective: Making soy milk at home saves you money over time. With just 150 grams of dry soybeans, you’ll produce around 1.2 liters—a significant amount compared to the high prices of organic store-bought soy milk.
Total Customization: Want a hint of flavor? You can add pandan leaves, sweeteners, or even fun add-ins like cooked red beans or coconut meat to suit your palate. The possibilities are endless!
Easy to Make: If you’ve never made soy milk, don’t fret! This recipe is straightforward, requiring just a few steps and does not demand any fancy kitchen gadgets—if you can blend and strain, you can do this!
Nutritious Powerhouse: Homemade soy milk is packed with protein, essential amino acids, and is a great alternative for those with lactose intolerance. Feel good about what you’re drinking!
Get ready to step into your kitchen and recreate this wholesome treat that fills your family’s bellies and warms their hearts.
{image_template}
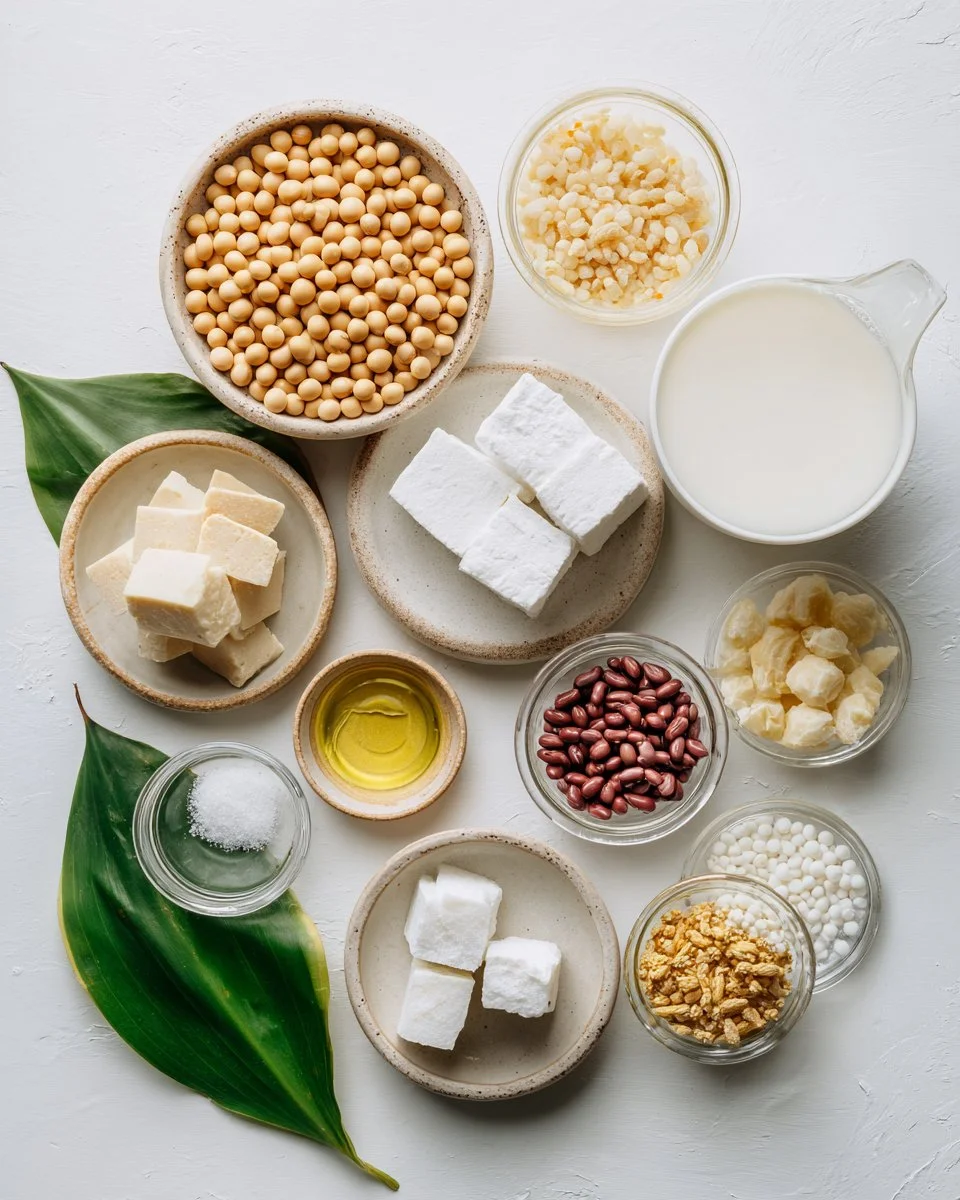
Ingredients
Here’s what you’ll need to make your own delicious homemade soy milk:
- 150 grams dry soybeans: Look for organic soybeans for the best quality. If unavailable, any good store will have them.
- 1.2 L (5 cups) water: Use filtered water for the purest flavor.
- 1/2 pandan leaf (optional): This fragrant leaf adds a unique aromatic touch.
- A pinch of salt (optional): Enhances the flavor without being overpowering.
- Sugar or other sweeteners to taste: I love using maple syrup for a touch of natural sweetness.
- Optional add-ins: Feel free to get creative with:
- Cooked red beans
- Cooked mung beans
- Cooked job’s tears
- Rehydrated lemon basil seeds
- Cooked tapioca pearls
- Plain agar-agar cubes
- Cooked ginkgo nuts
- Young coconut meat
Prep Notes: Ensure to soak your soybeans ahead of time for the best results. A tip I often share is to use room temperature water for soaking to help your beans soften evenly.
Step-by-Step Instructions
Rinse the Soybeans: Start by rinsing the dry soybeans under cold water and soaking them in plenty of water. Let them soak for 8 hours for whole beans or 3 hours for split beans. Pro Tip: A longer soak leads to creamier milk.
Remove Skins (Optional): If you’re using whole beans, consider removing the skins; this helps in achieving a smoother texture. Simply scrunch them in the soaking water before rinsing.
Blend the Mixture: Drain and rinse the soaked soybeans. Blend them with just enough water to form a smooth mixture, then add more water, saving 1.5 cups for later.
Strain Through a Sieve: Using a fine sieve lined with muslin or cheesecloth, strain the mixture over a large pot. This process separates the milk from the soybean pulp.
Squeeze for Maximum Liquid: Squeeze out any remaining liquid, rinsing the pulp with half of the reserved water to extract every drop!
Heat the Soy Milk: Pour the strained soy milk into a pot, add the pandan leaf while heating over medium-high heat, stirring constantly until it begins to bubble.
Simmer with Love: Lower the heat and let it simmer for 20-30 minutes, stirring occasionally. You want it to hit that sweet spot of warmth without boiling over.
Finish it Off: Remove the pot from heat and stir in the pinch of salt and your preferred sweetener to taste. You can enjoy it hot or cold, and don’t forget about those optional add-ins!
Chef’s Tips: If you want to get fancy, whisk the soy milk vigorously to create a frothy texture before serving—it’s a total game-changer!
Expert Tips & Tricks
Storage Guidelines: You can store homemade soy milk in the refrigerator for up to 4-5 days in a sealed container. Shake well before using!
Make-ahead Instructions: Prep your beans the night before, soak them, and you’ll be all set to blend first thing in the morning.
Common Issues: If your soy milk tastes grainy, you might not have blended enough, or you didn’t squeeze the pulp enough during straining. Aim for that velvety consistency!
Experimentation: Once you master the base recipe, try adding flavors like cacao powder, vanilla extract, or even matcha for a fun twist.
Serving Suggestions
Homemade soy milk is incredibly versatile! Here are some delightful ways to serve it:
- Pair it with a bowl of oatmeal or granola for a hearty breakfast.
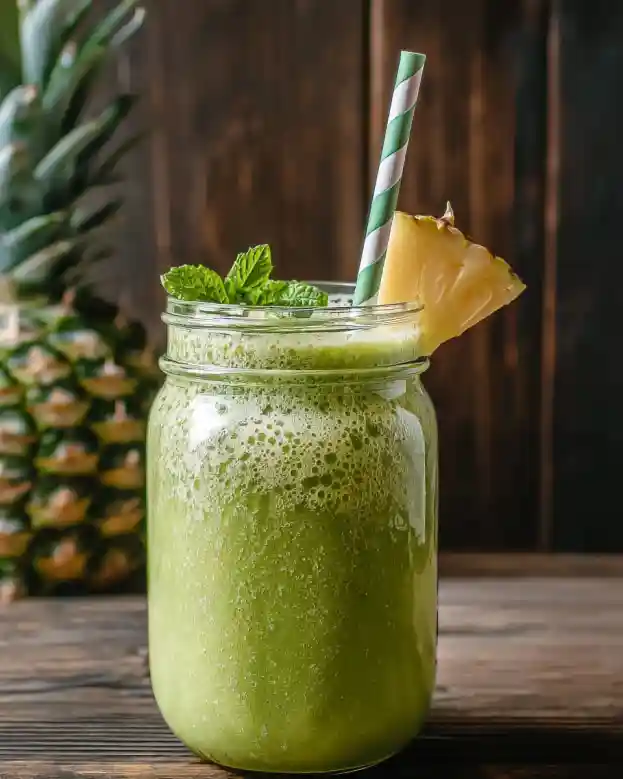
- Use it in smoothies for a protein boost—banana and spinach work wonderfully!
- Create a delicious soy milk latte topped with a sprinkle of cinnamon for an afternoon treat.
For presentation, consider serving it in fresh glass jars with a sprig of mint on top. It’s the perfect touch for brunch gatherings or cozy family breakfasts.
Variations & Substitutions
Feel free to get creative! Here are some ideas to customize your homemade soy milk:
- Sweetener Substitutions: If you’re avoiding sugar, try using dates or stevia for a healthier alternative.
- Flavor Variations: Infuse your soy milk with flavors like vanilla bean, chocolate, or seasonal spices like nutmeg and cinnamon for unique additions.
- Dietary Adaptations: If lactose-free is your goal, this recipe is already dairy-free! For nut allergies, just stick to the soybeans.
Nutrition & Storage Info
- Prep Time: 15 minutes (excluding soaking time)
- Cook Time: 30 minutes
- Total Time: Approximately 8 hours (including soak time)
- Yield: About 1.2 L (5 cups)
- Estimated Calories: Approximately 100 calories per serving
- Storage Instructions: Keep refrigerated in an airtight container; you can also freeze it for up to 2 months.
FAQ Section
How is homemade soy milk different from store-bought?
Homemade soy milk is fresher, and you can control the ingredients, avoiding preservatives and additives.Can I use soy milk for baking?
Absolutely! It can replace dairy milk in most baking recipes without issues.Do I need to cook soy milk?
Yes, cooking helps deactivate certain enzymes and enhances flavor, making it safe and delicious.How can I make my soy milk sweeter?
You can adjust sweetness by adding sugar, maple syrup, honey, or flavored syrups during the cooking process.Is it safe to drink homemade soy milk raw?
While it can be consumed raw, cooking it is recommended for better flavor and digestion.What can I do with the leftover soy pulp?
The leftover pulp, known as okara, can be used in baking, savory dishes, or even added to smoothies for extra fiber.Can I make this soy milk without a blender?
A blender is advisable for smooth results, but you could use a mortar and pestle if you’re up for the challenge!How long does homemade soy milk last?
It’s best consumed within 4-5 days if refrigerated; always check for off smells before using.Can I use flavored soybeans, like black soybeans?
Yes! Different beans will affect the flavor, so experiment and see what you like best.Could I use another type of bean instead of soybeans?
Yes! You can explore other legumes, but keep in mind that flavor and texture will differ significantly.
Conclusion
In a world filled with convenience foods, crafting your homemade soy milk brings joy and nourishment that store-bought versions just can’t replicate. Not only do you control the ingredients, but you also reconnect with a wholesome tradition that’s been cherished for centuries.
I encourage you to give this easy recipe a try; I can’t wait to hear how it turns out for you! Leave a comment below with your thoughts or share pictures of your homemade soy milk adventures. And before you go, check out my other related recipes for an entire plant-based journey! Happy cooking!
Print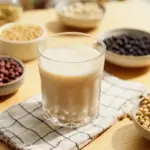
Homemade Soy Milk
- Total Time: 495 minutes
- Yield: 1.2 L (5 cups) 1x
- Diet: Vegan
Description
A simple and delicious recipe for creamy homemade soy milk that you can customize to your taste.
Ingredients
- 150 grams dry soybeans
- 1.2 L (5 cups) water
- 1/2 pandan leaf (optional)
- A pinch of salt (optional)
- Sugar or other sweeteners to taste
- Optional add-ins: cooked red beans, cooked mung beans, cooked job’s tears, rehydrated lemon basil seeds, cooked tapioca pearls, plain agar-agar cubes, cooked ginkgo nuts, young coconut meat
Instructions
- Rinse the dry soybeans under cold water and soak them in plenty of water for 8 hours for whole beans or 3 hours for split beans.
- Remove skins if using whole beans for a smoother texture.
- Blend the soaked soybeans with just enough water to form a smooth mixture, then add more water, saving 1.5 cups for later.
- Strain the mixture through a fine sieve lined with muslin or cheesecloth over a large pot.
- Squeeze out any remaining liquid, rinsing the pulp with half of the reserved water.
- Heat the strained soy milk in a pot with the pandan leaf over medium-high heat, stirring constantly.
- Simmer for 20-30 minutes, stirring occasionally, without boiling over.
- Finish with a pinch of salt and sweetener to taste, enjoying hot or cold with optional add-ins.
Notes
Store in the refrigerator for up to 4-5 days. Shake well before using.
- Prep Time: 15 minutes
- Cook Time: 30 minutes
- Category: Beverage
- Method: Blending
- Cuisine: Asian
Nutrition
- Serving Size: 1 cup
- Calories: 100
- Sugar: 4g
- Sodium: 10mg
- Fat: 4g
- Saturated Fat: 0.5g
- Unsaturated Fat: 3g
- Trans Fat: 0g
- Carbohydrates: 7g
- Fiber: 1g
- Protein: 8g
- Cholesterol: 0mg
🥗 Free Custom Keto Meal Plan?
Do you want to lose weight while still enjoying delicious Asian & Thai Fusion meals? Take this quick quiz to get your personalized Keto plan based on your favorite foods!
- ✅ No more guessing what to eat
- ✅ Delicious & easy-to-make recipes
- ✅ Tailored to your body type
Get My Custom Plan Now! →
*Over 100,000+ people have transformed their lives with this quiz.