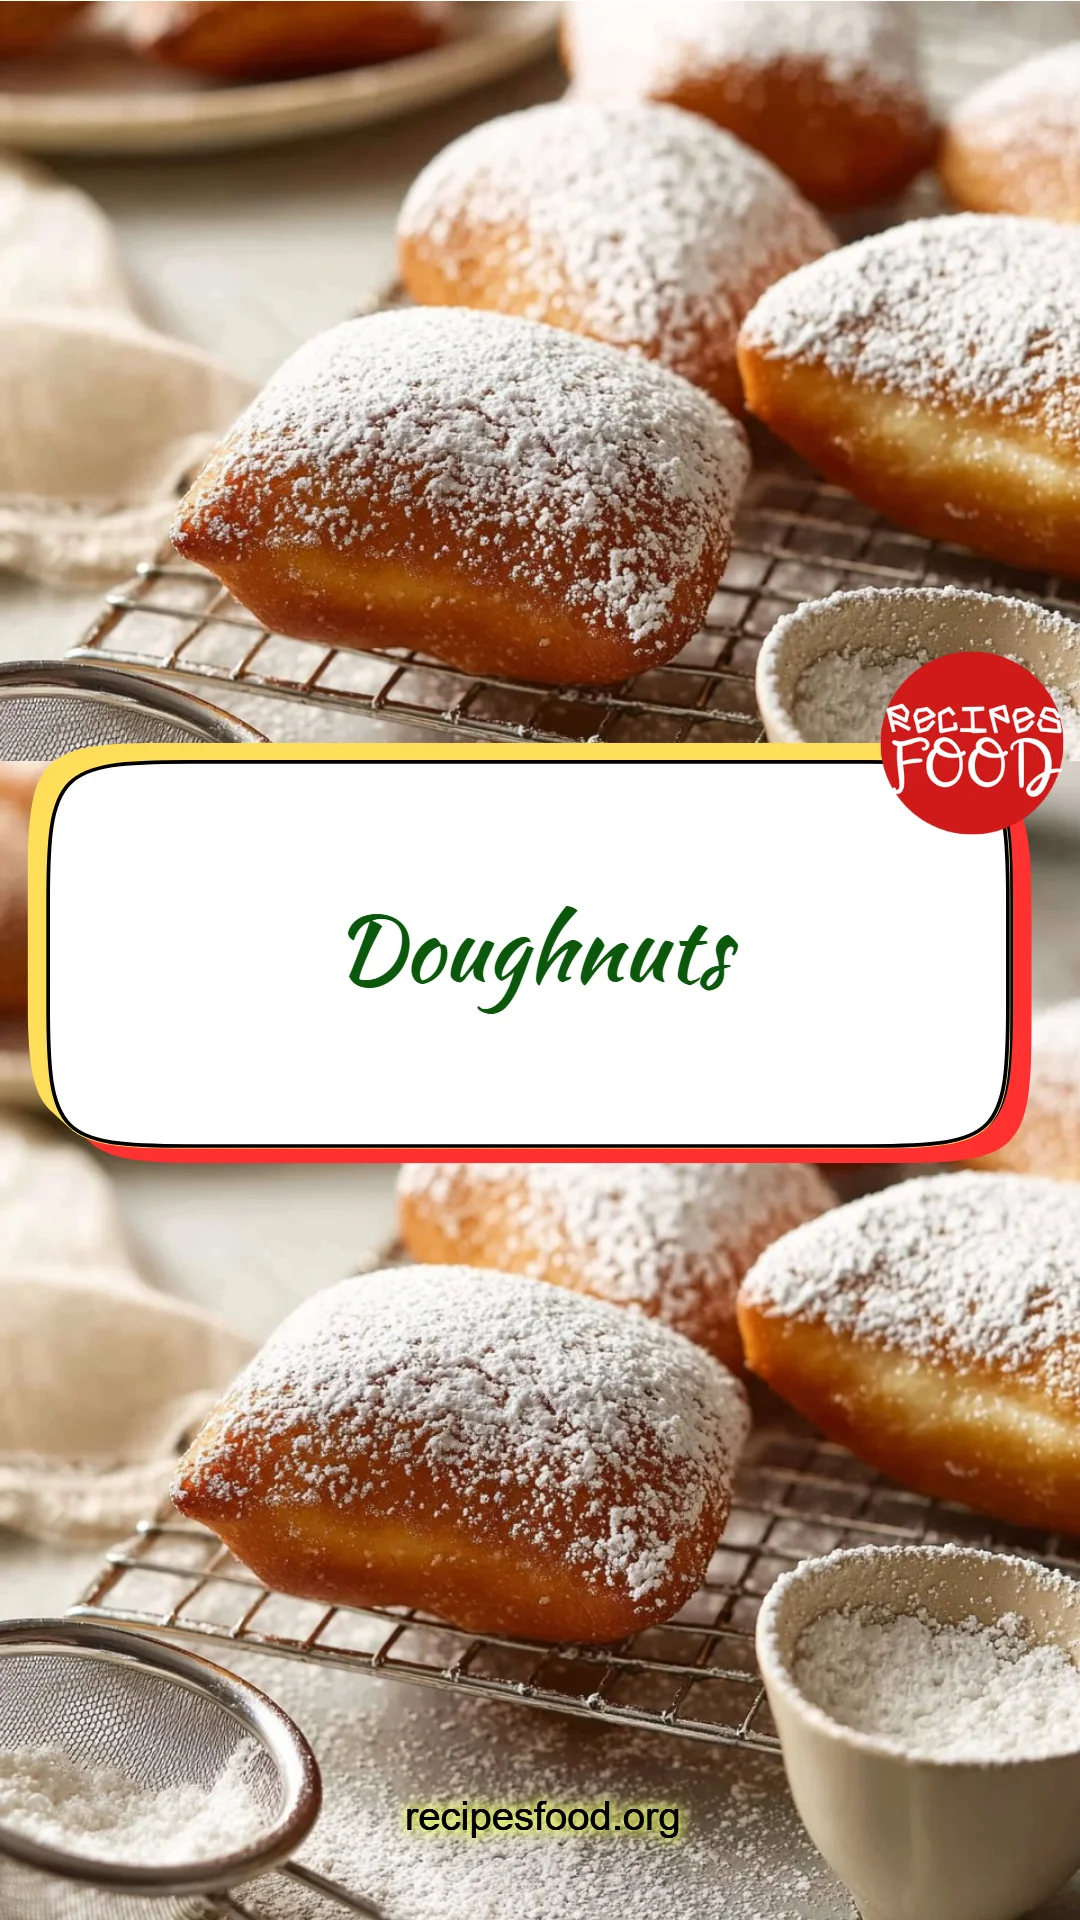
Doughnut Dreams: The Ultimate Guide to Crafting Irresistible, Homemade Doughnuts
As a child, there was nothing like waking up on a Saturday morning, the sun barely peeking through the curtains, as the sweet aroma of fresh doughnuts wafted through the air. My mom would whip up a batch, and before we even ate breakfast, we’d be sneaking bites of those fluffy, sugary delights while still wearing our pajamas. Doughnuts have always held a special place in my heart, transporting me back to those carefree mornings filled with laughter, sugar, and a bit of chaos.
But not all doughnuts are created equal! This recipe is not just another run-of-the-mill version; it’s crafted from years of trial and error, perfected with tips and tricks that will leave your kitchen smelling divine and your taste buds in pure bliss! What sets this recipe apart is its emphasis on freshness, customization, and nostalgia, allowing you to create mouthwatering doughnuts right in your home.
In this post, I promise you’ll learn how to make perfectly fluffy doughnuts that, with every bite, evoke your own joyful memories. Let’s dive into the world of doughnut magic together!
What Are Doughnuts?
Doughnuts, often affectionately dubbed “donuts," have an interesting origin that dates back to the early 19th century, believed to have been brought to America by Dutch settlers who introduced the “olykoeks” – or oily cakes. These fried delights soon evolved into the diverse varieties we enjoy today.
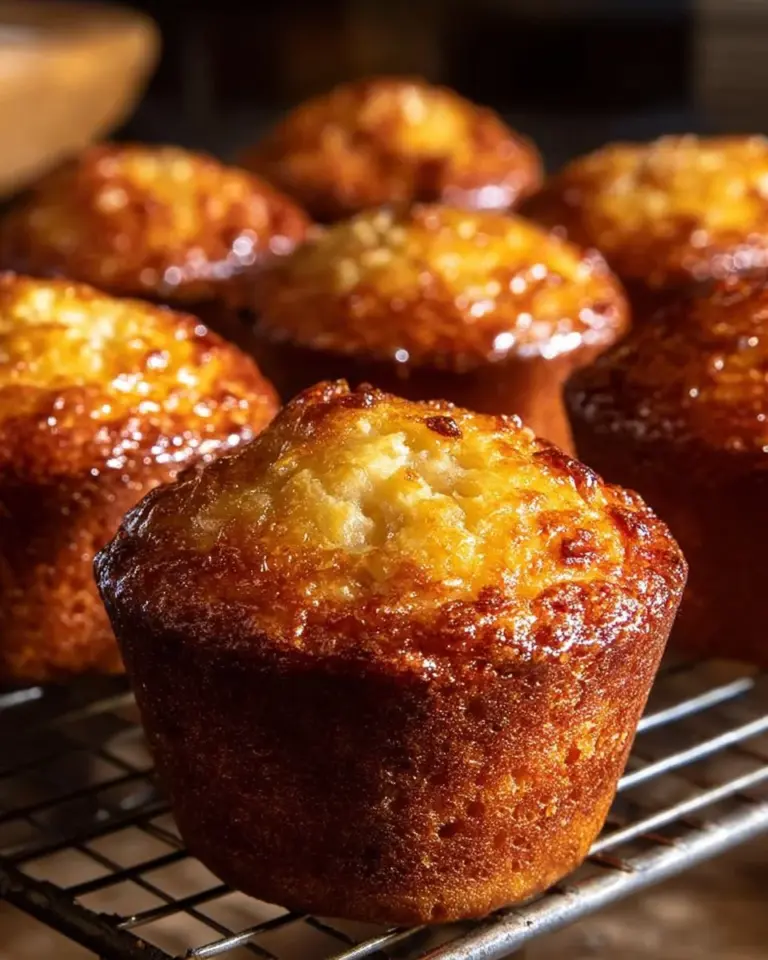
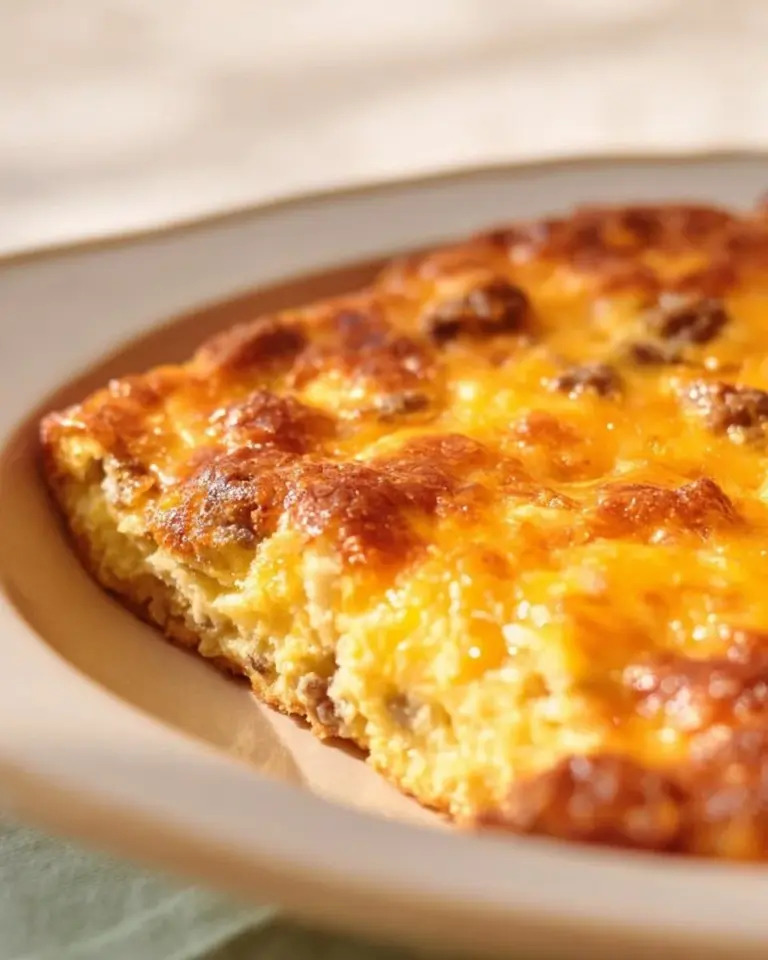
The taste and texture of a freshly made doughnut are akin to biting into a fluffy cloud coated in sweetness. Imagine the soft, pillowy interior contrasted with a slightly crisp exterior that melts in your mouth, each flavor mingling with that warm sweetness. What makes doughnuts truly special is their versatility—from classic glazed to decadent filled variations, there’s a doughnut out there to suit every palate!
Doughnuts are perfect for any occasion; whether you’re celebrating a birthday, hosting a brunch, or simply treating yourself after a long week, making them yourself elevates any moment.
Why You’ll Love This Recipe
Freshness at its Finest: Homemade doughnuts taste exponentially better than store-bought or even those fancy café versions. There’s nothing quite like biting into a still-warm doughnut that you made yourself!
Cost-Effective Indulgence: When you make these doughnuts in your own kitchen, you’ll save money. A dozen quality doughnuts from a bakery can cost a pretty penny, while this recipe will yield around 32 for a fraction of the price.
Customization Galore: With this recipe, you can unleash your inner pastry chef. From flavors to toppings, you have complete control. Why not try a chocolate glaze, or sprinkle some crushed pistachios for a gourmet touch?
Family Bonding: Baking doughnuts is an activity that brings people together! It’s a chance to create delicious memories with friends or family while honing your baking skills.
Simple Steps: I promise that making these doughnuts will become a cherished family tradition rather than an intimidating task. The hands-on process is straightforward, and you don’t need to be a baking pro to nail it.
Ingredients Section
Always aim for the best quality ingredients when making doughnuts. Here’s what you’ll need:
- 3/4 cup lukewarm water (about 105 degrees F): Use a thermometer to check and ensure it’s just right to activate the yeast without killing it.
- 1/4 cup granulated sugar: This adds sweetness and helps with yeast activation.
- 1 packet (2 1/4 teaspoons) active dry yeast: Always check the expiration date for the best results!
- 1/2 cup whole milk, room temperature: Whole milk provides rich flavor; feel free to substitute with almond or oat milk for dairy-free options.
- 1 large egg, room temperature: Eggs help bind your dough together and create that fluffy texture.
- 3 1/2 cups all-purpose flour: Spoon and level your flour when measuring to avoid using too much.
- 1/2 teaspoon kosher salt: Salt enhances flavor and balances the sweetness.
- 2 tablespoons unsalted butter, softened: I recommend using high-quality butter, like Kerrygold, for that rich taste.
- Vegetable oil, for frying: Canola oil also works well; avoid olive oil for frying.
- Confectioners’ sugar, for dusting: The sweetest finishing touch!
Step-by-Step Instructions
Activate Yeast: In a medium bowl, whisk together the lukewarm water, sugar, and yeast. Let it sit for 5 – 10 minutes or until it becomes foamy. This ensures that your yeast is alive and ready to work magic!
Mix Ingredients: In a stand mixer fitted with a dough hook, combine flour and salt. With the mixer on low speed, gradually add the yeast mixture and softened butter. Mix until just combined.
Knead the Dough: Increase the mixer speed to medium, kneading the dough for 2 – 3 minutes until it’s smooth and pulls away from the sides of the bowl.
Chef’s Tip: If you have sticky dough, add more flour little by little, but be cautious not to overdo it!
Let it Rise: Transfer the dough to a greased bowl, cover it with a damp cloth, and let it rise until it doubles in size, about 1 – 2 hours.
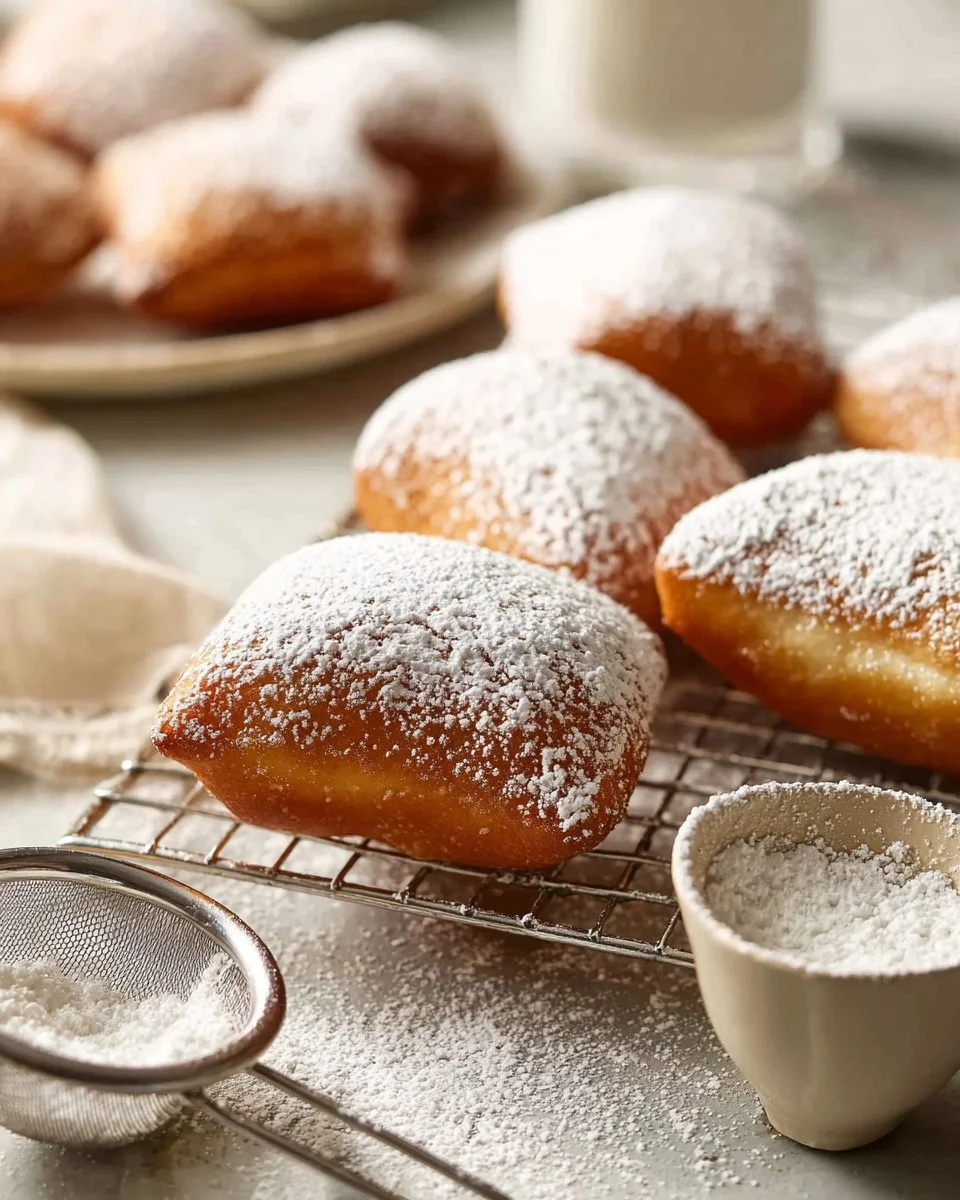
Shape the Dough: Roll out the dough onto a floured surface into a rectangle about 1/4 to 1/2 inch thick. Cut into 32 squares. I like using a pizza cutter for clean edges!
Fry: Heat vegetable oil in a large pot to 360 degrees F. Fry the beignets in batches for 30 seconds to 1 minute per side until they turn golden brown. Remove from oil and dust with confectioners’ sugar.
Chef’s Tip: Maintain a cooking thermometer for accurate oil temperature; too low and they’ll absorb oil, too high and they’ll burn.
Bake Option: Instead of frying, line baking sheets with parchment paper, let the dough rise again for 45 minutes, brush with milk, then bake at 350 degrees F for 12-15 minutes. Dust while still warm.
Air Fry Option: Preheat your air fryer to 350 degrees F and place dough squares in single layers. Cook for 2-3 minutes and dust with confectioners’ sugar.
Common Mistakes to Avoid: Don’t skip the rising times! This step is essential for achieving the airy, fluffy texture of doughnuts.
Expert Tips & Tricks
Storage Recommendations: Keep doughnuts in an airtight container at room temperature for up to 2 days. For longer storage, freeze them! Just pop them in a freezer-safe bag for up to 1 month.
Make-Ahead Instructions: Prepare the dough, let it rise, and then shape it. Cover and refrigerate overnight, then allow to come to room temperature and rise again before frying or baking.
Troubleshooting: If your dough doesn’t rise, check that your yeast is fresh and your water was at the right temperature. Too hot will kill the yeast, while too cold won’t activate it.
Keep It Fluffy: Ensure your dough isn’t too dry or too wet for the best texture. Adjust flour as necessary based on humidity.
Flavor Infusion: Add a splash of vanilla or almond extract to the dough for an extra kick of flavor!
Serving Suggestions
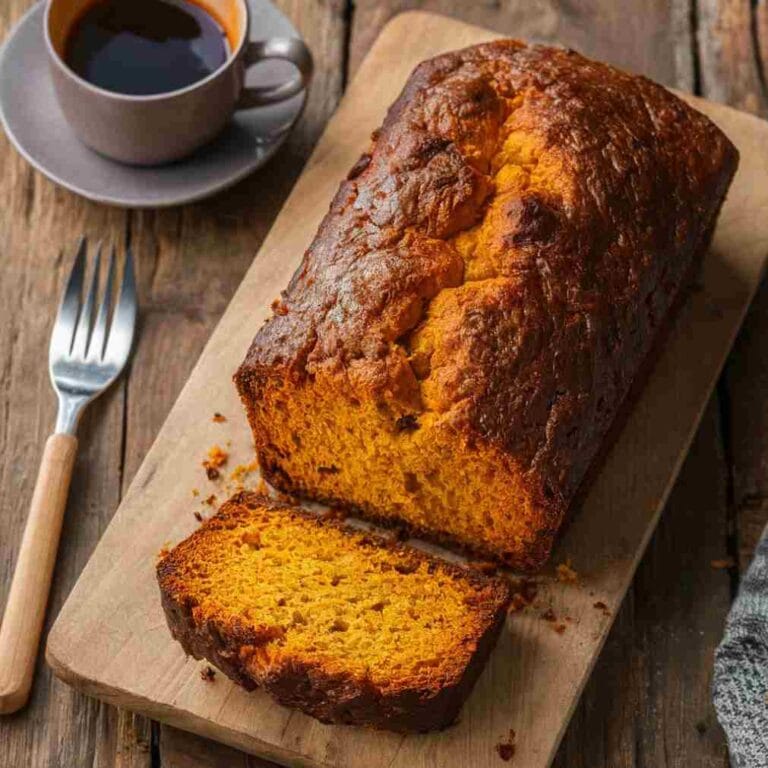
When serving your homemade doughnuts, consider plating them alongside a steaming cup of coffee or a glass of freshly squeezed orange juice. You can sprinkle extra confectioners’ sugar on a wooden board for a rustic presentation. These doughnuts are also perfect for special occasions—think birthday breakfasts, brunch gatherings, or holiday celebrations.
Variations & Substitutions
- Flavor Combinations: Drizzle with chocolate, add chai spices, or try a maple glaze—endless possibilities await!
- Dietary Adaptations: Make gluten-free doughnuts by substituting all-purpose flour with a quality gluten-free blend. For vegan options, replace egg with flaxseed meal and use plant-based milk and butter.
- Seasonal Variations: Get festive with pumpkin spice doughnuts for fall or peppermint-infused ones for the holidays!
Nutrition & Storage Info
- Prep Time: 30 minutes (plus rising time)
- Cook Time: 10 minutes
- Total Time: 1 hour 30 minutes
- Yield: About 32 doughnuts
- Estimated Calories: 150 calories per doughnut (without added toppings)
- Storage Instructions: Keep doughnuts at room temperature for 2 days; freeze for up to 1 month.
FAQ Section
Can I use instant yeast instead?
Yes! Instant yeast can be used directly without blooming. Just mix it into the flour.What if I don’t have a stand mixer?
You can definitely knead the dough by hand, just keep at it for about 10 minutes until smooth.How do I know when the oil is hot enough?
Use a thermometer or drop a small piece of dough into the oil; it should sizzle and rise to the surface.Can I bake instead of fry?
Absolutely! There are baking methods provided in the steps, making for a lighter version.How do I achieve a crunchier crust?
Reduce the frying temperature slightly and fry longer for a stronger outer layer.What is the best way to glaze my doughnuts?
Dip the warm doughnuts directly into your glaze to allow it to adhere in a lovely, even layer.How do I make flavor variations?
Incorporate spices, citrus zest, or even flavored extracts into your dough for different delights.What’s the difference between doughnuts and beignets?
While similar, beignets are typically square-shaped and French, and they’re often dusted with powdered sugar.Can I fill my doughnuts?
Yes! Use a pastry bag and fill them with jam, custard, or cream once they’ve cooled.What’s the best way to reheat doughnuts?
Pop them in the microwave for 10-15 seconds or bake them at 350 degrees F for a few minutes to warm them up.
Conclusion
These homemade doughnuts are a slice of heaven that’s filled with nostalgia, warmth, and love—the perfect recipe to bring your family together and create sweet memories! I encourage you to give this doughnut recipe a try; I promise you won’t regret it! Once you do, come back and let me know how they turned out or share your own unique twist! For more delicious recipes, check out my other delightful bakes on the blog that’ll bring that bakery vibe right to your kitchen.

Homemade Doughnuts
- Total Time: 90 minutes
- Yield: 32 servings 1x
- Diet: Vegetarian
Description
A nostalgic recipe for fluffy, homemade doughnuts that evoke joyful memories while offering endless customization opportunities.
Ingredients
- 3/4 cup lukewarm water (about 105°F)
- 1/4 cup granulated sugar
- 1 packet (2 1/4 teaspoons) active dry yeast
- 1/2 cup whole milk, room temperature
- 1 large egg, room temperature
- 3 1/2 cups all-purpose flour
- 1/2 teaspoon kosher salt
- 2 tablespoons unsalted butter, softened
- Vegetable oil, for frying
- Confectioners’ sugar, for dusting
Instructions
- Activate yeast: In a medium bowl, whisk together the lukewarm water, sugar, and yeast. Let it sit for 5 – 10 minutes or until it becomes foamy.
- Mix ingredients: In a stand mixer fitted with a dough hook, combine flour and salt. Gradually add the yeast mixture and softened butter. Mix until just combined.
- Knead the dough: Increase the mixer speed to medium, kneading the dough for 2 – 3 minutes until it’s smooth and pulls away from the sides of the bowl.
- Let it rise: Transfer the dough to a greased bowl, cover it with a damp cloth, and let it rise until it doubles in size, about 1 – 2 hours.
- Shape the dough: Roll out the dough onto a floured surface into a rectangle about 1/4 to 1/2 inch thick. Cut into 32 squares.
- Fry: Heat vegetable oil in a large pot to 360°F. Fry the dough squares in batches for 30 seconds to 1 minute per side until golden brown. Dust with confectioners’ sugar.
- Bake Option: Line baking sheets with parchment paper, let the dough rise again for 45 minutes, brush with milk, then bake at 350°F for 12-15 minutes.
- Air Fry Option: Preheat your air fryer to 350°F and place dough squares in single layers. Cook for 2-3 minutes and dust with confectioners’ sugar.
Notes
Keep doughnuts in an airtight container at room temperature for up to 2 days, or freeze for up to 1 month.
- Prep Time: 30 minutes
- Cook Time: 10 minutes
- Category: Dessert
- Method: Frying
- Cuisine: American
Nutrition
- Serving Size: 1 doughnut
- Calories: 150
- Sugar: 6g
- Sodium: 50mg
- Fat: 7g
- Saturated Fat: 4g
- Unsaturated Fat: 2g
- Trans Fat: 0g
- Carbohydrates: 20g
- Fiber: 0g
- Protein: 3g
- Cholesterol: 20mg
🥗 Free Custom Keto Meal Plan?
Do you want to lose weight while still enjoying delicious Asian & Thai Fusion meals? Take this quick quiz to get your personalized Keto plan based on your favorite foods!
- ✅ No more guessing what to eat
- ✅ Delicious & easy-to-make recipes
- ✅ Tailored to your body type
Get My Custom Plan Now! →
*Over 100,000+ people have transformed their lives with this quiz.