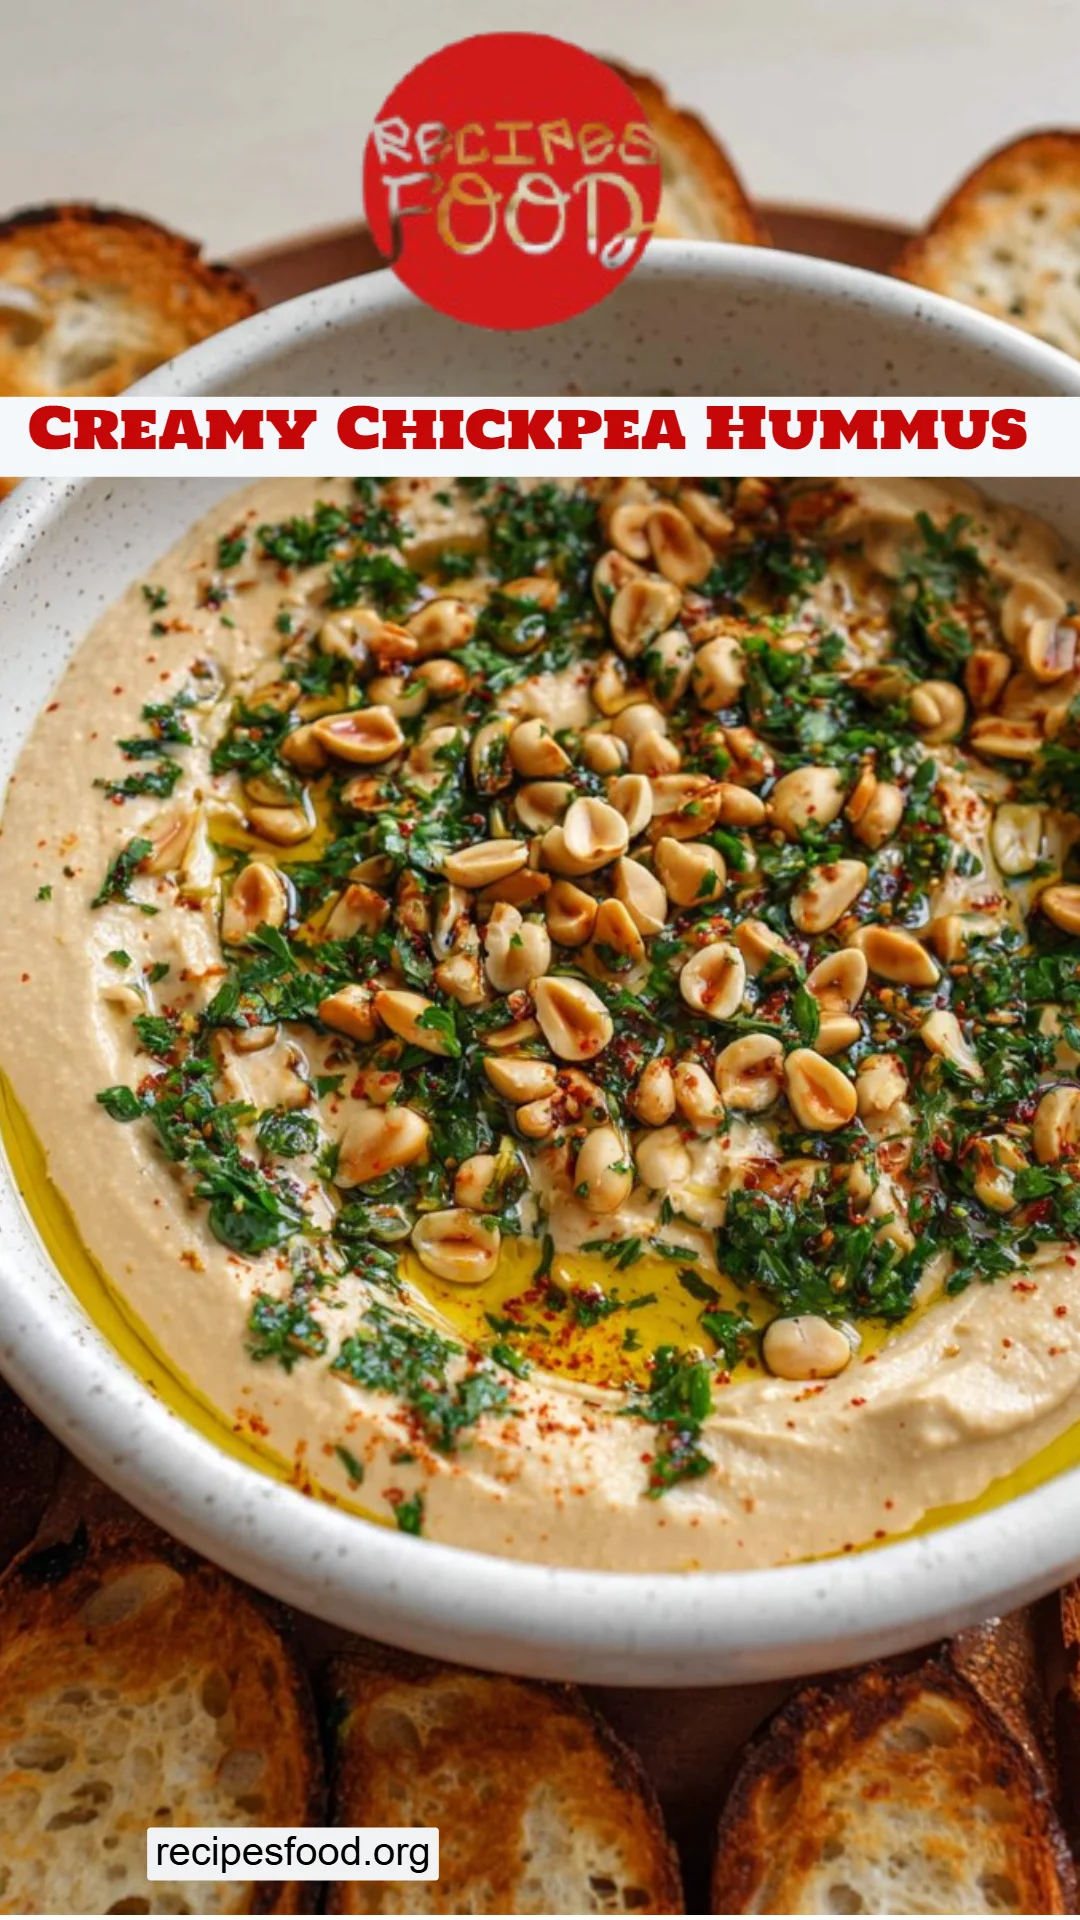
Ultimate Creamy Chickpea Hummus: Your New Go-To Recipe!
It’s Saturday afternoon, and the sun’s streaming through my kitchen window, casting a warm glow over my countertop. I’ve just returned from a bustling local farmer’s market, overflowing with fresh produce and vibrant spices. As I rummage through my bag, I come across a can of chickpeas—my trusty secret weapon for the week. This is the start of my favorite weekend ritual: whipping up a batch of Creamy Chickpea Hummus.
Every spoonful of hummus is a memory, a connection to warm family gatherings where we’d dip fresh veggies and pita bread into big bowls of this velvety delight. The wonderful thing about this recipe is its simplicity and adaptability; it’s much creamier and more flavor-packed than any store-bought version, thanks to the addition of peanut butter and perfectly roasted spices.
I promise you, once you try this at home, you’ll understand why this creamy concoction is beloved in kitchens everywhere. So grab your food processor, and let’s dive into the world of hummus—you’re guaranteed to learn tips and tricks to make this a crowd-pleaser that even the most discerning taste buds will adore!
What Are Creamy Chickpea Hummus?
Hummus has a rich history that spans centuries and cultures, originating in the Middle East, where it is traditionally made with mashed chickpeas, tahini, olive oil, lemon juice, and garlic. Its creamy texture and nutty flavor have earned it fans worldwide, transforming it from a humble staple into a dazzling dip or spread.
The star ingredient, chickpeas, give this hummus its buttery base—a canvas waiting for flavors. Our version incorporates nutty peanut butter, elevating the depth of flavor while offering a rich, lush texture that spreads beautifully on warm pita or fresh veggies.
Perfect for parties or as a protein-packed snack, our Creamy Chickpea Hummus can be made ahead, making it the go-to choice for entertaining or meal prepping. Whether you serve it at a casual gathering or on a busy weekday, this dish promises to comfort and satisfy.
Why You’ll Love This Recipe
Better than Store-Bought: Let’s face it—nothing compares to homemade hummus. This version is a game-changer with a creaminess that most pre-packaged varieties can’t compete with. The combination of peanut butter and spices makes for a flavor explosion in every bite!
Cost-Effective: You may think that gourmet hummus comes at a premium price, but my recipe proves otherwise. You can whip up a sizable batch at home for a fraction of the cost of store-bought dips while controlling the flavor and ingredient quality.
Customization Galore: Feel free to mix and match flavors! Love spicy? Add a dash of cayenne. Prefer a hint of sweetness? A touch of maple syrup works wonders. The version I share can be easily tweaked to fit your palate.
A Breeze to Make: This recipe is straightforward, requiring minimal prep time. In less than 15 minutes, you’ll have a delectable dish ready to serve, so even the busiest of you can find time to enjoy this treat.
Family-Friendly and Nutritious: Packed with protein and fiber from the chickpeas, this hummus makes a wholesome snack for the whole family. I can assure you, my kids can’t resist this dip, and it’s a great way to sneak in some extra nutrition when paired with fresh veggies.
Ingredients
- 1 x 400g can chickpeas, drained (reserve the liquid, known as aquafaba)
- 2 cloves garlic, minced
- 1/4 cup peanut butter (creamy or crunchy based on preference)
- Juice of 1/2 lemon
- 1 teaspoon ground coriander
- 1 teaspoon ground cumin
- 1 teaspoon onion powder
- 1/2 to 1 teaspoon salt, to taste
- 1/3 cup reserved chickpea liquid (adjust for consistency)
Ingredient Notes:
Quality Matters: Opt for high-quality peanut butter with no additives for the best flavor. Skippy and Jif work well if you prefer traditional brands, while Crazy Richard’s offers a great natural option.
Fresh vs. Canned Chickpeas: While canned is convenient, if you have the time, soaking and cooking dried chickpeas will provide a superior flavor.
Lemon Juice: Freshly squeezed lemon juice is always better than bottled for this recipe’s brightness.
Substitutions: Allergy to peanuts? Use tahini instead or even sunflower seed butter for a nut-free version.
Preparation Tips:
- Let the peanut butter sit at room temperature for easier mixing.
- Ensure your chickpeas are drained but keep the liquid handy to adjust the hummus’s consistency.
Step-by-Step Instructions
Drain the Chickpeas: Begin by draining the 400g can of chickpeas, and make sure to reserve the liquid; this aquafaba will be your lifeline for achieving that perfect creamy texture.
Blend the Base: In a food processor or high-speed blender, add the drained chickpeas, peanut butter, minced garlic, lemon juice, cumin, coriander, and salt.
Thin It Out: Pour in 1/3 cup of the reserved chickpea liquid to kickstart blending. You can always add more if needed.
Process to Perfection: Blend for about 2 to 3 minutes, pausing to scrape down the sides. The goal is super smooth and creamy—if it looks grainy, continue blending.
Ice Cube Trick: Here’s a pro tip—after reaching the desired smoothness, drop in an ice cube and blend again. This keeps your hummus fresh and fluffy.
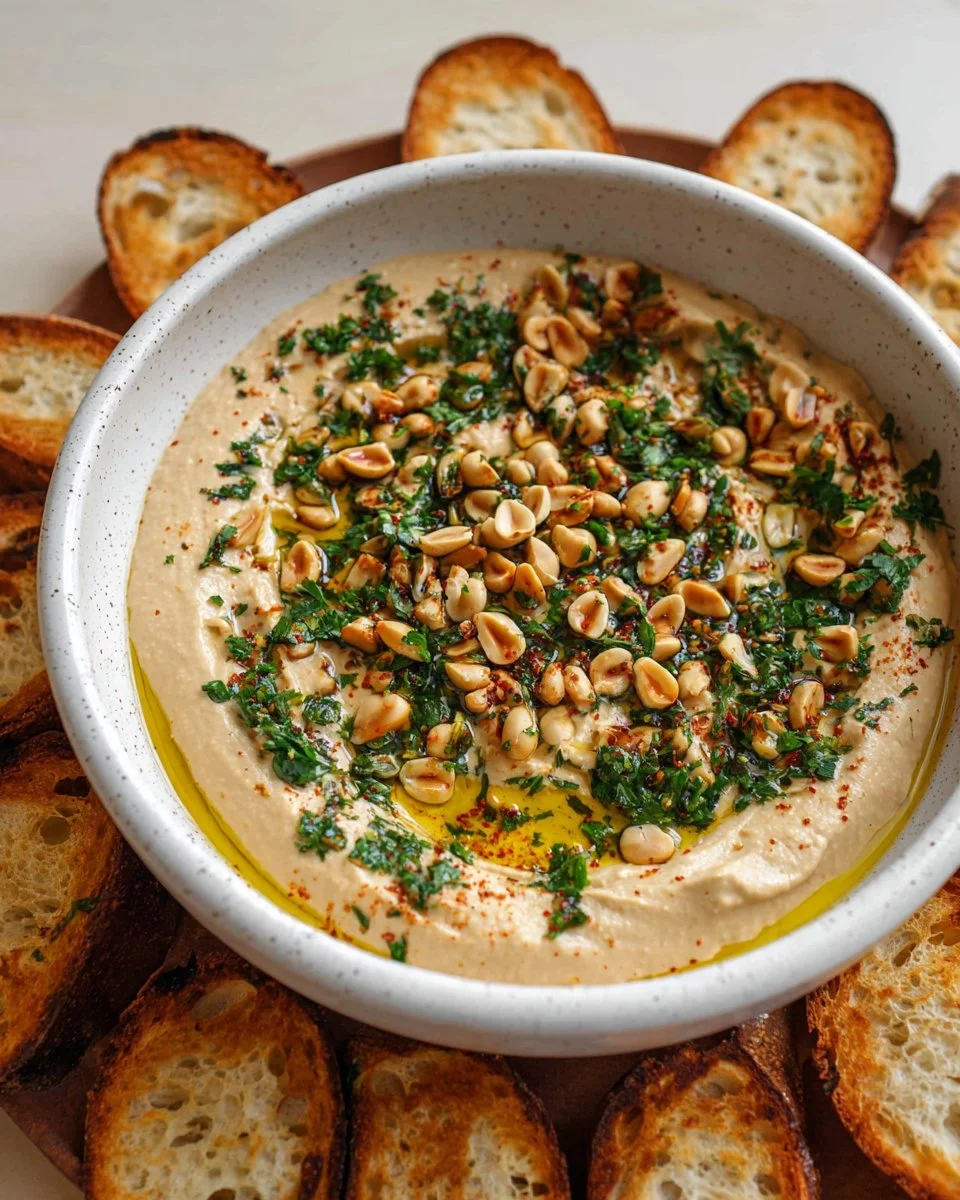
Add Some Flair: Spoon your hummus into a serving bowl and garnish it with a drizzle of olive oil, a sprinkle of cumin, fresh herbs, and roasted peanuts for a delightful presentation!
Chef’s Tips:
- Don’t skimp on adjusting the salt and seasoning; these small tweaks make a huge difference!
- Use a spatula to help scrape down the sides for an evenly blended hummus.
- If your hummus is too thick, blend in more reserved aquafaba little by little.
Common Mistakes to Avoid:
- Too much salt can overwhelm other flavors. Start small and taste as you go!
- Blending for too long can heat the hummus slightly, affecting its freshness.
Expert Tips & Tricks
Storage: Store your homemade hummus in an airtight container in the fridge; it will usually last about 4-5 days. For longer storage, freeze portions in ice cube trays and transfer them to a freezer bag once frozen.
Make-Ahead: This hummus tastes even better after sitting for a few hours or overnight, allowing the flavors to develop.
Troubleshooting:
- If your hummus is too thick, gradually blend in reserved chickpea liquid.
- If it’s too thin, maintain blending longer or add more chickpeas!
Best Flavor: For an extra burst of flavor, consider adding herbs like parsley or cilantro into the blender.
Presentation: Drizzle with olive oil and sprinkle with your favorite spices or chopped nuts right before serving to entice guests.
Serving Suggestions
Dazzle your guests or family by serving your Creamy Chickpea Hummus alongside an array of colorful veggies, pita chips, or warm naan bread. For a gorgeous presentation, serve in a rustic bowl with your garnishes artfully arranged.
This hummus shines at parties, barbeques, and as a healthy nibble while you’re binge-watching your favorite show. It’s versatile enough to serve as an appetizer, side dish, or even in a wrap!
Variations & Substitutions
Want to jazz up your hummus? Here are a few variations to try:
Spicy Hummus: Kick it up a notch by adding sriracha or red pepper flakes for a spicy version.
Herb-Infused: Blend in fresh basil or mint for a refreshing twist, perfect for summer parties.
Sun-Dried Tomato: Add chopped sun-dried tomatoes for a Mediterranean flair.
Greek-Inspired: Mix in some feta cheese and olives for a Greek-inspired spread.
Dietary Adaptations:
- Vegan: This recipe is already vegan—use plant-based options without worry!
- Nut-Free: Substitute peanut butter with tahini or sunflower seed butter.
Nutrition & Storage Info
- Prep Time: 10 minutes
- Cook Time: 0 minutes
- Total Time: 10 minutes
- Yield: Approximately 2 cups (serves about 8)
- Estimated Calories: 100 calories per serving (2 tablespoons)
Storage Instructions:
- Room Temp: Best enjoyed fresh. Don’t leave out for longer than 2 hours.
- Fridge: Store in an airtight container for up to 5 days.
- Freezer: Store for up to 3 months in a freezer-safe container or ice cube trays.
FAQ Section
Can I use dried chickpeas instead of canned?
Yes! You’ll need to soak and cook them first—about a cup of dried chickpeas will yield the right amount.What’s the best way to serve hummus?
Offer a variety of accompaniments: raw veggies, pita chips, or grilled flatbreads are all excellent choices.How do I adjust the consistency of my hummus?
Gradually add reserved chickpea liquid until you achieve your desired creaminess.Can I make this ahead of time?
Absolutely! It actually tastes even better after letting it sit for a bit.What should I do if my hummus is too salty?
If it’s too salty, you can balance it with a few more chickpeas or some more peanut butter.Is it possible to make hummus without peanut butter?
Yes, you can use tahini or simply omit it for a lighter version.How can I make my hummus more flavorful?
Experiment with spices like smoked paprika, cayenne, or fresh herbs to elevate flavor.Can I add avocado to this recipe?
Yes! Adding ripe avocado will give it a beautiful color and extra creaminess.Is this recipe gluten-free?
Yes, all the ingredients are gluten-free, making this a great dip for everyone!How can I make my hummus spicier?
Add crushed red pepper flakes, jalapeños, or sriracha to give it a spicy kick.
Conclusion
This Creamy Chickpea Hummus is more than just a dip—it’s a delicious, nostalgic journey that brings family and friends together. With its rich and flavorful profile, along with the promise of adaptability, you’ll find this recipe to be a staple in your kitchen. I encourage you to try it out and play with the flavors; I’d love to hear how it turns out for you!
Don’t forget to share your thoughts in the comments below, and check out my other related recipes right here on the blog. Happy dipping!
Ultimate Creamy Chickpea Hummus
- Total Time: 10 minutes
- Yield: 8 servings 1x
- Diet: Vegan
Description
A simple and adaptable homemade chickpea hummus that is creamier and more flavorful than store-bought versions, perfect for parties and as a nutritious snack.
Ingredients
- 1 x 400g can chickpeas, drained (reserve the liquid, known as aquafaba)
- 2 cloves garlic, minced
- 1/4 cup peanut butter
- Juice of 1/2 lemon
- 1 teaspoon ground coriander
- 1 teaspoon ground cumin
- 1 teaspoon onion powder
- 1/2 to 1 teaspoon salt, to taste
- 1/3 cup reserved chickpea liquid
Instructions
- Drain the chickpeas, reserving the liquid for later.
- Blend the chickpeas, peanut butter, garlic, lemon juice, cumin, coriander, and salt in a food processor.
- Pour in the reserved chickpea liquid to start blending.
- Process for 2 to 3 minutes until creamy, scraping down the sides as needed.
- Add an ice cube and blend again for freshness.
- Serve in a bowl, garnished with olive oil, cumin, fresh herbs, and roasted peanuts.
Notes
Adjust seasoning and liquid for desired consistency. Hummus tastes better after sitting for a few hours or overnight.
- Prep Time: 10 minutes
- Cook Time: 0 minutes
- Category: Appetizer
- Method: Blending
- Cuisine: Middle Eastern
Nutrition
- Serving Size: 2 tablespoons
- Calories: 100
- Sugar: 1g
- Sodium: 200mg
- Fat: 6g
- Saturated Fat: 1g
- Unsaturated Fat: 5g
- Trans Fat: 0g
- Carbohydrates: 9g
- Fiber: 3g
- Protein: 4g
- Cholesterol: 0mg
🥗 Free Custom Keto Meal Plan?
Do you want to lose weight while still enjoying delicious Asian & Thai Fusion meals? Take this quick quiz to get your personalized Keto plan based on your favorite foods!
- ✅ No more guessing what to eat
- ✅ Delicious & easy-to-make recipes
- ✅ Tailored to your body type
Get My Custom Plan Now! →
*Over 100,000+ people have transformed their lives with this quiz.