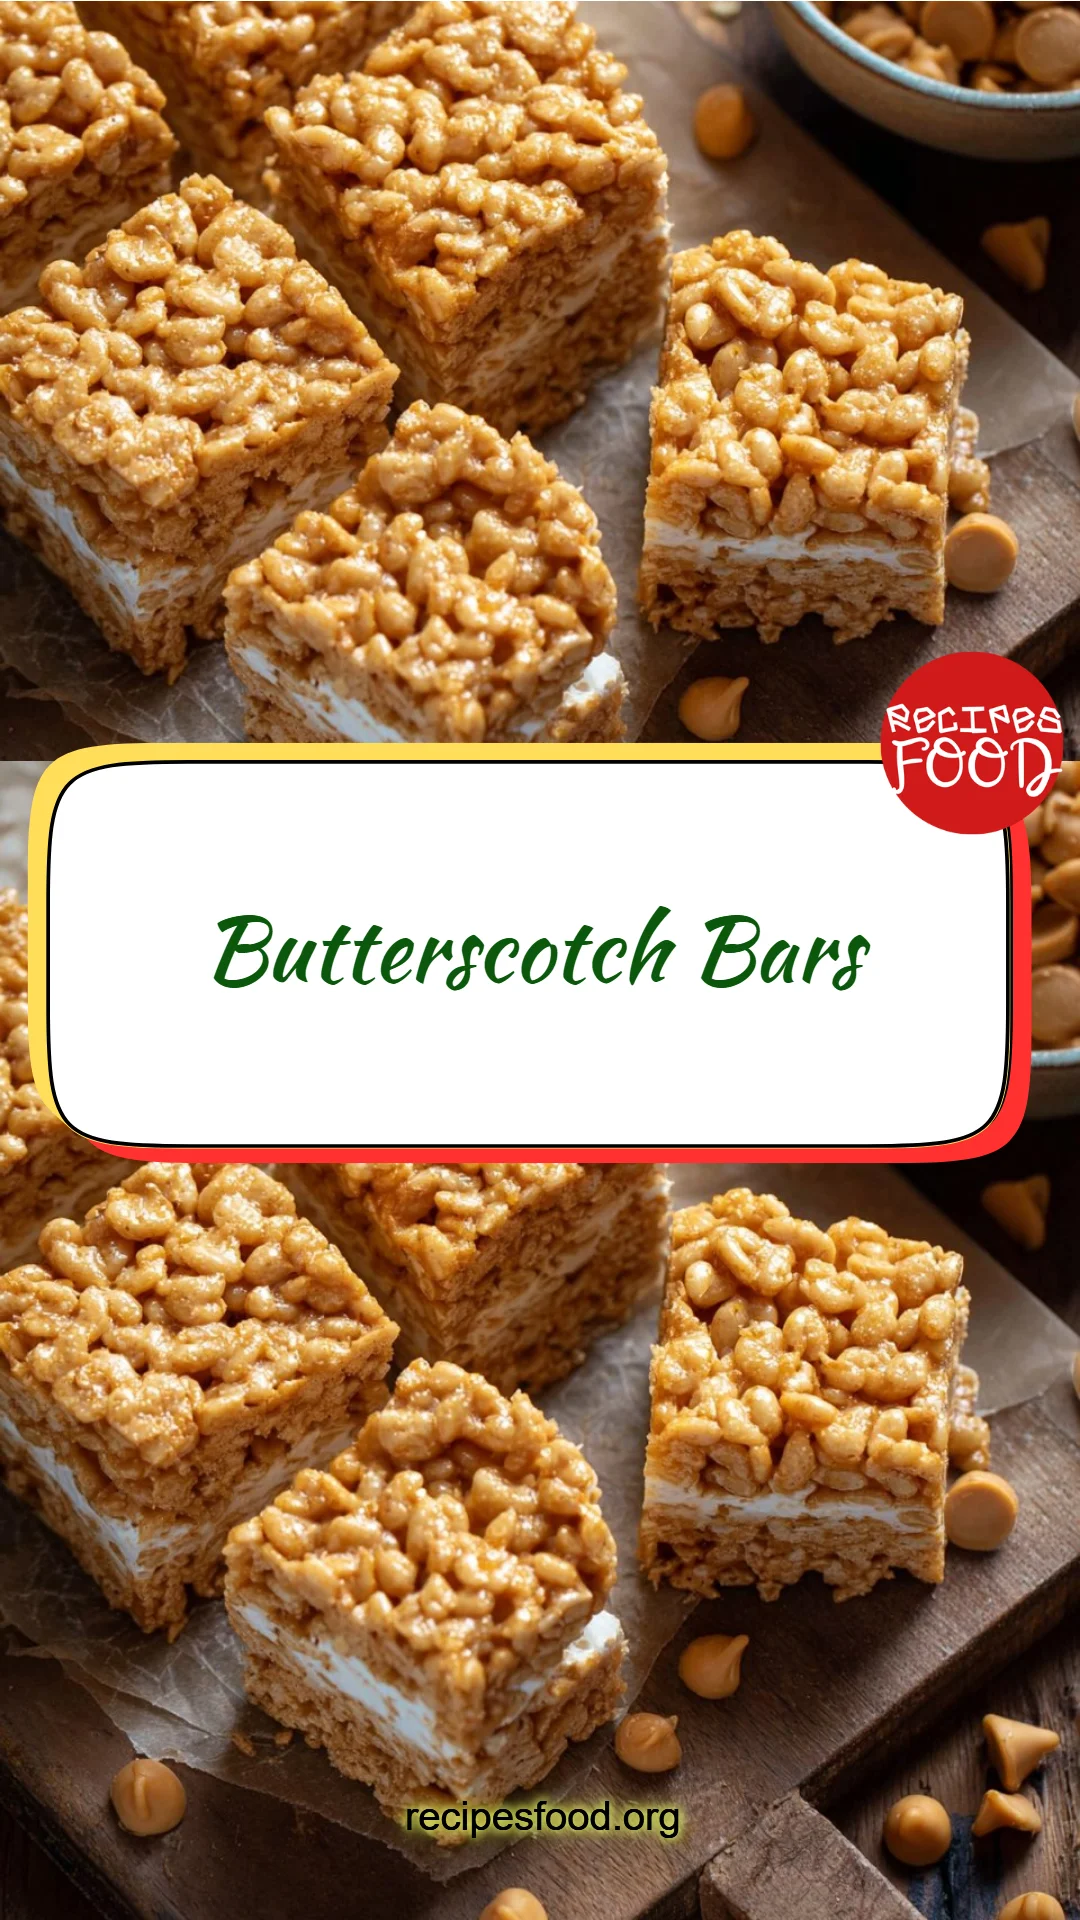
Heavenly Butterscotch Bars: A Sweet Taste of Nostalgia
Ah, Butterscotch Bars! Just the mention of their name conjures memories of my grandmother’s cozy kitchen, where the sweet, buttery aroma filled the air while we eagerly awaited our after-school treat. It was a ritual: a soft, golden gooeyness nestled atop a crunchy base, each bite crafting whispers of comfort and bliss. These bars aren’t just treats; they embody family gatherings, lazy Sunday afternoons, and those moments when life’s sweetness feels just a bit brighter.
What makes my Butterscotch Bars recipe stand out? It’s all about that perfect blend of creamy peanut butter and buttery butterscotch, combined with chewy marshmallows that elevate the taste buds. Trust me, once you sink your teeth into these delightful bars, you’ll never go back to the store-bought versions; they simply can’t compare. In this post, I promise you’ll learn everything from the unique origins of these treats to step-by-step instructions, ensuring a fun and breezy baking adventure. So, grab your apron and let’s get cooking!
What Are Butterscotch Bars?
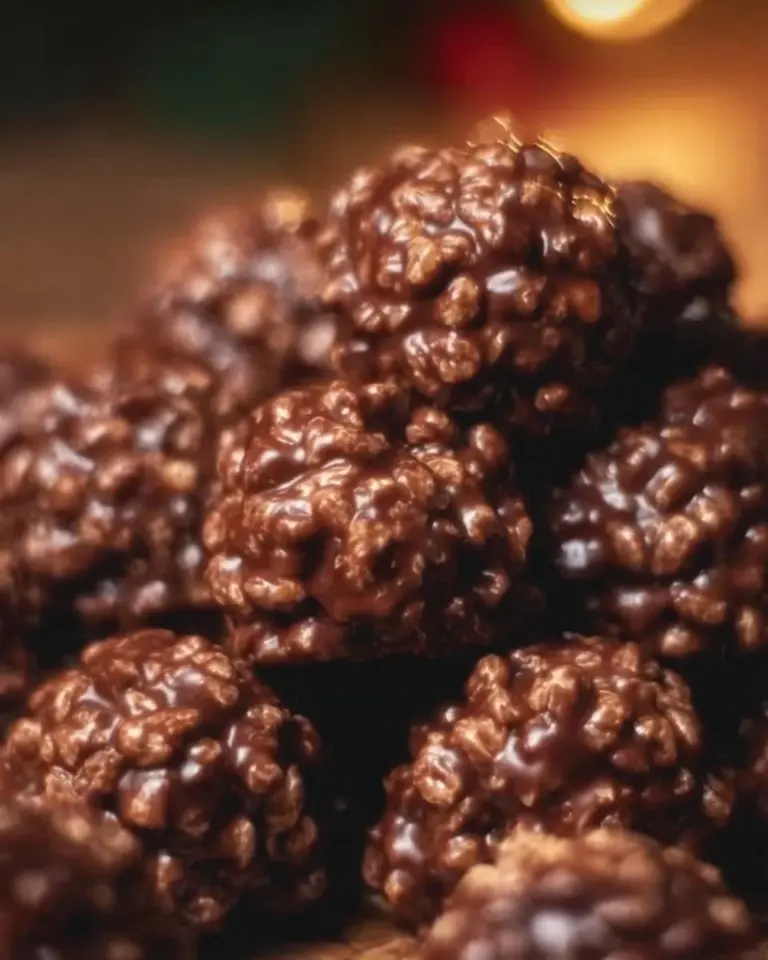
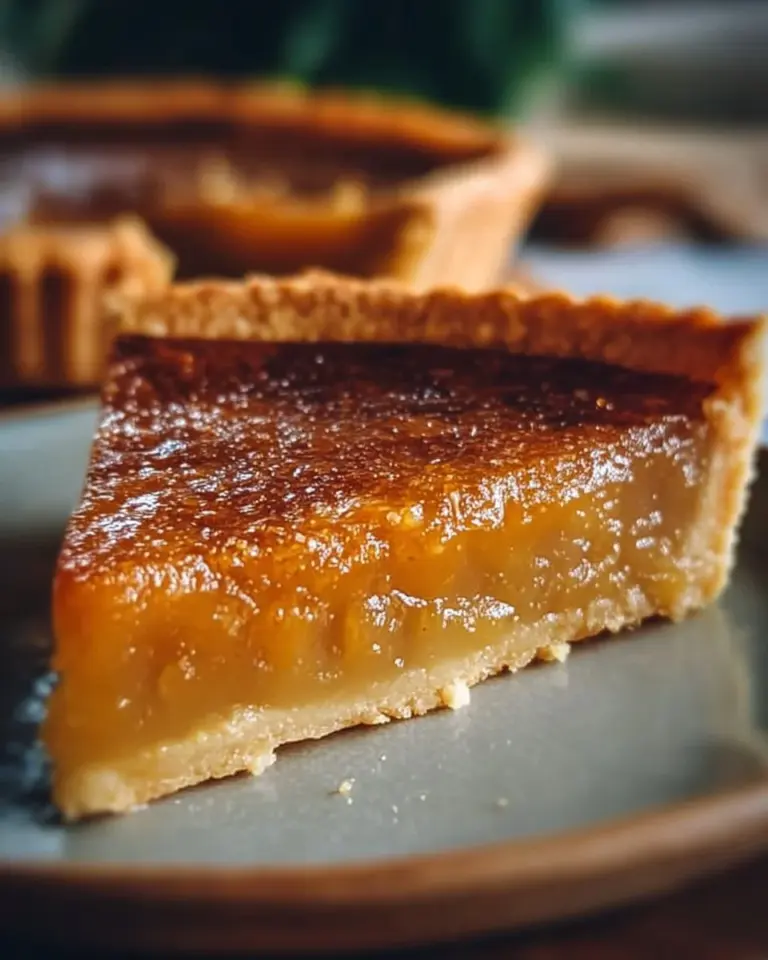
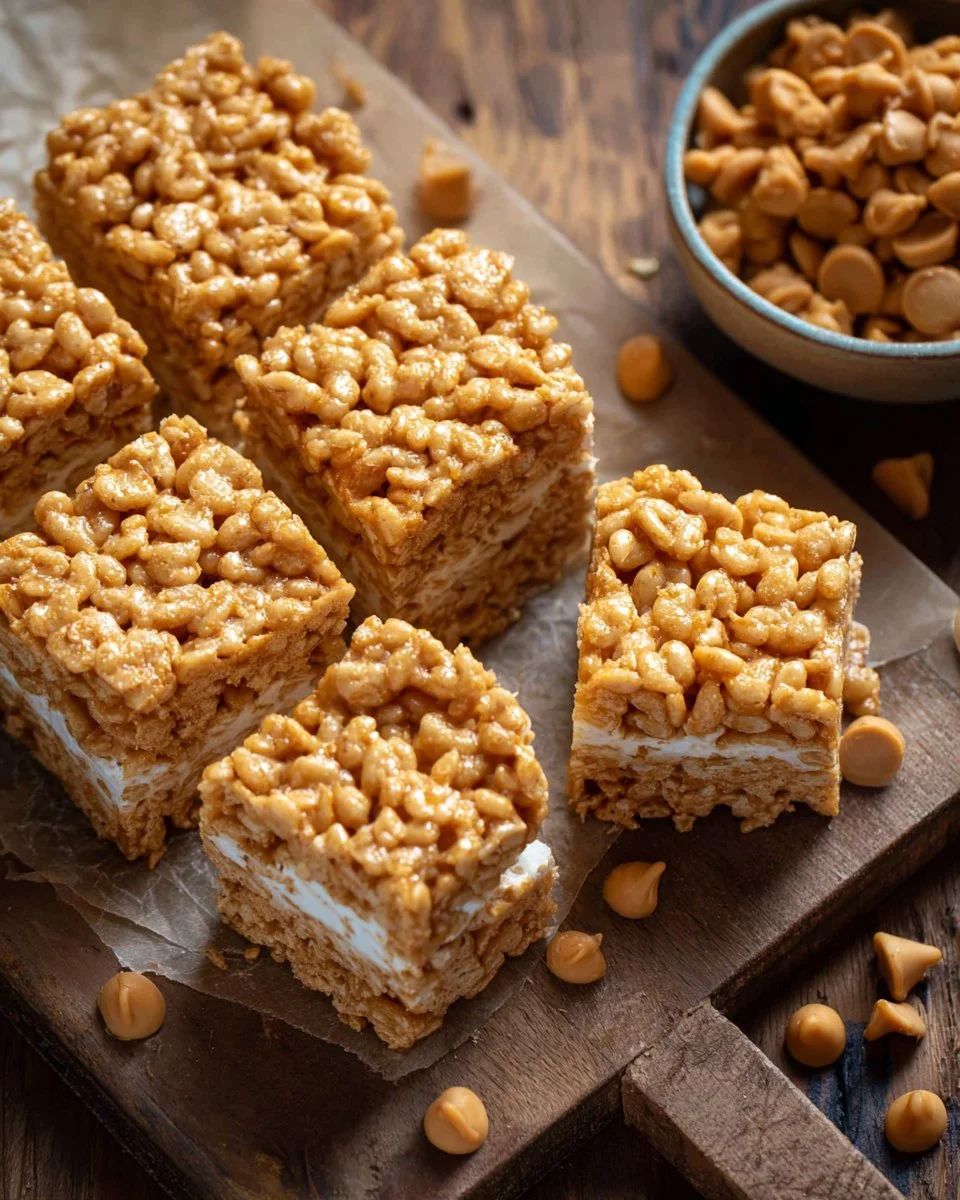
Butterscotch Bars have a delightful history that can be traced back to the practice of utilizing brown sugar and butter to create a rich, caramel-like flavor – hence the name "butterscotch." Commonly associated with sweet desserts, the bars themselves are an homage to this classic combination, boasting a rich, sweet, and slightly salty taste profile. Imagine biting into a slice of these bars: the top layer is chewy and gooey thanks to the marshmallows, and the bottom layer offers a crunchy counterpoint thanks to the crispy rice cereal.
What sets Butterscotch Bars apart is not just their deliciousness, but the simplicity of the ingredients that come together so harmoniously. These bars are perfect for any occasion, be it a birthday celebration, a potluck gathering, or simply a cozy night in with loved ones. Anytime you want to bring a smile to someone’s face, these bars are a fantastic choice!
Why You’ll Love This Recipe
Ease of Preparation: This Butterscotch Bars recipe is a breeze to follow. Even if you’re a novice baker, you’ll find that the steps are straightforward and require minimal equipment. In just a short time, you’ll create something that looks impressively homemade.
Cost-Effective: If you’re tired of splurging on expensive desserts from bakeries, this homemade alternative is both delicious and inexpensive. The ingredients are often pantry staples, meaning you likely won’t have to buy much.
Customization Galore: Want to switch things up? Feel free to customize the flavor profile! Add chocolate chips for extra richness, nuts for a crunchy bite, or a sprinkle of sea salt to enhance the flavors. The options are endless!
Better Than Store-Bought: You simply can’t beat the nostalgic flavor of homemade Butterscotch Bars. They’re fresh, so you can say goodbye to overly sweet, mass-produced versions. Your friends and family will thank you!
Time Investment: With a prep time of just 15 minutes and bake time of about 30 minutes, along with a cooling period of 8-12 hours, you’ll barely have to lift a finger. Then, once they’re ready, your patience will be rewarded tenfold!
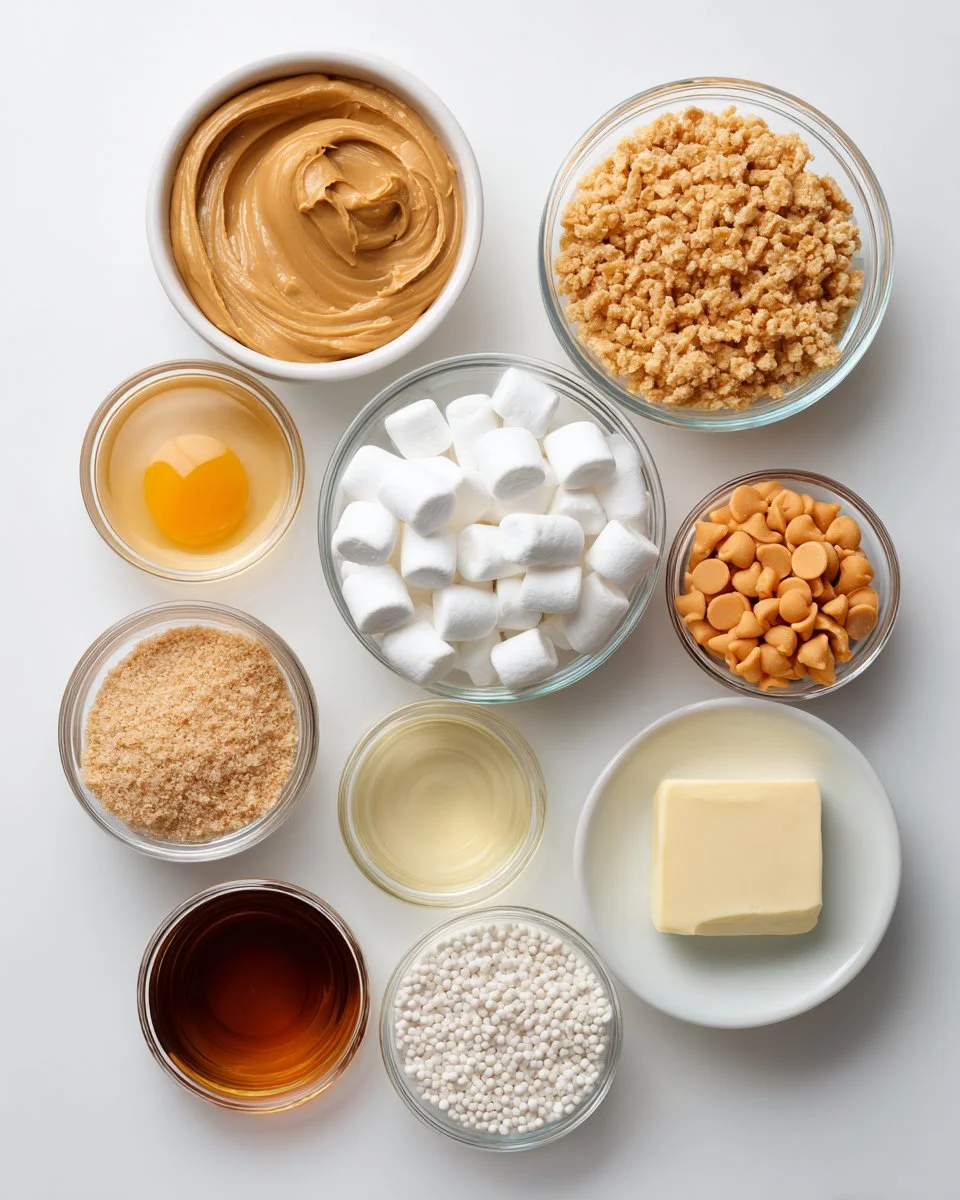
Ingredients
To create these delicious Butterscotch Bars, you’ll need:
- 1 cup (258 g) creamy peanut butter: Opt for a high-quality brand that offers a smooth texture for easy mixing.
- 1 cup (200 g) granulated sugar: Sweetens the base perfectly; feel free to use less for a less sweet version.
- 1 large egg, room temperature: Helps bind the ingredients together; make sure it’s at room temperature for even mixing.
- 1 package (10 ounces) mini marshmallows: These give a puffy, gooey texture when baked; don’t substitute or skip!
- 1 package (11 ounces) butterscotch chips: The star of the show! Go for a premium brand for the best flavor.
- 1/4 cup (1/2 stick / 57 g) unsalted butter: Adds richness; soften beforehand for easier blending.
- 2/3 cup (227 g) light corn syrup: Essential for that chewy texture; please don’t substitute it with anything else!
- 1 tablespoon vanilla extract: Elevates the overall flavor; use pure vanilla for the best results.
- 5 cups crispy rice cereal, like Rice Krispies: Provides the crunchy base; any brand will do, but I personally love the classic Rice Krispies!
Tips for Ingredient Quality
- Ensure your peanut butter is creamy for smoother texture.
- Always use fresh eggs for the best results.
Step-by-Step Instructions
Preheat oven to 350 degrees F (175 degrees C). This ensures your Butterscotch Bars bake evenly.
Line a 9×13-inch baking dish with parchment paper, letting the edges hang over for easy removal after baking.
In a medium bowl, mix the creamy peanut butter, granulated sugar, and the room-temperature egg together until well combined. It should be smooth and almost glossy.
Spread the mixture evenly in the lined baking dish. Bake for 14-15 minutes until just set and lightly golden – it should look slightly puffy and baked through.
Once out of the oven, carefully sprinkle the mini marshmallows over the warm crust and return to the oven for another 7 minutes. The marshmallows will puff up beautifully!
In a separate pot over medium heat, melt the butterscotch chips, unsalted butter, light corn syrup, and vanilla extract together. Stir it frequently until everything is melted and well combined.
Once melted, fold in the crispy rice cereal until thoroughly coated. You want every single bit of cereal to glisten with that luscious butterscotch goodness.
Carefully spread the cereal mixture over the puffy marshmallows, making sure it’s evenly distributed.
Finally, let your creation cool for 8-12 hours at room temperature before cutting into squares and serving. Trust me, the wait is worth it!
Chef’s Tips
- Watch out: If you overbake the peanut butter base, it will become dry.
- For an elegant presentation, after they cool, drizzle chocolate on top.
Expert Tips & Tricks
Chill in the Fridge: If you want to speed up the cooling process, place the bars in the fridge for 2-3 hours.
Storage: Store in an airtight container at room temperature, and they should last for about a week. If you want to keep them longer, they also freeze well for up to 3 months.
Make-Ahead: These bars are great for preparation a day ahead. Just be sure to give them plenty of time to cool before sealing them in the container.
Common Mistakes to Avoid: Don’t skip on softening the butter and making sure your marshmallows are fresh for the best texture.
Cutting Tips: Use a sharp, non-serrated knife and warm it under hot water for clean cuts.
Serving Suggestions
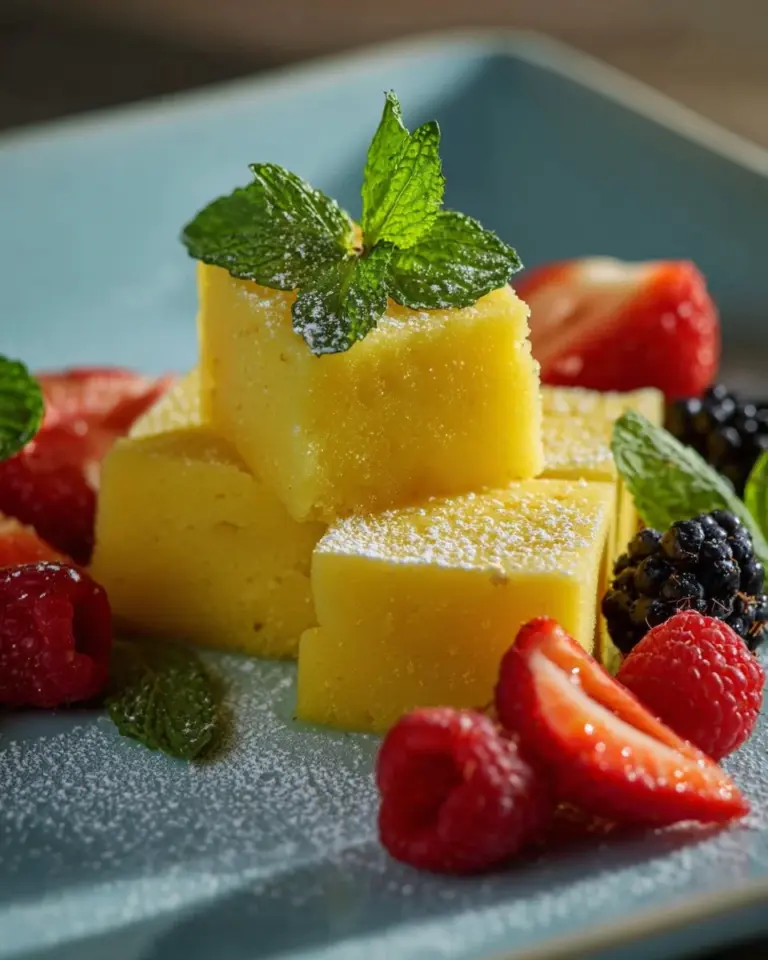
These delectable Butterscotch Bars are delightful on their own, but pair them with a scoop of vanilla ice cream for an indulgent dessert. Drizzle some caramel sauce on top for extra flair or serve alongside fresh berries for a dash of color. They’re perfect for bake sales, birthday parties, or just a cozy family night!
Variations & Substitutions
- Chocolate Lovers: Add a layer of chocolate chips or make a chocolate version using chocolate peanut butter.
- Healthier Twist: Swap out regular rice cereal for whole grain or gluten-free options.
- Seasonal Flavors: Try adding pumpkin spice or crushed peppermint candies for seasonal variations during fall and winter.
Nutrition & Storage Info
- Prep Time: 15 minutes
- Cook Time: 30 minutes
- Total Time: 8-12 hours (cooling time)
- Yield: Approximately 24 servings
- Estimated Calories per Serving: 150 calories
- Storage Instructions: Keep in an airtight container at room temperature for about a week, or freeze for up to three months.
FAQ Section
Can I use crunchy peanut butter?
- Yes, but keep in mind it will alter the texture slightly, adding more crunch.
Which brand of butterscotch chips do you recommend?
- I love using Ghirardelli or Nestle for their rich flavor.
Can I make these without corn syrup?
- It’s essential for texture, but you could try agave syrup as a substitute.
How can I make this gluten-free?
- Ensure your crispy rice cereal is labeled gluten-free, and the rest of the ingredients should typically be gluten-free.
What is the best way to cut these bars?
- Use a sharp knife warmed in hot water for clean edges.
Can I add nuts to the mix?
- Absolutely! Chopped peanuts or walnuts can add great flavor and texture.
How can I ensure my bars are chewy?
- Make sure to follow the baking times closely and let them cool completely for the best consistency.
What if I want to make these dairy-free?
- Use dairy-free chips and butter substitutes, and adjust as needed.
Is there a way to make them lower in sugar?
- You can reduce the sugar quantity, but the texture might be slightly different.
What’s the best way to reheat leftovers?
- Microwave for 10 seconds to slightly warm them up; this enhances the gooeyness!
Conclusion
These Butterscotch Bars are truly a culinary hug for the soul! Their combination of flavors and textures will transport you straight into happy memories and delightful indulgence. I encourage you to give this recipe a whirl – your family (and perhaps your taste buds) will be forever grateful. Don’t forget to share your feedback in the comments; I’d love to hear how your bars turned out! And if you’re looking for more mouthwatering dessert ideas, be sure to check out my other recipes on the blog. Happy baking!
Print
Heavenly Butterscotch Bars
- Total Time: 480 minutes
- Yield: 24 servings 1x
- Diet: Vegetarian
Description
Delicious Butterscotch Bars with a chewy marshmallow topping and a crunchy crispy rice base.
Ingredients
- 1 cup (258 g) creamy peanut butter
- 1 cup (200 g) granulated sugar
- 1 large egg, room temperature
- 1 package (10 ounces) mini marshmallows
- 1 package (11 ounces) butterscotch chips
- 1/4 cup (1/2 stick / 57 g) unsalted butter
- 2/3 cup (227 g) light corn syrup
- 1 tablespoon vanilla extract
- 5 cups crispy rice cereal, like Rice Krispies
Instructions
- Preheat oven to 350 degrees F (175 degrees C).
- Line a 9×13-inch baking dish with parchment paper.
- Mix the creamy peanut butter, granulated sugar, and room-temperature egg until smooth.
- Spread the mixture evenly in the lined baking dish and bake for 14-15 minutes.
- Sprinkle the mini marshmallows over the warm crust and return to the oven for another 7 minutes.
- Melt the butterscotch chips, unsalted butter, light corn syrup, and vanilla extract in a pot over medium heat.
- Fold in the crispy rice cereal until thoroughly coated.
- Spread the cereal mixture over the puffy marshmallows and let cool for 8-12 hours before serving.
Notes
Drizzle melted chocolate on top for an elegant presentation. Store in an airtight container.
- Prep Time: 15 minutes
- Cook Time: 30 minutes
- Category: Dessert
- Method: Baking
- Cuisine: American
Nutrition
- Serving Size: 1 serving
- Calories: 150
- Sugar: 11g
- Sodium: 100mg
- Fat: 7g
- Saturated Fat: 3g
- Unsaturated Fat: 4g
- Trans Fat: 0g
- Carbohydrates: 20g
- Fiber: 1g
- Protein: 3g
- Cholesterol: 40mg
🥗 Free Custom Keto Meal Plan?
Do you want to lose weight while still enjoying delicious Asian & Thai Fusion meals? Take this quick quiz to get your personalized Keto plan based on your favorite foods!
- ✅ No more guessing what to eat
- ✅ Delicious & easy-to-make recipes
- ✅ Tailored to your body type
Get My Custom Plan Now! →
*Over 100,000+ people have transformed their lives with this quiz.