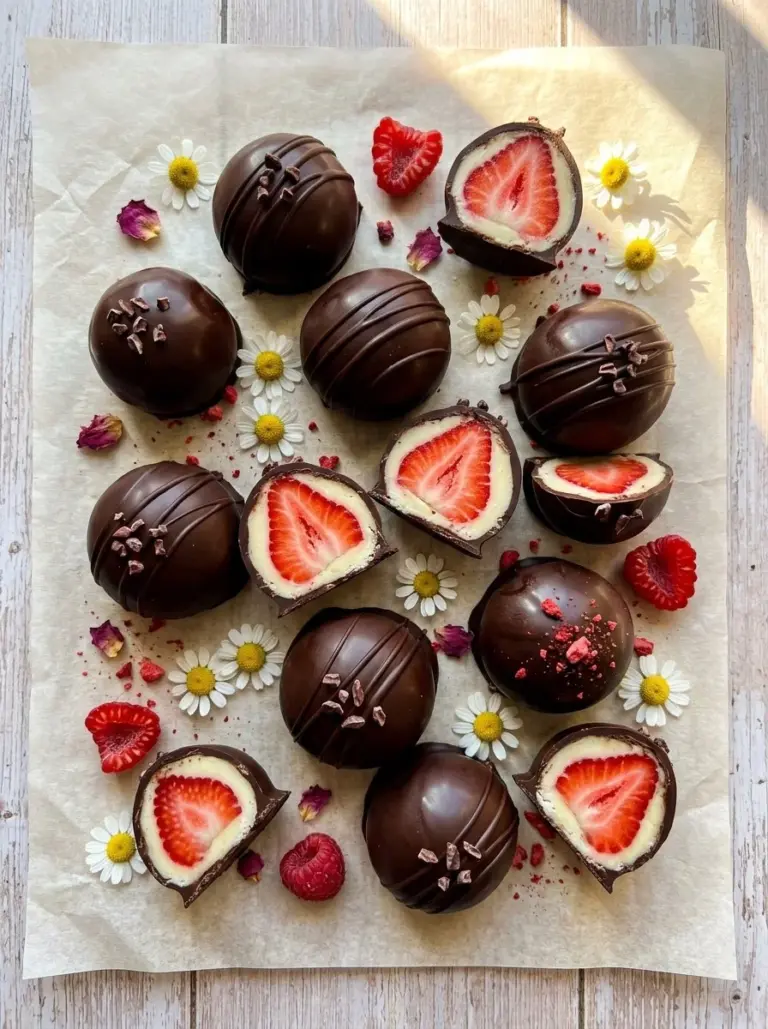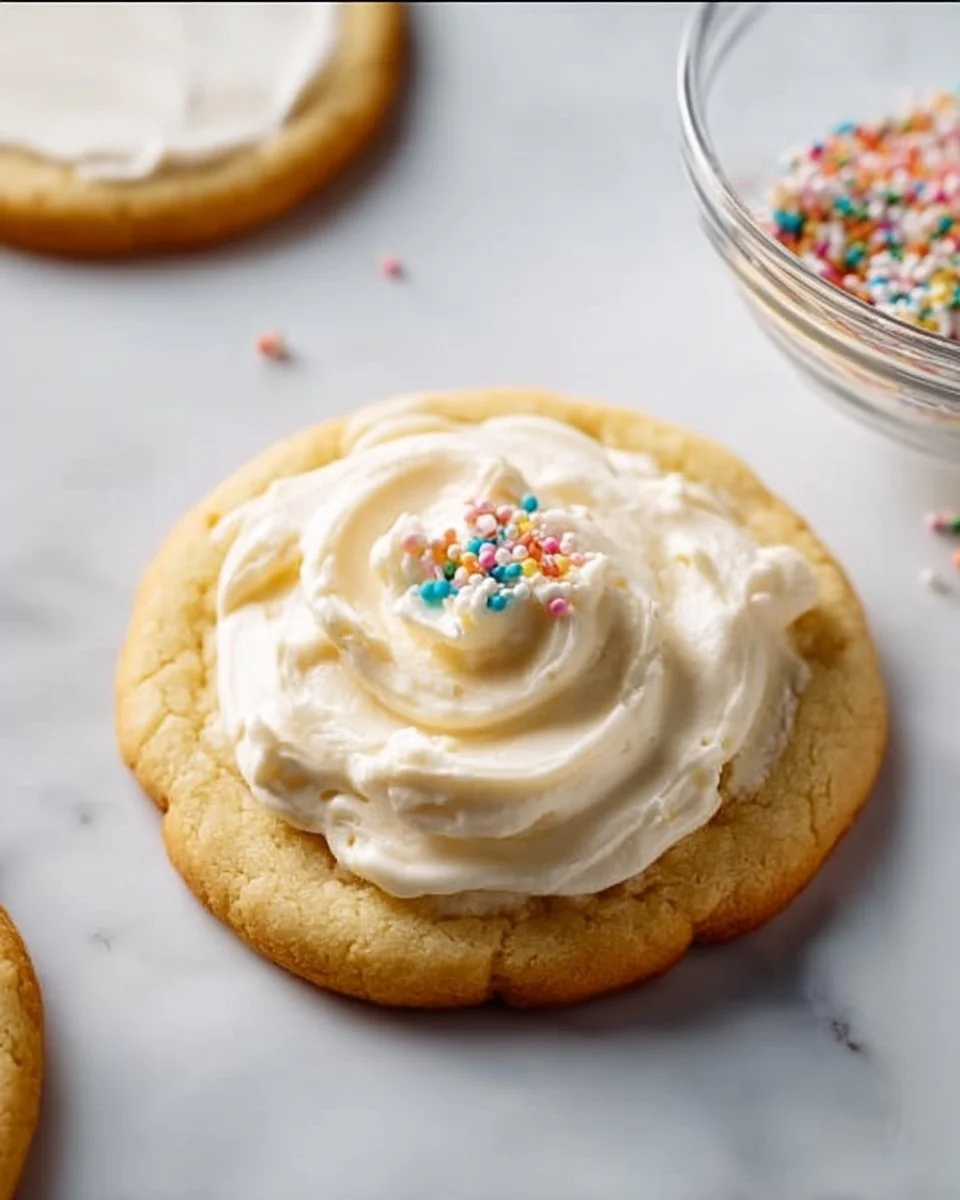
Delightful Cookie Frosting: The Perfect Touch for Your Sweet Treats
There’s a certain magic that happens when I whip up a batch of cookies and add the perfect finishing touch: frosting. As a child, I remember eagerly waiting for the holidays, not just for the presents, but for the spectacular decorated cookies that graced our dining table. My grandmother would let me go wild with colors and sprinkles, and those moments became some of my fondest memories. Today, I want to share a recipe that brings back that joy, something I call Cookie Frosting.
What makes this frosting special is its heavenly smooth texture and glossy finish, a stark contrast to the clunky store-bought versions that often leave you underwhelmed. This recipe is not only easy to whip up but also incredibly versatile! Whether you’re planning a birthday party or simply looking to treat yourself, this frosting is your go-to for transforming ordinary cookies into delightful masterpieces.
In today’s post, you’ll learn how to create the most scrumptious Cookie Frosting, from customization tips to the techniques I’ve perfected over years of baking. Let’s dive in together, shall we?
What Are Cookie Frosting?
Cookie Frosting isn’t just your average topping; it’s a delightful concoction that elevates your cookies to new heights. This frosting has roots in classic baking traditions where simple ingredients are combined to create something memorable. It’s sweet yet subtly rich, with just the right amount of thickness to hold its shape without being cloying.
The texture is glossy and smooth, making it easy to drizzle and swirl on cookies of all shapes and sizes. You’ll find that with Cookie Frosting, you have a blank canvas to explore: pipe intricate designs, layer colorful swirls, or flood entire cookie surfaces for a beautiful finish.
These frosted treats are perfect for celebrations, holidays, or just a cozy night in. Whenever you need a pick-me-up, decorating cookies with this frosting will invoke a sense of nostalgia and warmth.
Why You’ll Love This Recipe
Simple Ingredients: This recipe uses pantry staples like powdered sugar and vanilla extract that you likely already have at home. Why spend a fortune on store-bought frosting when you can whip this up in no time?
Customizable Flavors: Not a fan of vanilla? No problem! You can easily twist it by using almond extract or even adding cocoa powder for a chocolate version. The options are endless!
Affordability: Making your own frosting is incredibly cost-effective compared to splurging on fancy bakery toppings. With minimal investment, you can create delightful treats that impress.
Time Investment: With just a few minutes of mixing, you can have this frosting ready to go. It’s also a great bonding activity to do with kids or friends while preparing for a baking session.
Aesthetic Appeal: With its ability to take on vibrant colors, you can match your frosting to any occasion, making it visually appealing and fun! Plus, you’ll have complete control over its final look.
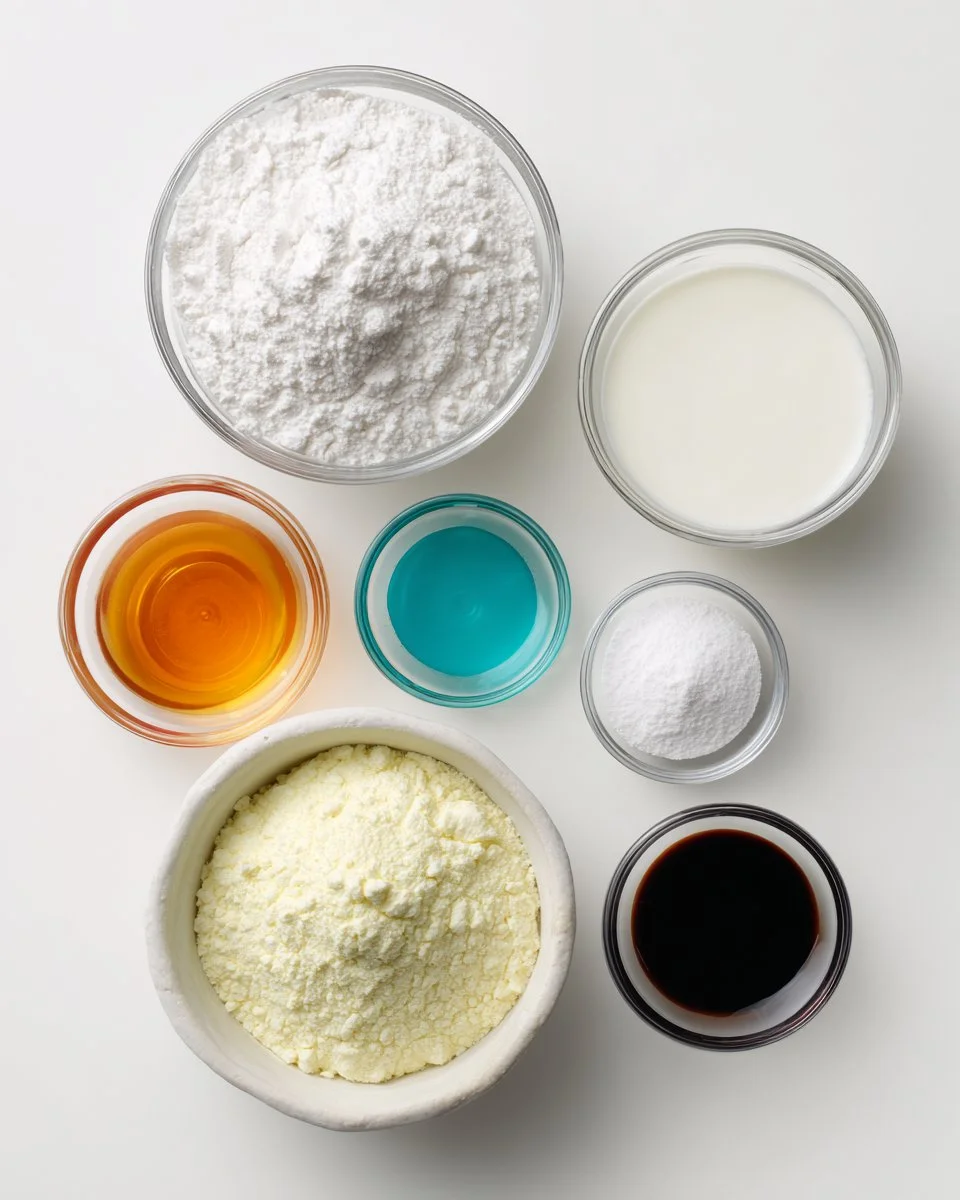
Ingredients
2 cups powdered sugar: Always sift before using for a smoother texture. Organic options can enhance quality.
2 tablespoons milk: Use whole milk for richness; dairy-free milk like almond or oat works too!
1 tablespoon corn syrup: This is the secret to achieving that glossy finish. Swap for light agave syrup if preferred.
1 teaspoon vanilla extract: Quality matters! Use pure vanilla for a more pronounced flavor.
Food coloring (optional): Gel colors provide vibrant hues without altering consistency.
Prep Notes:
- Ensure any butter used is at room temperature for the best blending.
- Measure ingredients accurately for consistent results.
Step-by-Step Instructions
Mixing the Base:
In a mixing bowl, combine the powdered sugar, milk, corn syrup, and vanilla extract. Use an electric mixer on low speed to start, gradually increasing to medium-high. Mix until the frosting is smooth and glossy, about 2-3 minutes.Chef’s Tip: Start with less milk; you can always add more to reach your desired consistency. Too much makes it too runny!
Adding Color:
If using, add a few drops of food coloring and stir gently until the color is uniformly mixed in. Aim for a vibrant shade that makes your cookies pop!Visual Cue: Look for a thick but pourable frosting. It should coat the back of a spoon without dripping too quickly.
Frost Your Cookies:
Use a piping bag, or simply spread with a spatula, whichever you prefer. Get creative! Try mimicking festive patterns or simply frosting the whole cookie.Setting Time:
Allow the decorated cookies to sit at room temperature for about 30 minutes, or until the frosting is completely set before serving.Common Mistakes to Avoid: Don’t rush the setting time; this step is crucial to ensuring your frosted cookies maintain their beautiful appearance.
Expert Tips & Tricks
Storage: Keep any leftover frosting in an airtight container. It will last about a week in the fridge. Just stir before using again.
Make-ahead: You can prepare this icing a day in advance. Just add a teaspoon of milk the day you use it if it thickens in the fridge.
Troubleshooting: If your frosting is too thin, add a little more powdered sugar. If too thick, thin out gradually with milk.
Color Fusion: For a fun marbled effect, don’t mix food coloring fully. Just swirl it slightly for a beautiful two-toned look.
Trial and Error: Each time you make this frosting, note what you love or want to change. Sometimes, an extra splash of vanilla can take it to the next level!
Serving Suggestions
These decorated cookies are perfect for a get-together or as a charming gift for friends and family. Serve them on a beautiful plate, alongside a warm cup of coffee or tea for a comforting afternoon treat. You can even stack them in a clear jar and tie a ribbon around it for a lovely presentation.
They’re especially delightful during holidays and birthday parties, instantly bringing joy to any gathering!
Variations & Substitutions
Flavor Combinations: Try adding a tablespoon of lemon zest for a zesty twist or a few tablespoons of cocoa powder for chocolate frosting.
Dietary Adaptations: Want to make it vegan? Substitute milk for a plant-based option and ensure no animal-derived ingredients are used.
Seasonal Variations: Think peppermint for winter holidays or pumpkin spice flavors for the fall—just mix in those seasonal spices!
Nutrition & Storage Info
- Prep Time: 10 minutes
- Total Time: 30 minutes
- Yield: About 2 cups of frosting (enough for 24 average-sized cookies)
- Estimated Calories: Approximately 80 calories per tablespoon
- Storage Instructions: Keep at room temperature for a day or in the fridge for up to a week. Can’t finish? Freeze for up to a month, just thaw before use.
FAQ Section
Can I use this frosting for cakes?
Absolutely! It works wonderfully as a cake frosting as well. Just adjust the consistency as needed.What’s the best way to decorate cookies?
Use a piping bag for intricate designs or a spatula for a classic spread.How can I make the frosting thicker or thinner?
Adjust the powdered sugar for thickness or add a tiny bit of milk for thinning it out.Will the frosting harden?
Yes, it sets nicely. Allow to sit at room temperature after applying for the best results.Can leftovers be frozen?
Yes! Seal tightly in an airtight container and freeze for quick use later.Can I use any milk type?
Yes! Whole, skim, or even dairy-free alternatives work well.What if I don’t have corn syrup?
Light agave syrup or honey (if not vegan) can be excellent substitutes.Is this recipe safe for kids to help with?
Yes, it’s safe and fun! Just allow older kids to handle mixing and decorating.Can I make it gluten-free?
Yes! All ingredients listed here are naturally gluten-free, but always check labels.How do I make it shimmer?
For a sparkling finish, lightly dust with edible glitter after decorating.

Conclusion
This Cookie Frosting recipe is truly a gem that transforms simple cookies into delightful masterpieces. Not only is it easy to prepare, but it also carries a weight of nostalgia that reminds us of joyful moments spent baking. I wholeheartedly encourage you to try this at home; I promise it will be a delightful experience for you and your loved ones.
I’d love to hear your thoughts! How did your cookies turn out? Share your baking adventures in the comments below. And if you’re looking for more fun recipes, don’t forget to check out my blog for exciting variations on classic treats! Happy baking!

Delightful Cookie Frosting
- Total Time: 30 minutes
- Yield: 2 cups of frosting (enough for 24 cookies) 1x
- Diet: Vegetarian
Description
A delicious and versatile frosting that transforms ordinary cookies into delightful masterpieces.
Ingredients
- 2 cups powdered sugar (sifted)
- 2 tablespoons milk (whole or dairy-free)
- 1 tablespoon corn syrup (or light agave syrup)
- 1 teaspoon vanilla extract (pure)
- Food coloring (optional)
Instructions
- Combine the powdered sugar, milk, corn syrup, and vanilla extract in a mixing bowl.
- Use an electric mixer on low speed, gradually increasing to medium-high, until smooth and glossy (about 2-3 minutes).
- Add food coloring if desired and stir gently until uniformly mixed.
- Use a piping bag or spatula to frost your cookies creatively.
- Allow the frosted cookies to sit at room temperature for about 30 minutes to set before serving.
Notes
Store leftover frosting in an airtight container. It lasts about a week in the fridge.
- Prep Time: 10 minutes
- Cook Time: 20 minutes
- Category: Dessert
- Method: Mixing
- Cuisine: American
Nutrition
- Serving Size: 1 tablespoon
- Calories: 80
- Sugar: 18g
- Sodium: 5mg
- Fat: 0g
- Saturated Fat: 0g
- Unsaturated Fat: 0g
- Trans Fat: 0g
- Carbohydrates: 20g
- Fiber: 0g
- Protein: 0g
- Cholesterol: 0mg
🥗 Free Custom Keto Meal Plan?
Do you want to lose weight while still enjoying delicious Asian & Thai Fusion meals? Take this quick quiz to get your personalized Keto plan based on your favorite foods!
- ✅ No more guessing what to eat
- ✅ Delicious & easy-to-make recipes
- ✅ Tailored to your body type
Get My Custom Plan Now! →
*Over 100,000+ people have transformed their lives with this quiz.