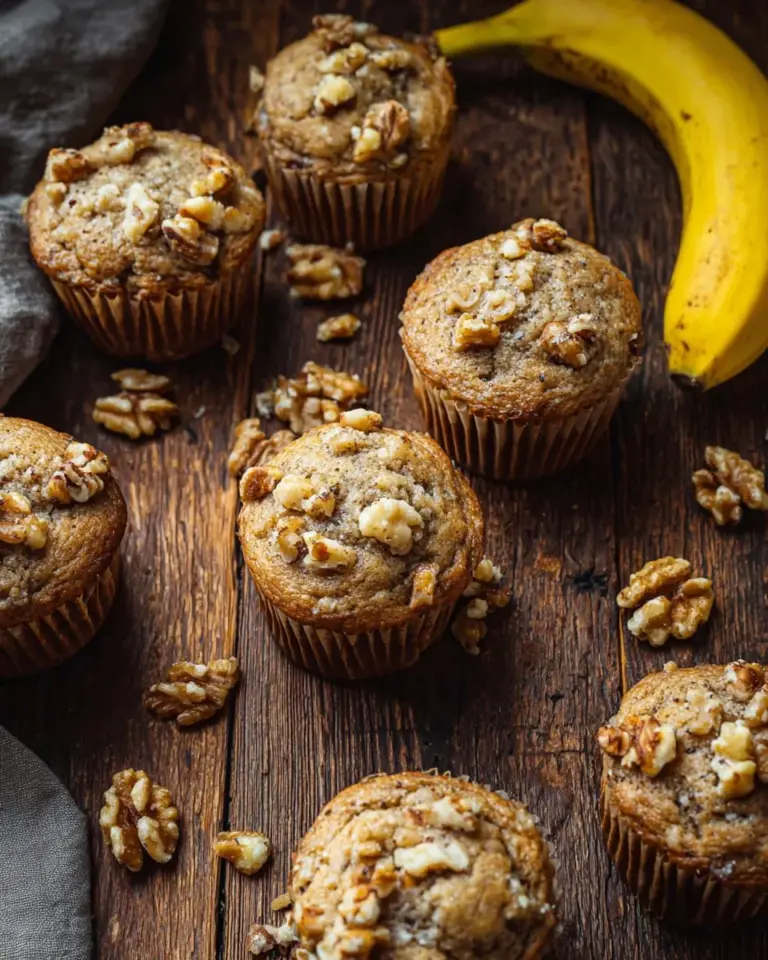
Irresistible Bran Muffins: The Cozy Comfort You Didn’t Know You Needed
Picture this: it’s a rainy Sunday morning, and the smell of something warm and comforting wafts through the kitchen. I stand by the oven, the sunlight streaming through the window, as I eagerly await the golden-brown beauties that are my Bran Muffins. This isn’t just another muffin recipe; these little wonders hold dear memories of family breakfasts, laughter around the table, and the simple joy of home-baked goodness.
What sets my Bran Muffins apart from the rest? Well, I’ve perfected a recipe that doesn’t just satiate your hunger but nourishes your soul. With a crispy top, a tender crumb, and a nutty flavor that’s undeniably delicious, these muffins are made with wholesome ingredients that you can feel good about. Unlike those store-bought versions packed with preservatives and empty calories, my Bran Muffins embrace simplicity without sacrificing flavor.
Are you ready to embark on a baking adventure that will have your loved ones clamoring for seconds? In this post, I promise to take you through the ins and outs of creating these delightful treats, sharing tips and tricks, and revealing why they should become a staple in your kitchen!
What Are Bran Muffins?
Bran muffins have a rich history that stretches back to the 19th century when health-conscious bakers began to embrace whole grains and fiber-rich ingredients. Originating as a nutritious breakfast option, these muffins are made primarily with wheat bran, which gives them their signature earthy flavor and hearty texture.
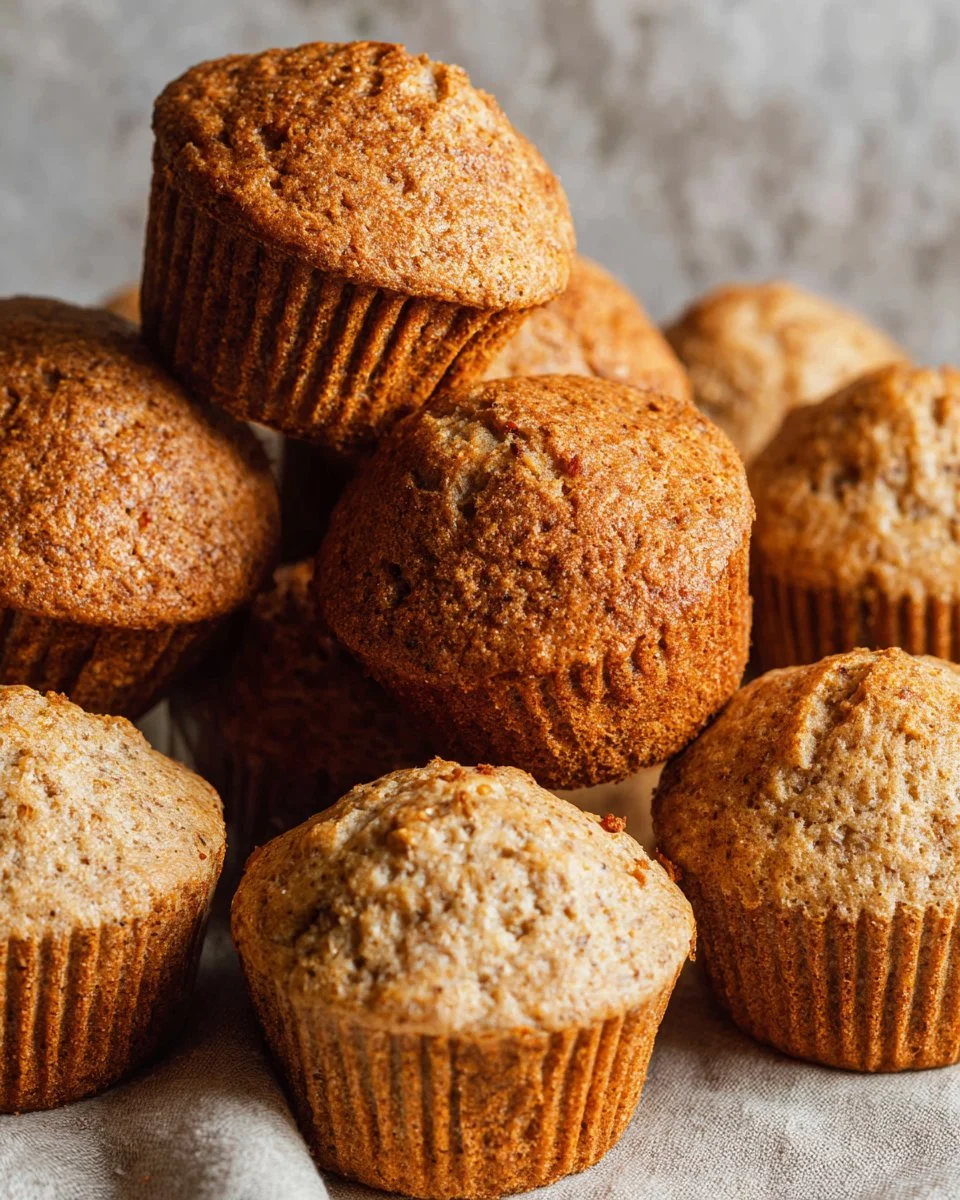
When you take a bite of a freshly baked Bran Muffin, you’re greeted with a slight crunch on the exterior and a soft, moist interior that’s both satisfying and wholesome. The nuttiness of the bran, blended with hints of sweetness and perhaps a dash of cinnamon, makes these muffins a standout breakfast choice.
So, when should you whip up a batch? Whether it’s a cozy brunch with friends, a quick grab-and-go breakfast, or a wholesome snack for your kids after school—Bran Muffins are perfect for any occasion!
Why You’ll Love This Recipe
Wholesome Ingredients: This isn’t just any muffin recipe; it’s loaded with nutritional goodness! Each muffin is a powerhouse of fiber, thanks to the wheat bran. It’s a guilt-free indulgence that makes you feel good about what you’re eating.
Cost-Effective: Forget about overpriced muffins from the café! With simple ingredients that you probably already have in your pantry, this recipe is incredibly budget-friendly.
Customization: One of the best parts of this recipe is the ease with which you can customize it. Toss in your favorite nuts, dried fruits, or even a sprinkle of chocolate chips. The options are limitless!
Easier than You Think: Don’t worry if you’ve never baked before. This recipe is accessible, with straightforward instructions that make it perfect for beginner bakers. Just mix, pour, and bake!
Freshness You Can’t Beat: Nothing compares to the aroma of home-baked muffins wafting through your house. Plus, there’s something deeply satisfying about enjoying a treat made from scratch, using recipes passed down through generations.
Ingredients Section
For my delectable Bran Muffins, gather the following ingredients:
- 2 cups all-purpose flour (I always use King Arthur Flour for its fresh texture)
- 2 tsp baking powder (make sure it’s fresh for that perfect rise)
- 1 tsp salt
- 1/2 tsp baking soda
- 2 cups wheat bran (look for Bob’s Red Mill for quality)
- 1/3 cup unsalted butter, softened (bring this to room temperature for easier mixing)
- 1/2 cup sugar (you can swap this for coconut sugar for a healthier version)
- 1 large egg
- 2 cups buttermilk (you can make a substitute using milk and vinegar if you’re in a pinch)
Prep Notes: Make sure your butter is at room temperature for easy creaming and your buttermilk is fresh for that delightful moisture.
Step-by-Step Instructions
Preheat the Oven: Start by preheating your oven to 400°F (200°C). It’s vital to have a hot oven ready to give your muffins that rise they crave.
Prepare the Muffin Tins: Spray your muffin tins with cooking spray or line them with paper liners. This makes cleanup a breeze!
Mix Dry Ingredients: In a medium bowl, sift together 1 cup of all-purpose flour, baking powder, salt, and baking soda. Add in the wheat bran and mix well.
Creaming the Butter and Sugar: In a separate large bowl, use a hand mixer to cream together 1/3 cup of softened unsalted butter and 1/2 cup of sugar until light and fluffy. This usually takes about 3-5 minutes.
Incorporate the Egg: Add in 1 egg and mix until fully combined.
Combine Dry and Wet Ingredients: Gradually mix half of the dry ingredients into the butter-sugar mixture until just combined.
Add Buttermilk: Pour in 1 cup of buttermilk and mix again until smooth.
Repeat: Gradually mix in the remaining dry ingredients followed by the last cup of buttermilk. Remember, mix only until combined; a few lumps are completely acceptable!
Fill the Muffin Tins: Evenly divide the batter into the muffin tins, filling each cup about 2/3 full.
Bake: Place them in the preheated oven and bake for 20 minutes. You’ll know they’re ready when they’re golden brown and a toothpick inserted in the center comes out clean.
Cool Down: Once out of the oven, let the muffins cool in the tin for about 10 minutes before transferring them to a wire rack to cool completely.
Chef’s Tips: Avoid over-mixing the batter; this keeps your muffins tender and fluffy. Common mistakes include overfilling the muffin cups, which can lead to overflow, or skipping the cooling step, which affects texture and flavor.
Expert Tips & Tricks
Storage Recommendations: Once cooled, store your muffins in an airtight container at room temperature for up to 3 days, or in the fridge for up to a week.
Make-Ahead: You can prepare the dry mixture ahead of time and store it in an airtight container. When you’re ready to bake, just add the wet ingredients.
Freezing Instructions: If you have extras, freeze them! Place cooled muffins in a single layer on a baking sheet to freeze individually before transferring them into a zip-top freezer bag. They’ll keep for up to 3 months.
Troubleshooting: If your muffins are too dense, it may be due to over-mixing or not enough leavening agent. Make sure your baking powder is fresh, and consider light folding instead of vigorous stirring.
Serving Suggestions
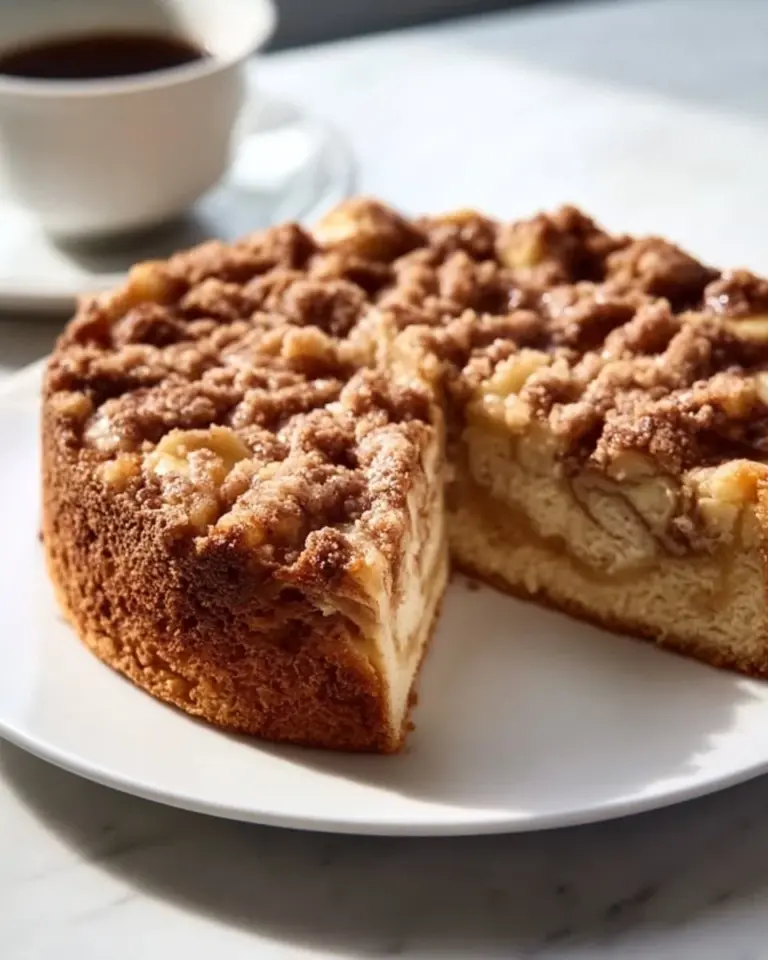
These Bran Muffins are an absolute delight on their own but pair beautifully with cream cheese or a smear of butter for an extra touch of comfort. Serve them alongside a warm cup of your favorite coffee or tea for a delightful breakfast spread. Perfect for brunch gatherings or school lunches, these muffins are versatile enough for any occasion!
Variations & Substitutions
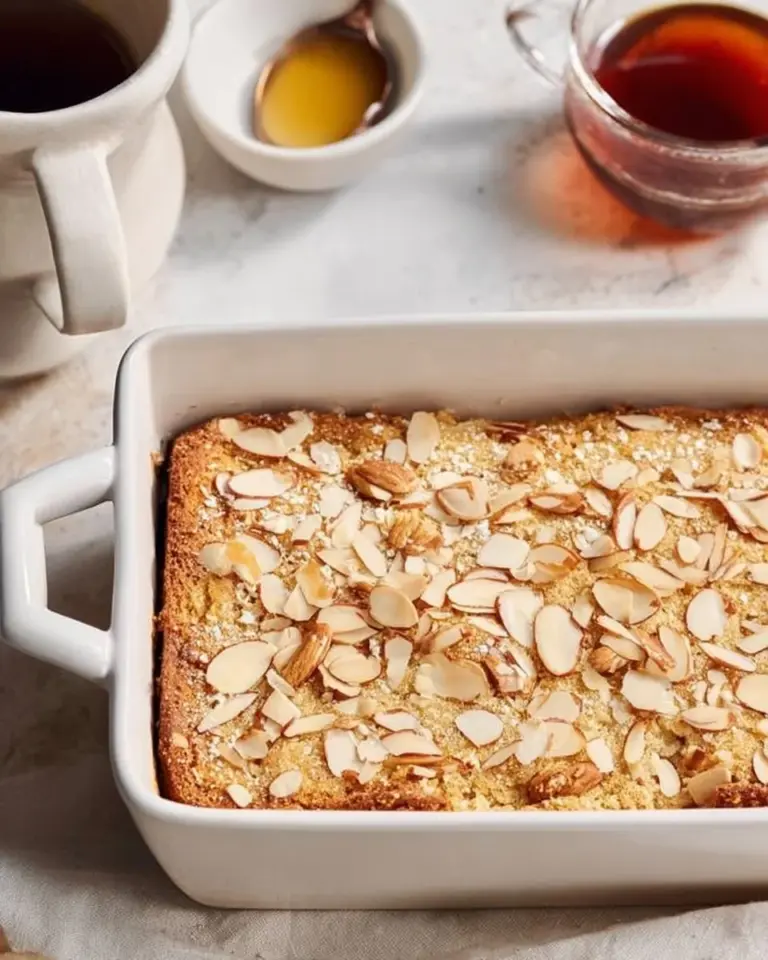
Flavors Galore: Want to shake things up? Add in 1 cup of shredded carrots or apples for a carrot-apple version, or mix in some crushed walnuts and cinnamon for a nutty twist.
Dietary Adaptations: For a vegan option, substitute unsweetened applesauce for the egg and plant-based butter instead of regular butter, along with almond milk in place of buttermilk.
Seasonal Treats: During fall, try adding in pumpkin puree with a sprinkle of nutmeg for a seasonal twist!
Nutrition & Storage Info
- Prep Time: 10 minutes
- Cook Time: 20 minutes
- Total Time: 30 minutes
- Yield: About 12 standard muffins
- Estimated Calories: Approximately 180 calories per muffin (varies based on added ingredients)
- Storage Instructions: Store at room temperature for up to 3 days, or in the fridge for a week. They can be frozen for up to 3 months.
FAQ Section
Can I use whole wheat flour instead of all-purpose?
- Yes, you can substitute whole wheat flour, but you may need to add a bit more liquid since it absorbs more moisture.
What if I don’t have buttermilk?
- No problem! You can make your own by adding one tablespoon of vinegar or lemon juice to a cup of milk, letting it sit for about 5 minutes.
Can I double the recipe?
- Absolutely! Just double all ingredients and ensure you have a large enough mixing bowl. Bake in batches if needed.
Why are my muffins dense?
- Dense muffins often result from over-mixing or too much flour. Use a light hand when combining ingredients.
How can I make these gluten-free?
- You can use a gluten-free flour blend that is suitable for baking. Ensure to add a binding agent like xanthan gum for the best results.
How do you know when they’re done baking?
- Your muffins should be golden brown, and a toothpick inserted into the center should come out clean.
What’s the best way to store them?
- Store in an airtight container at room temperature, or in the fridge if you prefer; for longer storage, freezing is best.
Can I add chocolate chips?
- Absolutely! Fold in about 1 cup of chocolate chips for a sweet treat.
Is it okay to leave out the sugar?
- You can reduce the sugar, but a complete omission could affect the moisture and flavor.
Can I freeze the batter?
- It’s best to freeze the baked muffins rather than the batter; freezing can affect the rise when baked later.

Conclusion
There you have it! My cherished Bran Muffins recipe, filled with love and the kind of flavour that sparks nostalgia. I invite you to try making these at home; I promise they’ll soon become a family favorite. If you love them (and I know you will), please leave a comment below or share your own twist on this classic. And while you’re here, don’t forget to check out my other scrumptious recipes on the blog, where food and love go hand in hand! Happy baking!
Print
Irresistible Bran Muffins
- Total Time: 30 minutes
- Yield: 12 servings 1x
- Diet: Vegetarian
Description
Warm and comforting bran muffins with a crispy top and a tender crumb that nourish your soul.
Ingredients
- 2 cups all-purpose flour
- 2 tsp baking powder
- 1 tsp salt
- 1/2 tsp baking soda
- 2 cups wheat bran
- 1/3 cup unsalted butter, softened
- 1/2 cup sugar
- 1 large egg
- 2 cups buttermilk
Instructions
- Preheat the oven to 400°F (200°C).
- Prepare the muffin tins with cooking spray or paper liners.
- In a medium bowl, sift together 1 cup of all-purpose flour, baking powder, salt, and baking soda. Add the wheat bran and mix well.
- In a large bowl, cream together the softened butter and sugar until light and fluffy.
- Add the egg to the butter-sugar mixture and mix until combined.
- Gradually mix half of the dry ingredients into the wet mixture.
- Stir in 1 cup of buttermilk until smooth.
- Mix in the remaining dry ingredients followed by the last cup of buttermilk.
- Evenly divide the batter into the muffin tins, filling each cup about 2/3 full.
- Bake for 20 minutes or until golden brown and a toothpick comes out clean.
- Let the muffins cool in the tin for 10 minutes before transferring them to a wire rack.
Notes
Avoid over-mixing the batter to keep muffins tender. Store in an airtight container at room temperature for up to 3 days.
- Prep Time: 10 minutes
- Cook Time: 20 minutes
- Category: Breakfast
- Method: Baking
- Cuisine: American
Nutrition
- Serving Size: 1 muffin
- Calories: 180
- Sugar: 8g
- Sodium: 400mg
- Fat: 8g
- Saturated Fat: 4g
- Unsaturated Fat: 4g
- Trans Fat: 0g
- Carbohydrates: 24g
- Fiber: 3g
- Protein: 4g
- Cholesterol: 30mg
🥗 Free Custom Keto Meal Plan?
Do you want to lose weight while still enjoying delicious Asian & Thai Fusion meals? Take this quick quiz to get your personalized Keto plan based on your favorite foods!
- ✅ No more guessing what to eat
- ✅ Delicious & easy-to-make recipes
- ✅ Tailored to your body type
Get My Custom Plan Now! →
*Over 100,000+ people have transformed their lives with this quiz.