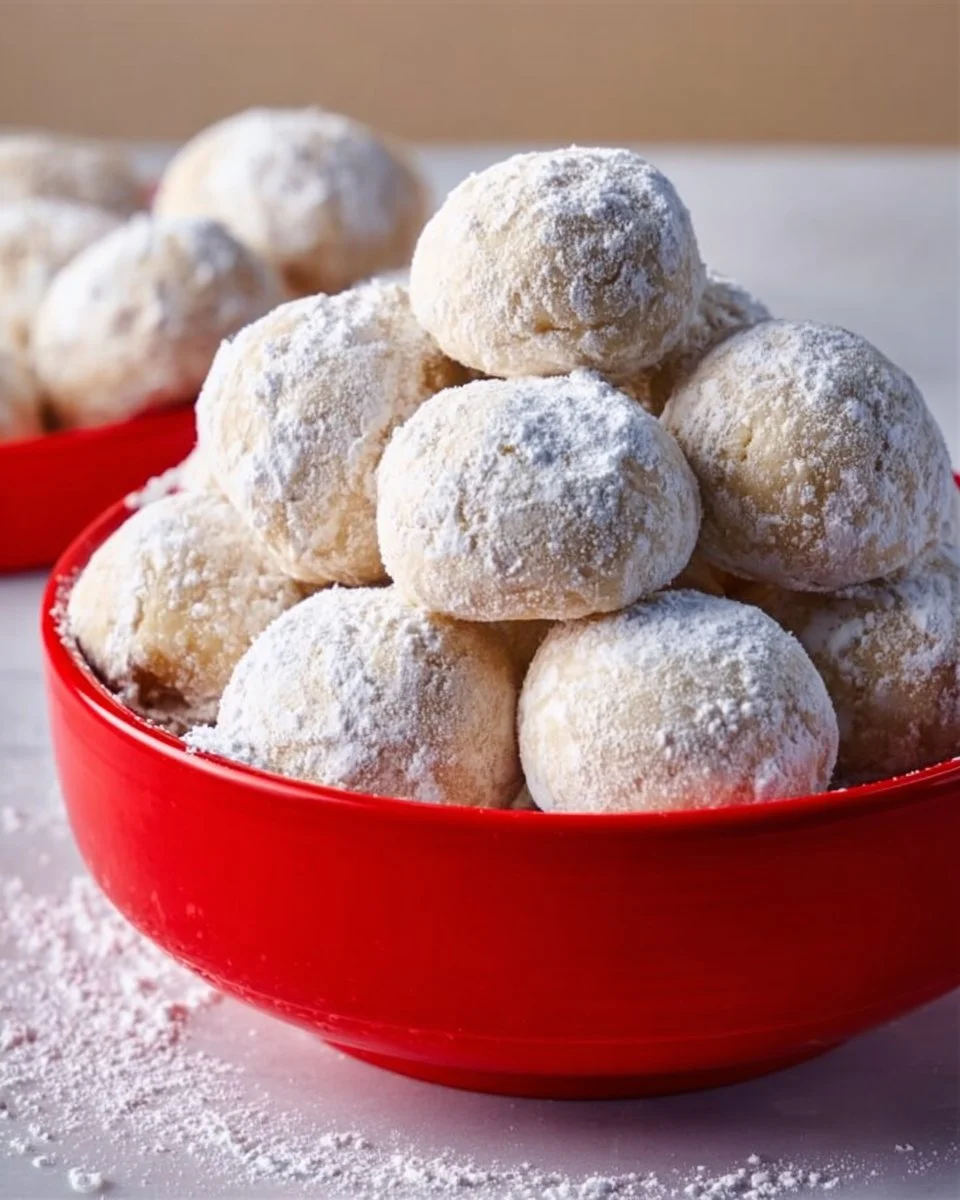
Melt-in-Your-Mouth Snowball Cookies: The Ultimate Comfort Treat
There’s something about the aroma of freshly baked cookies that instantly transports me back to my grandmother’s cozy kitchen. I can vividly recall standing on a stool, peering eagerly over the countertop as she guided me through the age-old recipe for her famous Snowball Cookies. These delightful bites, dusted in powdered sugar and filled with crunchy nuts, became a staple during our family gatherings. What makes them truly special isn’t just their melt-in-your-mouth texture or sweet, buttery flavor, but the memories tied to making them together—laughing, sharing stories, and sneaking cookie dough when we thought no one was looking.
While many versions of Snowball Cookies exist, this recipe stands out from the rest. It’s uncomplicated yet indulgent, and the end result is a nostalgic treat that can evoke warm feelings of home and family. Having perfected this recipe over the years, I promise that you’ll learn the secrets to making the ultimate Snowball Cookies that will impress even the most discerning sweet tooth in your life. So, grab your apron and let’s bake a batch together!
What Are Snowball Cookies?
Snowball Cookies, often lovingly referred to as Russian Tea Cakes or Mexican Wedding Cookies, carry a delightful history with them. Their origins can be traced back to several cultures, each adding its own twist, yet the essence remains the same—sweet, buttery goodness enveloped in a snowy white layer of powdered sugar.
These cookies generally boast a crumbly texture, thanks to the generous butter content, and the addition of nuts gives them a satisfying crunch. Not only do they melt in your mouth, but they fill your heart with warmth… in a way, they taste like childhood. You’ll find yourself making them for special occasions like holidays or even casual get-togethers, as they are perfect for sharing and always bring a smile to the table.
Why You’ll Love This Recipe
Unbeatable Taste: Unlike store-bought cookies that can taste artificial and overly sweet, homemade Snowball Cookies bring freshness and a lightness that is utterly irresistible. You can genuinely taste the quality of ingredients in each bite.
Cost-Effective: Making these cookies at home is not only delicious but also wallet-friendly. With simple pantry staples, you can whip up a large batch for about the same cost as a small box of lesser-quality cookies from the store.
Customizable: You can easily customize this recipe to suit your tastes. Feel free to swap in different nuts or add chocolate chips for a fun twist. The possibilities truly are endless!
Easy to Make: Even if you’re a beginner baker, this recipe is straightforward and requires minimal effort. There’s no need to fret about fancy equipment or difficult techniques. If I can do it, so can you!
Perfect for Any Occasion: Whether it’s a holiday celebration, a cozy afternoon tea, or a backyard barbecue, these cookies fit right in. Their charming appearance and delightful flavor make them a delightful treat no matter the setting.
Ingredients Section
Here’s what you’ll need to bake these delightful Snowball Cookies:
1 cup unsalted butter, softened: Make sure your butter is at room temperature for easy mixing. I recommend using a high-quality brand like Kerrygold for its rich flavor.
2 cups all-purpose flour: A staple in cookie baking, all-purpose flour provides the right texture for these cookies.
1 cup powdered sugar: This sweet ingredient not only adds flavor but also creates that iconic coating after baking.
1 teaspoon vanilla extract: Use pure vanilla extract—trust me, it makes a world of difference.
1/4 teaspoon salt: A pinch of salt enhances the sweetness and balances the flavors.
1 cup chopped nuts (walnuts or pecans): These add crunch and a nutty flavor. I always prefer to use fresh nuts to maximize their taste.
Additional powdered sugar for coating: You can never have too much powdered sugar!
Notes on Ingredient Quality/Substitutions
- Butter: Always go for unsalted butter when baking to control the saltiness.
- Nuts: If you have nut allergies, feel free to leave them out or substitute with seeds like pumpkin or sunflower.
Step-by-Step Instructions
Preheat your oven to 350°F (175°C). If you have a convection oven, you may want to set it to 325°F for even baking.
In a large bowl, cream together the softened butter and 1 cup of powdered sugar until light and fluffy. This should take about 2-3 minutes; you want the mixture to turn pale and airy.
Chef’s Tip: Use a stand mixer if you have one; it saves your arms and gives a better texture!
Mix in the vanilla extract and continue to blend for an additional minute.
Gradually add the flour and salt, mixing until just combined. Don’t over mix—just until the flour disappears.
Fold in the chopped nuts using a spatula, ensuring even distribution without overworking the dough.
Roll the dough into small balls (about 1 inch in size) and place them on an ungreased cookie sheet, spacing them about 2 inches apart.
Common Mistake to Avoid: Don’t crowd the cookie sheet; they need space to spread while baking!
Bake for 10-12 minutes or until the edges are lightly golden. Keep an eye on them; they shouldn’t look too brown.
While they are still warm, roll the cookies in additional powdered sugar.
Let them cool on a wire rack, then dust with more powdered sugar before serving.
Professional Technique: For an extra snowy look, wait until they are completely cooled before the second dusting!
Expert Tips & Tricks
Storage Recommendations: Store your Snowball Cookies in an airtight container at room temperature for up to a week. They also freeze beautifully—just layer them between parchment paper, and they’ll last for up to three months!
Make-ahead Instructions: You can make the dough ahead of time and refrigerate it for up to 3 days. When you’re ready to bake, simply roll and bake as instructed.
Troubleshooting Common Problems: If your cookies spread too much, check that your butter was softened (not melted) and ensure you measured your flour accurately!
Transforming Leftovers: If you happen to have any cookies left, crumble them over ice cream for a delightful dessert!
Enhancing Flavor: Add citrus zest for a bright twist or a small pinch of cinnamon or nutmeg for a warm spiced flavor.
Serving Suggestions
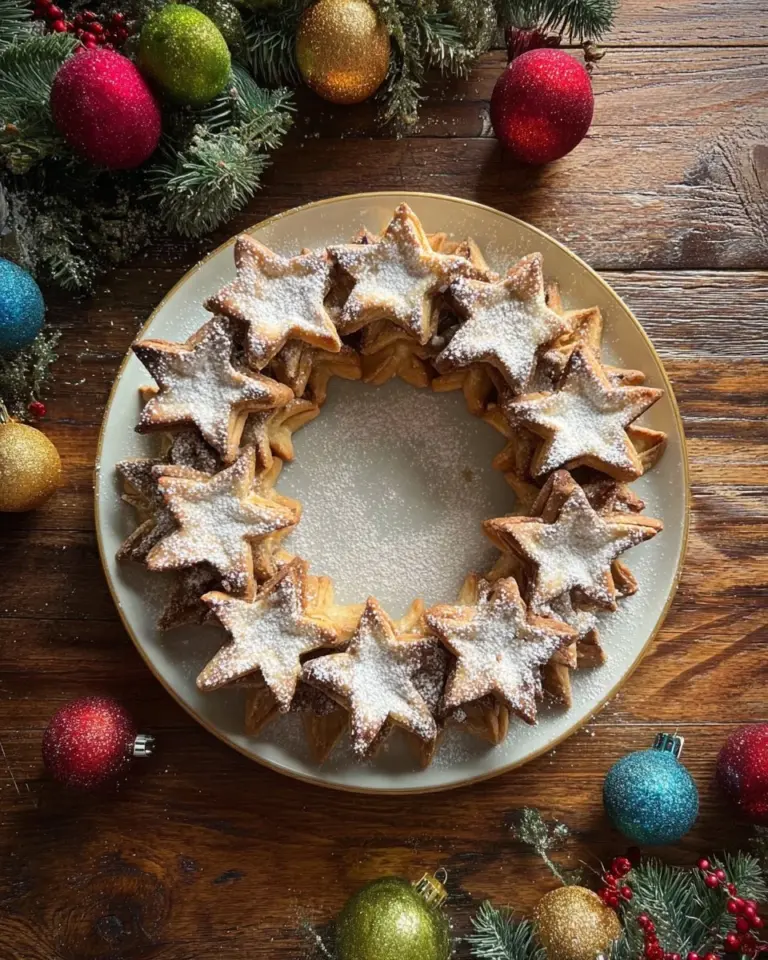
These lovely Snowball Cookies can be enjoyed as they are, but they pair beautifully with a steaming cup of tea or coffee. For a festive touch, serve them on a decorative platter during your holiday gatherings with some fresh fruit and perhaps a bit of whipped cream to elevate the experience. They are also fantastic when wrapped up as gifts during the holiday season, giving your friends and family a taste of homemade love.
Variations & Substitutions
Flavor Combinations: Try adding almond extract instead of vanilla for a nutty twist, or mix in mini chocolate chips for a fun surprise!
Dietary Restrictions: These cookies can easily be made vegan by substituting the butter with a plant-based option and using a non-dairy milk mixed with a bit of vinegar as a replacement for eggs.
Seasonal Variations: Make festive Pumpkin Spice Snowball Cookies in the fall by adding a bit of pumpkin puree and warming spices like cinnamon and ginger.
Nutrition & Storage Info
- Prep Time: 15 minutes
- Cook Time: 12 minutes
- Total Time: 27 minutes
- Yield: 24 cookies
- Estimated Calories: Approximately 120 calories per cookie (varies based on nuts and portion sizes)
Storage: Keep at room temperature in an airtight container for up to 1 week or freeze for up to 3 months.
FAQ Section
1. Can I double the recipe?
Absolutely! This recipe scales well—you’ll just need more cookie sheets to bake them all!
2. What nut is best to use?
Walnuts and pecans are classic choices, but feel free to experiment with your favorites!
3. Can I use margarine instead of butter?
While margarine can work, it may alter the flavor and texture. Unsalted butter is always recommended for the best results!
4. Why are my cookies crumbly?
If overbaked, they can become dry. Watch them closely and take them out just when they turn golden.
5. Can I add chocolate chips?
Yes! Mini chocolate chips can be a delicious addition to the dough.
6. What if I want to make them gluten-free?
You can substitute the flour with a 1:1 gluten-free flour blend—make sure it’s a reputable mix!
7. How do I enhance the flavor?
Adding extracts like almond or hazelnut can elevate flavor. A sprinkle of salt before baking can make them pop!
8. Can I skip the powdered sugar coating?
You can, but it won’t be as traditional. These cookies shine with that sugary layer!
9. What’s the best way to store cookies?
Store in an airtight container to keep them fresh. You can separate layers with parchment paper for additional freshness!
10. Can I make these cookies ahead of time?
Definitely! The dough can be made ahead and refrigerated. You can also freeze baked cookies for later.
Conclusion
These Snowball Cookies are more than just a delightful treat; they encapsulate warmth, love, and treasured family memories. I encourage you to give this recipe a try and create your own sweet moments in the kitchen. I would love to hear your thoughts, feedback, or any variations you’ve tried! And if you enjoyed these, be sure to check out my other cookie recipes like Classic Chocolate Chips or Chewy Oatmeal Raisin. Happy baking!
Print
Melt-in-Your-Mouth Snowball Cookies
- Total Time: 27
- Yield: 24 cookies 1x
- Diet: Vegetarian
Description
These delightful Snowball Cookies are buttery, crumbly treats dusted in powdered sugar, perfect for any occasion.
Ingredients
- 1 cup unsalted butter, softened
- 2 cups all-purpose flour
- 1 cup powdered sugar
- 1 teaspoon vanilla extract
- 1/4 teaspoon salt
- 1 cup chopped nuts (walnuts or pecans)
- Additional powdered sugar for coating
Instructions
- Preheat your oven to 350°F (175°C).
- In a large bowl, cream together the softened butter and 1 cup of powdered sugar until light and fluffy, about 2-3 minutes.
- Mix in the vanilla extract and blend for an additional minute.
- Gradually add the flour and salt, mixing until just combined.
- Fold in the chopped nuts using a spatula.
- Roll the dough into small balls and place them on an ungreased cookie sheet, spacing them about 2 inches apart.
- Bake for 10-12 minutes or until the edges are lightly golden.
- While warm, roll the cookies in additional powdered sugar.
- Let them cool on a wire rack, then dust with more powdered sugar before serving.
Notes
Store your cookies in an airtight container at room temperature for up to a week. They also freeze beautifully for up to three months.
- Prep Time: 15
- Cook Time: 12
- Category: Dessert
- Method: Baking
- Cuisine: American
Nutrition
- Serving Size: 1 cookie
- Calories: 120
- Sugar: 8g
- Sodium: 50mg
- Fat: 9g
- Saturated Fat: 5g
- Unsaturated Fat: 4g
- Trans Fat: 0g
- Carbohydrates: 12g
- Fiber: 1g
- Protein: 1g
- Cholesterol: 30mg
🥗 Free Custom Keto Meal Plan?
Do you want to lose weight while still enjoying delicious Asian & Thai Fusion meals? Take this quick quiz to get your personalized Keto plan based on your favorite foods!
- ✅ No more guessing what to eat
- ✅ Delicious & easy-to-make recipes
- ✅ Tailored to your body type
Get My Custom Plan Now! →
*Over 100,000+ people have transformed their lives with this quiz.