Table of Contents
Table of Contents
Ah, Halloween! It’s the one time of year where I can embrace my fondness for all things spooky and sweet—especially when that includes whipping up a batch of Frankenstein Rice Krispie Treats! I remember the first time I made these gooey, green delights for my kids’ school Halloween party. As soon as the treats hit the table, they disappeared faster than you can say “Trick or Treat!” Filled with nostalgia and the warmth of family memories, these treats remind me that Halloween isn’t just about candy; it’s about creating moments of joy with our loved ones.
What makes these special, you ask? While traditional Rice Krispie treats are always a hit, the vibrant green candy coating and monster-inspired decorations elevate them from simple snacks to show-stopping, festive bites. Plus, they’re easier to make than most Halloween desserts, costing a fraction of what you’d pay for store-bought goodies. So, whether you’re planning a spooky movie night, a Halloween gathering, or just looking to indulge in some festive fun, this recipe promises to deliver deliciousness and a smile straight to your face!
In this post, I’ll guide you through how to whip up these Halloween treats that not only look fabulous but also taste phenomenal. Trust me, these will become a staple in your Halloween celebrations for years to come!
WHAT ARE Frankenstein Halloween Rice Krispie Treats?
At their core, Frankenstein Rice Krispie Treats are a playful twist on the classic confection, transforming the beloved Rice Krispie treat into a festive delight worthy of the Halloween season. Originating in the United States in the 1930s, Rice Krispie treats have become a go-to sweet treat for baking enthusiasts far and wide.
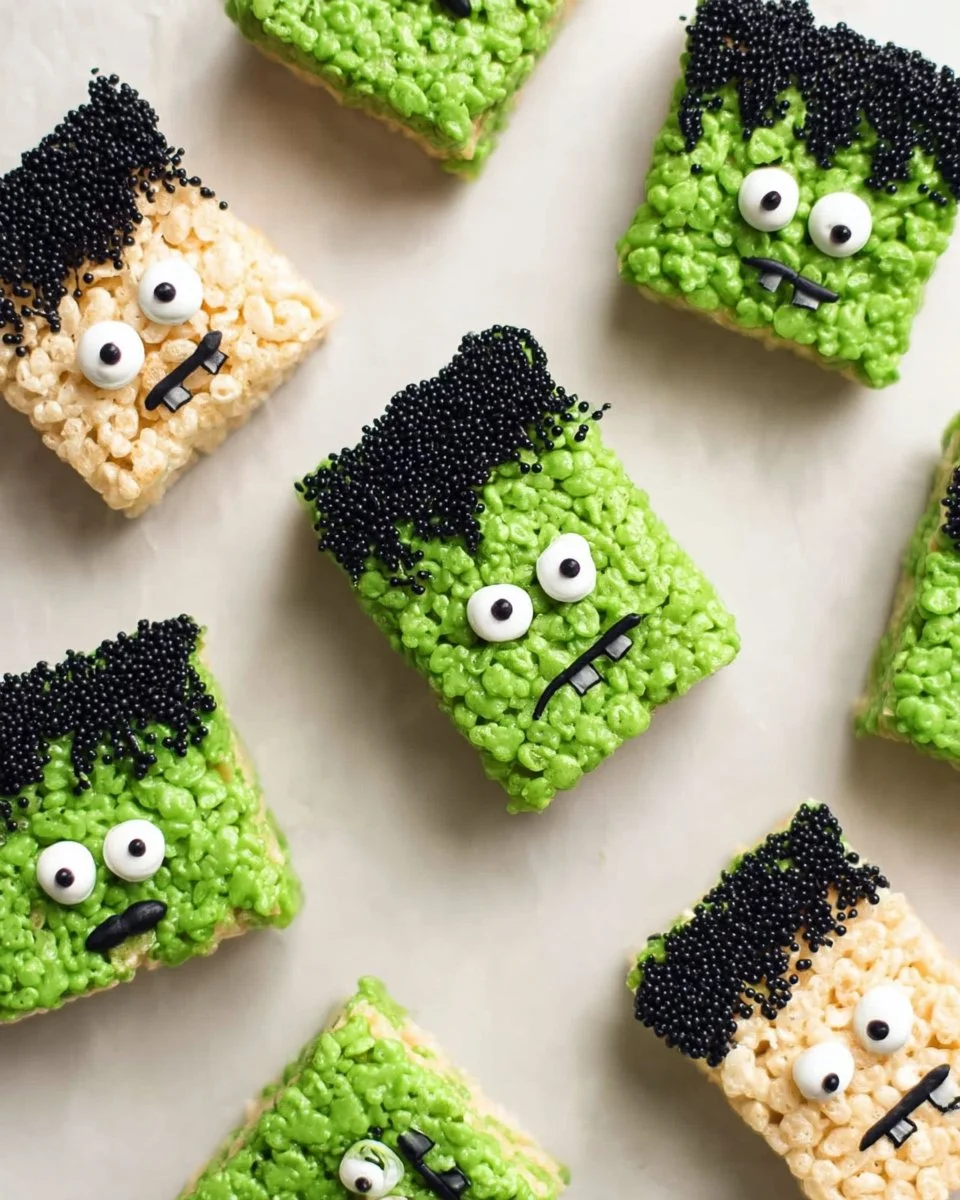
These specific creations stand out thanks to their inviting green hue derived from vibrant candy melts. Each bite is an explosion of texture: a crispy crunch from the rice cereal, a chewy softness from the marshmallows, and a slight crispness from the candy coating. What really makes these Frankenstein cookies special, though, is the whimsical presentation—complete with wacky royal icing eyes and goofy black jimmies sprinkles that bring the monster to life!
These charming treats are perfect for Halloween parties, classroom celebrations, or just to make at home during spooky season. Just picture the joy on your kids’ faces when they see these “monsters” ready to munch!
WHY YOU’LL LOVE THIS RECIPE
Here are a few reasons why you’ll absolutely adore making these Frankenstein Rice Krispie Treats:
Easy and Fun: This recipe is beginner-friendly and doesn’t require any specialized skills. In about 30 minutes, you’ll have a batch of delicious, monster-themed treats that look like a million bucks!
Cost-Effective: Compared to store-bought Halloween goodies that can be pretty pricey, making your own Rice Krispie treats is not only economical but also a delightful way to indulge your creativity.
Customizable: Want to switch up the flavors? You can toss in some peanut butter, use chocolate-coated cereal, or even add festive sprinkles to match the occasion! Create variants that fit your family’s preferences.
Family Bonding: Get your kids involved! This can be a wonderful opportunity for family bonding. Trust me, they’ll love helping to mix, dip, and decorate their own monster treats.
Perfect for Any Occasion: While these treats shine during Halloween, they can also be reimagined for birthday parties and other festive celebrations; just change the candy colors and decorations!
The fun of these treats doesn’t end once you’re done making them—they’re a joyful reminder that home-baked can beat any store-bought treat!
INGREDIENTS SECTION
Here’s what you’ll need to create these irresistible Frankenstein Halloween Rice Krispie Treats:
- 6 cups Rice Krispie cereal: Use the name-brand variety for the best texture and flavor.
- One 10 oz bag mini marshmallows: I love using Jet Puffed; they melt beautifully!
- 4 tbsp unsalted butter: Make sure it’s at room temperature for easier melting.
- 10 oz green candy melts: These are what give our treats that classic Frankenstein look; I recommend Merckens or Wilton.
- 3 oz black candy melts: You can find these alongside the green melts—Wilton brand works great.
- Royal icing eyes: Grab these at the baking supply store or make your own if you’re feeling ambitious!
- Black jimmies sprinkles: The finishing touch to transform our treats into delightful monsters!
Prep Notes:
- Ensure the butter is at room temperature to prevent clumping.
- You can substitute the candy melts with white chocolate if needed, just color it with food gel!
STEP-BY-STEP INSTRUCTIONS
Prepare Your Dish: Start by buttering a 9″ x 13″ casserole dish. This prevents sticking, making it easier to remove your treats later.
Melt the Butter: In a large pot over low-medium heat, melt the butter. Keep an eye on it to prevent burning!
Add the Marshmallows: Once the butter is fully melted, add the mini marshmallows. Stir continuously until they melt and become creamy.
Combine with Cereal: Pour in the Rice Krispie cereal. Using a spatula, gently stir until each piece is evenly coated with the marshmallow mixture.
Press and Set: Spoon the mixture into your prepared casserole dish. Press it down firmly with the spatula to create an even layer. Allow it to set for about 30 minutes.
Cut the Treats: Once cooled, remove the Rice Krispie treats from the dish. Use a sharp knife to cut them into rectangles of various sizes—let the kids choose their monster sizes!
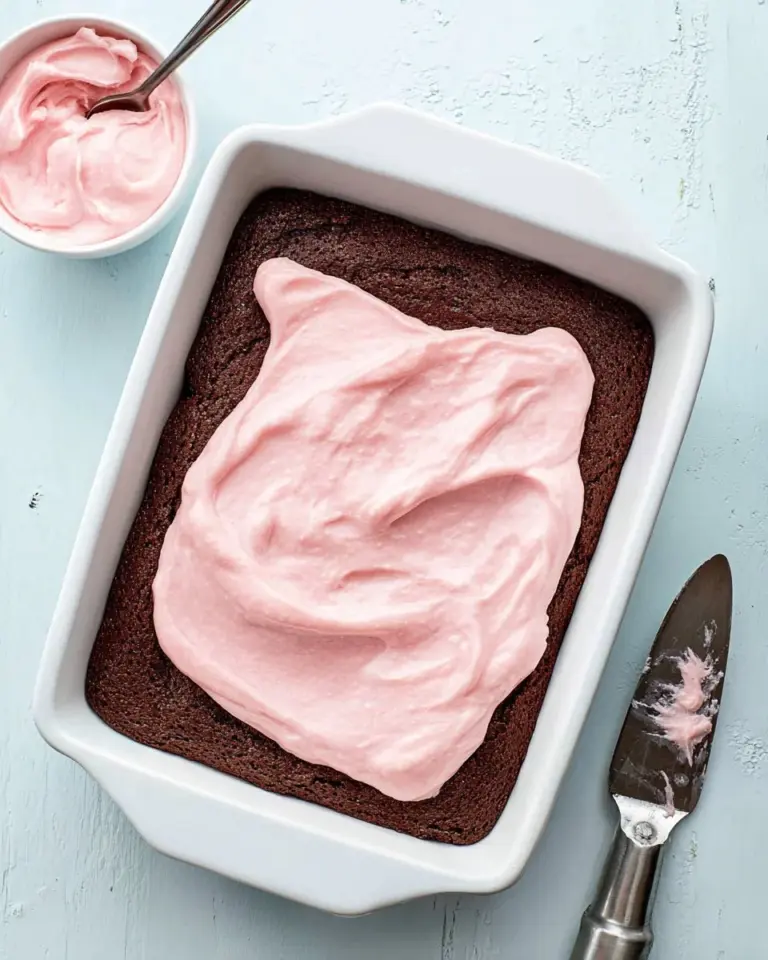
Melt the Green Candy Coating: Place a bowl over a small pot of boiling water (double boiler method) and add the green candy melts. Stir until melted. If the chocolate is too thick, add a teaspoon of vegetable shortening to thin it out.
Dip in Candy Coating: Dip the top of each Rice Krispie treat into the melted green candy melts. Then, roll the top in black jimmies sprinkles for that perfect “Frankenstein” texture.
Add Those Eyes: Place two royal icing eyes on each treat, pressing gently to ensure they adhere.
Pipe on Stitches: In a small bowl, melt the black candy melts in the microwave in 10-15 second increments. Once melted, transfer to a piping bag and pipe on some faux stitches to give your treats that extra monster flair!
Let Set: Allow the treats to set completely before serving, packaging, or devouring.
Chef’s Tips:
- Keep an eye on the melting process; burnt marshmallows can ruin the whole batch!
- Always press the mixture down firmly for that perfect shape and texture.
- Consider chilling the treats briefly in the refrigerator for a firmer bite!
EXPERT TIPS & TRICKS
To ensure your Frankenstein Halloween Rice Krispie Treats come out perfectly every time, follow these expert tips:
Storage: Store any leftover treats in an airtight container at room temperature. They should last about 3-4 days—if they last that long!
Make-Ahead: These treats can be made up to two days in advance. Simply keep them in a cool, dry place until it’s time to serve.
Troubleshooting Hard Treats: If your treats feel too hard after setting, reduce the marshmallow or butter slightly next time.
For Soft Treats: Want a fluffier texture? Add more marshmallows and be gentle when pressing this mixture into the pan.
Creative Decor: Don’t limit yourself to just black and green; experiment with different colors of candy melts and toppings for other occasions!
SERVING SUGGESTIONS
These Frankenstein Halloween Rice Krispie Treats are fantastic on their own, but why not elevate your Halloween gathering? Serve them alongside ghostly cupcakes, pumpkin spice cookies, and a bubbling cauldron punch for a frightfully delightful spread. Presentation is key—decorate your serving tray with fake cobwebs, mini pumpkins, and some spooky decorations to make it truly festive.
Perfect for Halloween parties, kids’ gatherings, or even as a quirky dessert for an adult Halloween bash, these treats will have your guests raving over your creative talents!
VARIATIONS & SUBSTITUTIONS
Feel free to customize this recipe to match your taste or dietary needs:
- Different Flavors: Swap out the Rice Krispies for cereal with different flavors—cocoa puffs or fruit loops for an exciting taste!
- Dietary Options: For gluten-free options, make sure to select certified gluten-free Rice Krispies. Vegan butter and marshmallows can also substitute for a vegan treat.
- Holiday Variations: Adjust the candy melt colors for Christmas (red and green) or Valentine’s Day (pink and white) to keep the spooky fun going year-round!
NUTRITION & STORAGE INFO
- Prep Time: 20 minutes
- Cook Time: 10 minutes
- Total Time: 30 minutes
- Yield: Approximately 12 servings
- Estimated Calories per Serving: About 200 calories each
- Storage: Store at room temperature for up to 3-4 days; refrigerating is not recommended, as it can change the texture.
FAQ SECTION
Can I use regular marshmallows instead of mini?
Absolutely! Just cut them up to ensure they melt evenly.What if my candy melts are too thick?
Simply add a bit of vegetable shortening or coconut oil to thin them out while melting.How do I make these in advance?
You can prepare the treats 1-2 days ahead of time; just store them in an airtight container.Can I freeze these treats?
It’s not recommended, as freezing can alter the texture of the marshmallow; better to enjoy fresh!Can I use another type of cereal?
Yes! Get creative with your favorite cereals. Just keep the ratios similar.What’s the best way to cut these treats?
Use a sharp knife and spray it lightly with cooking oil to prevent sticking.How can I make these less sweet?
Consider reducing the number of marshmallows slightly or using bittersweet chocolate melts.Can I use store-bought icing for the eyes?
You can, but for a cute, homemade touch, I recommend using royal icing.How do I avoid the mixture sticking to my hands?
Lightly butter your hands before pressing the mixture into the dish to prevent sticking.What else can I use for decoration?
Edible googly eyes, different colored sprinkles, or even Halloween-themed candies can add some flair!
CONCLUSION
Creating these Frankenstein Halloween Rice Krispie Treats is not just about making a dessert; it’s about embracing the spirit of Halloween and sharing laughter and joy with your family and friends. They are simple, delightful, and sure to be a hit at any festive occasion! I’d love for you to try them yourself; I promise you won’t be disappointed.
Once you give this recipe a go, don’t forget to drop me a comment below! I also have plenty of other hauntingly good recipes on the blog just waiting for you to explore. Here’s to creating sweet Halloween memories—
Peanut Butter Chocolate Rice Krispies
happy baking!
Print
Frankenstein Halloween Rice Krispie Treats
- Total Time: 30 minutes
- Yield: 12 servings 1x
- Diet: Vegetarian
Description
Delightful and spooky Rice Krispie treats adorned with vibrant green candy coating and monster-inspired decorations perfect for Halloween celebrations.
Ingredients
- 6 cups Rice Krispie cereal
- 10 oz bag mini marshmallows
- 4 tbsp unsalted butter
- 10 oz green candy melts
- 3 oz black candy melts
- Royal icing eyes
- Black jimmies sprinkles
Instructions
- Butter a 9″ x 13″ casserole dish to prevent sticking.
- Melt the butter in a large pot over low-medium heat.
- Add the mini marshmallows to the melted butter and stir until creamy.
- Pour in the Rice Krispie cereal and gently stir to coat.
- Press the mixture into the prepared dish firmly.
- Allow to set for about 30 minutes before cutting.
- Melt green candy melts in a double boiler until smooth.
- Dip the top of each treat into the melted green candy melts, then roll in black jimmies.
- Add two royal icing eyes on each treat.
- Melt black candy melts and pipe on faux stitches for decoration.
- Let set completely before serving.
Notes
Store leftovers in an airtight container at room temperature for up to 3-4 days. These treats can also be made ahead of time.
- Prep Time: 20 minutes
- Cook Time: 10 minutes
- Category: Dessert
- Method: No-Bake
- Cuisine: American
Nutrition
- Serving Size: 1 treat
- Calories: 200
- Sugar: 20g
- Sodium: 200mg
- Fat: 7g
- Saturated Fat: 4g
- Unsaturated Fat: 2g
- Trans Fat: 0g
- Carbohydrates: 33g
- Fiber: 1g
- Protein: 1g
- Cholesterol: 10mg
Ask the Community
🥗 Free Custom Keto Meal Plan?
Do you want to lose weight while still enjoying delicious Asian & Thai Fusion meals? Take this quick quiz to get your personalized Keto plan based on your favorite foods!
- ✅ No more guessing what to eat
- ✅ Delicious & easy-to-make recipes
- ✅ Tailored to your body type
Get My Custom Plan Now! →
*Over 100,000+ people have transformed their lives with this quiz.