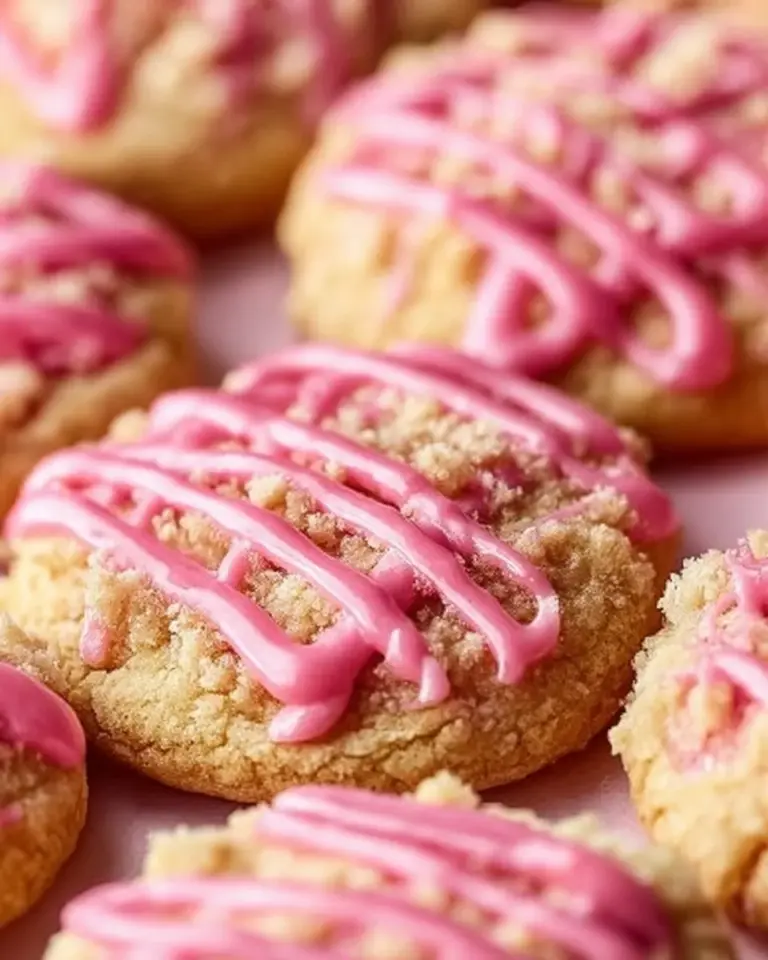
Irresistible Classic Jam Thumbprint Cookies: A Sweet Family Tradition
There’s something quite magical about baking that takes me back to my grandmother’s sunny kitchen. I can still see her rolling out sticky dough and expertly crafting those Classic Jam Thumbprint Cookies, each one lovingly adorned with a delightful dollop of homemade jam. The sweet, buttery aroma wafting through the house was an invitation to gather around the table, sharing stories and laughter. These cookies aren’t just treats; they’re little bites of nostalgia, wrapping you in warm memories and comfort.
What makes my version of these Classic Jam Thumbprint Cookies stand out are the perfect balance of texture, each bite a tender crumb with just the right amount of sweetness, plus a hint of fruity richness from the jam. Unlike store-bought versions, which can sometimes taste overly processed, these cookies capture the heartfelt essence of home baking. You’ll learn how to achieve that elusive melt-in-your-mouth quality while customizing them with your favorite jams and flavors. So let’s roll up our sleeves and dive into this delicious adventure together!
What Are Classic Jam Thumbprint Cookies?
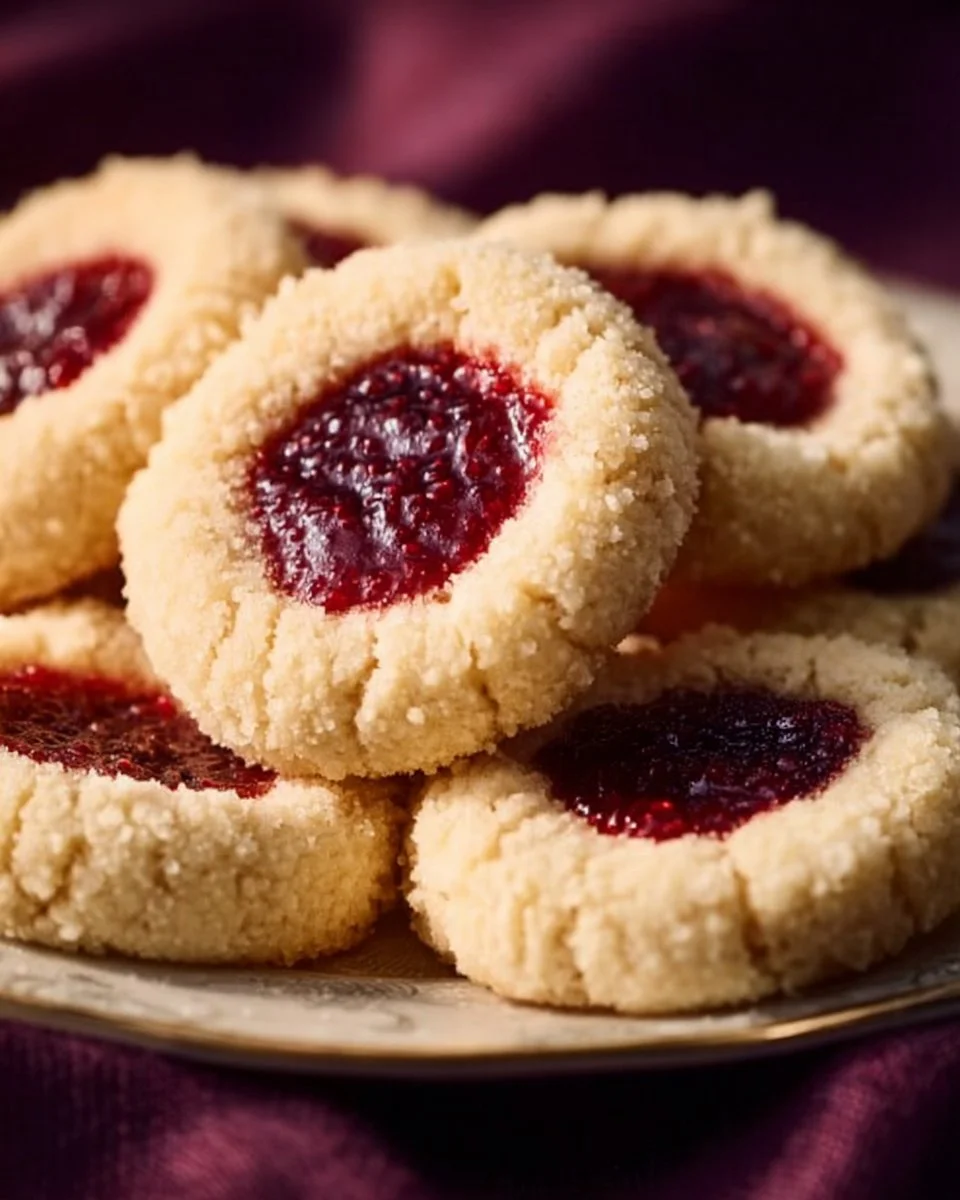
Classic Jam Thumbprint Cookies have roots steeped in European tradition, dating back to the early 19th century. These delightful morsels boast a soft and buttery texture, often enriched with a hint of vanilla and a sprinkle of salt that beautifully contrasts the jam filling. When you take a bite, you’re met with a burst of flavor as the sweet jam envelops the cookie’s crumb, leading to a sweet delight that tantalizes the taste buds.
These cookies are unique because of their signature thumbprint shape, traditionally made by pressing a thumb into the dough before baking, creating a perfect little well to hold jam or fruit preserves. They are a must-have for family gatherings, holidays, or when you just want to indulge. Whether it’s a cozy afternoon tea or an enticing dessert to end a meal, these humble cookies bring warmth and sweetness to any occasion.
Why You’ll Love This Recipe
Homemade Goodness: There’s nothing quite like biting into a freshly baked Classic Jam Thumbprint Cookie that you’ve made from scratch. Compared to store-bought cookies, which can be overly sugary or lacking in flavor, these little beauties shine with real ingredients you can trust.
Customization Galore: You can easily tailor these cookies to suit your taste preferences. Use raspberry, apricot, or even chocolate spread—the choices are endless! You could even use an assortment of jams for a delightful cookie platter that showcases different flavors.
Cost-Effective: Making your Classic Jam Thumbprint Cookies is not only delicious but also budget-friendly. With just a handful of ingredients—most of which you likely already have on hand—you’ll have a batch that beats any pricey bakery option.
Simplicity & Satisfaction: Don’t worry if you’re not a baking whiz! This recipe is easy to follow and requires minimal fuss. You’ll be amazed at how quickly the dough comes together and how satisfying it is to shape and fill.
Perfect for Gift-Giving: Pack these cookies in a cute tin, tie them with a ribbon, and you have a heartfelt, homemade gift. There’s something truly special about sharing your baking with friends and family.
Ingredients
To bring these Classic Jam Thumbprint Cookies to life, gather the following ingredients:
- 1 cup unsalted butter (softened to room temperature – this is crucial for easy creaming)
- ⅓ cup granulated sugar
- ⅓ cup light brown sugar (packed tight for the best flavor)
- 1 large egg yolk (the richness adds a lovely texture)
- ¾ teaspoon vanilla extract (quality matters; I love using pure vanilla extract for depth)
- 2 ¼ cups all-purpose flour
- 2 teaspoons cornstarch (for that melt-in-your-mouth texture)
- ½ teaspoon salt
- ½ cup granulated sugar for rolling (optional but adds a lovely sparkle)
- ⅓ cup jam or preserves (I used raspberry preserves for that tangy sweetness)
Ingredient Notes:
- Butter: Choose real butter for the best flavor. Store-brand butter can sometimes lack the creaminess you want.
- Sugars: Combining granulated and brown sugar enhances flavor and texture.
- Customize Your Jam: Feel free to experiment with jams and fruit preserves based on your taste or what’s in season!
Step-by-Step Instructions
Let’s bring these cookies to life! Follow these steps for success:
Cream the Butter: In a large bowl, beat 1 cup of softened unsalted butter until it’s light and fluffy (about 2-3 minutes).
- Chef’s Tip: Make sure your butter is at room temperature for easy creaming. It should feel soft but still hold its shape.
Add the Sugars: Gradually add ⅓ cup granulated sugar and ⅓ cup light brown sugar. Beat until well combined (another 2 minutes).
- Visual Cue: The mixture should look creamy and pale in color.
Add Egg Yolk & Vanilla: Mix in 1 large egg yolk and ¾ teaspoon vanilla extract until fully incorporated.
Whisk Dry Ingredients: In a separate bowl, whisk together 2 ¼ cups all-purpose flour, 2 teaspoons cornstarch, and ½ teaspoon salt.
Combine Wet & Dry: Gradually add the dry mixture to the wet ingredients and mix until just combined. Don’t overmix; the dough should be soft yet moldable.
Shape the Dough Balls: Using your hands, form tablespoon-sized balls of dough and place them on a parchment-lined baking sheet (about 2 inches apart).
Roll in Sugar (Optional): If you like a little sparkle, roll each dough ball in ½ cup granulated sugar before baking.
Press Indents: Using your thumb (or the back of a spoon), gently press an indentation into the center of each cookie.
Freeze the Dough: Pop the baking sheet in the freezer for about 15 minutes. This helps the cookies hold their shape while baking.
Prepare Oven & Jam: Preheat your oven to 350°F (175°C) and make sure your jam is ready for the filling.
Fill the Thumbprints: Once the dough balls are firm, remove them from the freezer and fill each thumbprint with about ½ teaspoon of your chosen jam.
Bake: Bake for 12-15 minutes until the edges are lightly golden. Keep an eye on them!
Cool & Serve: Allow the cookies to cool on the baking sheet for 5 minutes before transferring them to a wire rack to cool completely.
Expert Tips & Tricks
Storage: Keep your cookies in an airtight container at room temperature for up to a week. They also freeze beautifully—just ensure they’re cooled completely before packaging.
Make Ahead: You can prepare the dough in advance and freeze it for up to a month. Just thaw overnight in the refrigerator before baking.
Troubleshooting: If your cookies spread too much, it may be because your butter was too soft. Make sure it’s just softened, not melted!
Filling Alternatives: If you’re out of jam, try peanut butter or nutella for a decadent twist.
Bake Evenly: Rotate your baking sheet halfway through for even cooking.
Serving Suggestions
To elevate your cookie experience, pair these Classic Jam Thumbprint Cookies with a steaming cup of tea or a cold glass of milk. They’re perfect for an afternoon snack, dessert after dinner, or as a delightful treat during family gatherings.
For a stunning presentation, arrange them on a rustic wooden board, dust them with powdered sugar for a festive look, or place them in a charming jar for gifting.
Variations & Substitutions
Flavor Combinations: Think outside the box! Try chocolate hazelnut spread for a creamy filling or lemon curd for a zesty kick.
Dietary Needs: Substitute the butter for vegan butter and use a flax egg for a dairy-free option. Gluten-free eaters can use a 1:1 gluten-free flour blend.
Seasonal Variations: Add crushed nuts or dried fruits to the dough during fall for a seasonal twist or use festive colors of jam for holidays.
Nutrition & Storage Info
- Prep Time: 20 minutes
- Cook Time: 15 minutes
- Total Time: 35 minutes
- Yield: About 24 cookies
- Estimated Calories per Serving: 120 calories (per cookie)
Storage Instructions:
- Room Temp: Keep in an airtight container for up to 1 week.
- Fridge: Not necessary but will last longer if needed.
- Freezer: Freeze in an airtight container for up to 3 months.
FAQ Section
Can I substitute different types of jam?
Absolutely! Feel free to use any type of jam, preserves, or even chocolate spread that you love.What if I don’t have cornstarch?
If you’re out of cornstarch, you can simply omit it, though the texture may be slightly less tender.How do I prevent the thumbprints from disappearing?
Make sure to press deeply enough into the dough, and chill before baking!Can I freeze the baked cookies?
Yes, you can freeze the cookies. Place them in an airtight container between layers of parchment paper.What texture should the dough be?
The dough should be soft yet not sticky; it should hold its shape when rolled into balls.Is it okay to use whole eggs instead of just yolks?
Using a whole egg may alter the texture slightly, but it can still work in a pinch!How do I make these cookies colorful?
You can use fruit preserves made from different berries or even add food coloring to your dough!Are there any nut-free substitutes?
Yes, feel free to use seed butters instead of nut-based spreads for a nut-free version.What’s the best way to decorate them?
You can drizzle melted chocolate on top or sprinkle with crushed nuts for a delightful touch!How long will they last?
When stored properly, these cookies will last about a week at room temperature, longer if frozen.
Conclusion
These Classic Jam Thumbprint Cookies are not just delicious snacks; they’re a heartfelt connection to my family’s baking history. I hope you find just as much joy in making them as I have. They’re perfect for sharing, indulging, and creating new memories around the table. I’d love to hear your thoughts or any variations you tried in the comments below—let’s make our baking journeys a community affair! Don’t forget to check out related recipes on my blog, where I share similar treats that will sweeten your days even more. Happy baking!
Print
Classic Jam Thumbprint Cookies
- Total Time: 35 minutes
- Yield: 24 cookies 1x
- Diet: Vegetarian
Description
Soft and buttery thumbprint cookies filled with your choice of delicious jam, perfect for sharing and creating sweet memories.
Ingredients
- 1 cup unsalted butter, softened to room temperature
- ⅓ cup granulated sugar
- ⅓ cup light brown sugar, packed
- 1 large egg yolk
- ¾ teaspoon vanilla extract
- 2 ¼ cups all-purpose flour
- 2 teaspoons cornstarch
- ½ teaspoon salt
- ½ cup granulated sugar for rolling (optional)
- ⅓ cup jam or preserves (e.g., raspberry)
Instructions
- Cream the butter in a large bowl until light and fluffy, about 2-3 minutes.
- Gradually add granulated sugar and light brown sugar; beat until well combined, about 2 minutes.
- Add the egg yolk and vanilla extract and mix until incorporated.
- In a separate bowl, whisk together flour, cornstarch, and salt.
- Gradually add the dry mixture to the wet ingredients and mix until combined, being careful not to overmix.
- Form tablespoon-sized balls of dough and place them on a parchment-lined baking sheet, about 2 inches apart.
- If desired, roll each dough ball in granulated sugar.
- Press an indentation into each cookie with your thumb.
- Freeze the baking sheet for about 15 minutes.
- Preheat the oven to 350°F (175°C).
- Fill each thumbprint with about ½ teaspoon of jam.
- Bake for 12-15 minutes until edges are lightly golden.
- Cool on the baking sheet for 5 minutes before transferring to a wire rack.
Notes
These cookies can be stored in an airtight container at room temperature for up to a week. They can also be frozen for up to 3 months.
- Prep Time: 20 minutes
- Cook Time: 15 minutes
- Category: Dessert
- Method: Baking
- Cuisine: American
Nutrition
- Serving Size: 1 cookie
- Calories: 120
- Sugar: 10g
- Sodium: 60mg
- Fat: 9g
- Saturated Fat: 5g
- Unsaturated Fat: 4g
- Trans Fat: 0g
- Carbohydrates: 14g
- Fiber: 0g
- Protein: 1g
- Cholesterol: 30mg
🥗 Free Custom Keto Meal Plan?
Do you want to lose weight while still enjoying delicious Asian & Thai Fusion meals? Take this quick quiz to get your personalized Keto plan based on your favorite foods!
- ✅ No more guessing what to eat
- ✅ Delicious & easy-to-make recipes
- ✅ Tailored to your body type
Get My Custom Plan Now! →
*Over 100,000+ people have transformed their lives with this quiz.