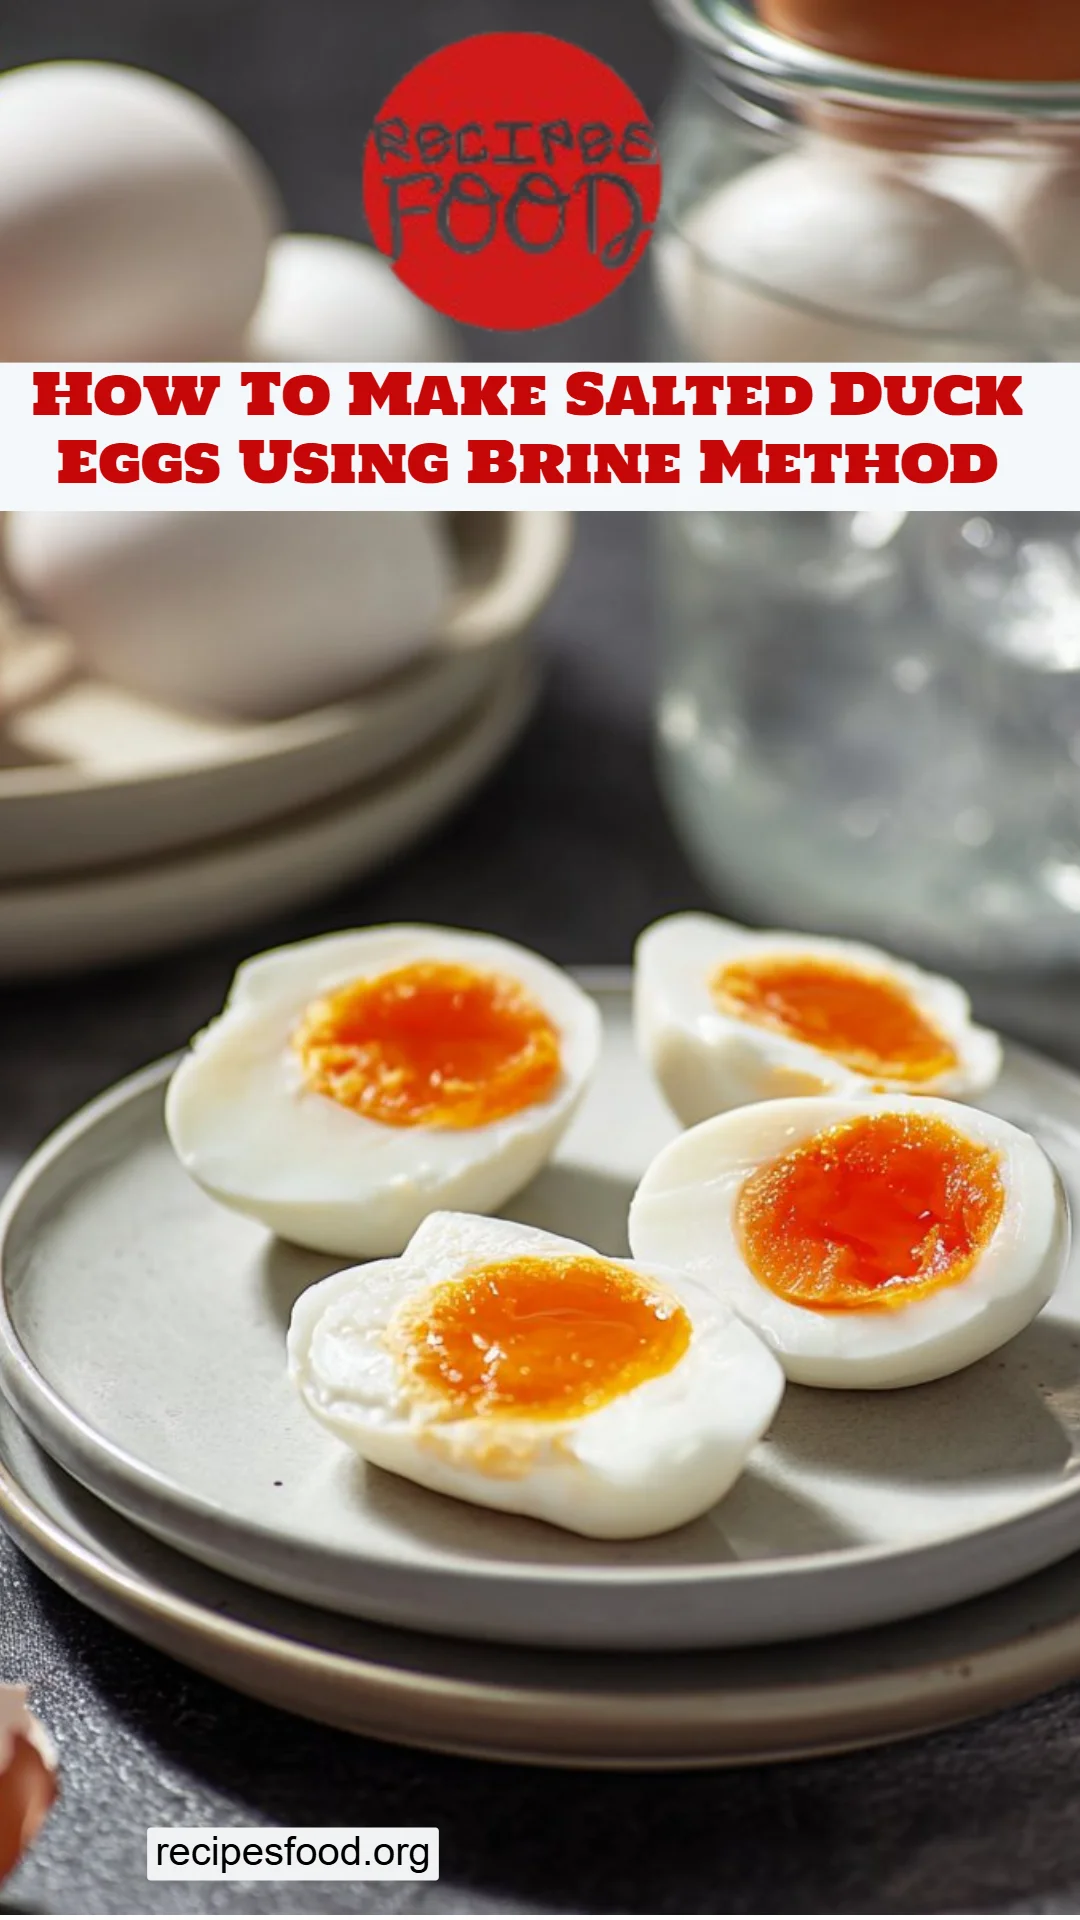
How to Make Deliciously Salty Duck Eggs: The Ultimate Brine Method Recipe
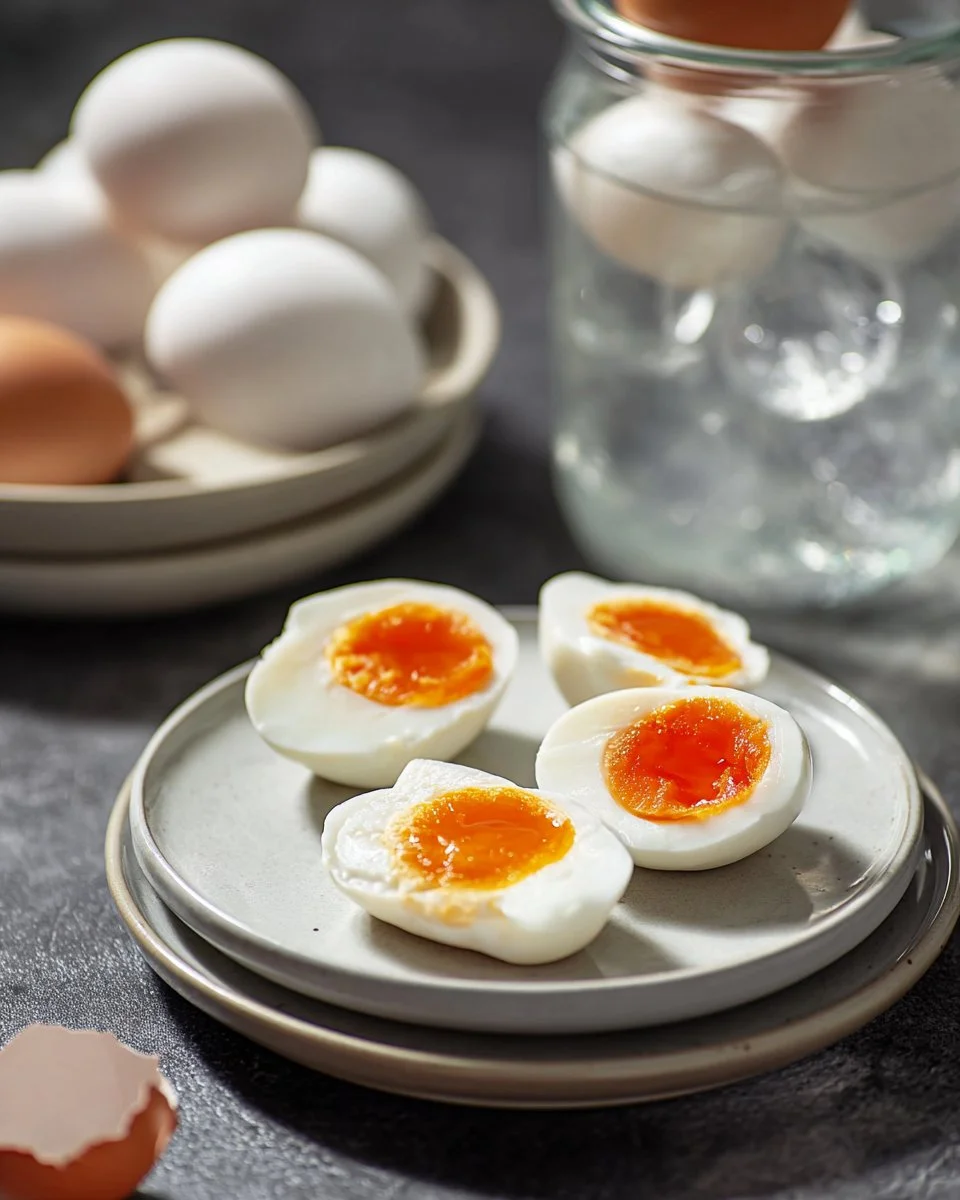
Growing up, my grandmother used to fill her pantry with an array of jars, each glowing with vibrant colors and tantalizing aromas. One of my fondest memories is the unmistakable sight of her salted duck eggs sitting in a corner, their bright orange yolks peeking through the golden shell, ready to be devoured with a simple bowl of steamed rice. Today, I’m excited to share how to make salted duck eggs using the brine method—a culinary treasure that deserves a spot in your kitchen repertoire.
Salted duck eggs hold a special place in my heart because they are more than just a delicious snack. They’re a connection to my heritage and a symbol of love from my grandmother, whose hands once nurtured every recipe. This brine method not only amplifies the natural flavors of the eggs but also infuses them with a depth that store-bought versions often lack. You’ll learn how easy it is to create your own batch of these salty delights at home, bringing comfort and nostalgia to your table.
By the end of this post, you’ll know the step-by-step process to make salted duck eggs that are bursting with flavor. So, roll up your sleeves, and let’s dive into the world of brined perfection!
What Are Salted Duck Eggs?
Salted duck eggs have their roots deeply embedded in Chinese cuisine, often enjoyed as a delicacy in various dishes. Traditionally made as a preservation method, the brining process enhances the egg’s flavor profile while extending its shelf life. The striking contrast of the creamy, rich yolk and the salty white creates a unique and satisfying experience that’s hard to resist.
These eggs are not just a flavor bomb but are also incredibly versatile. Their creamy texture is perfect for making congee, adding to salads, or even serving as a decadent topping for rice dishes. For anyone exploring Asian cuisine or looking to relish something different, salted duck eggs are an essential ingredient that elevates any meal.
Why You’ll Love This Recipe
Cost-Effective: Making salted duck eggs at home is not only fun but also saves you money compared to buying them from the store, where prices can climb steeply for just a few pieces.
Easy and Fun: The brine method is straightforward—if you can boil water, you can make these eggs! You’ll feel proud every time you crack one open without spending hours slaving away in the kitchen.
Personal Touch: This recipe grants you full control over the amount of salt and flavor—something that pre-packaged options can never match. Plus, you can easily adjust the brine for a saltier or milder taste according to your family’s preference.
Nostalgic Value: Capturing memories in every bite, making salted duck eggs evokes a sense of comfort. These eggs have been a part of family traditions for generations, and now you can incorporate them into your culinary journey.
Flexible and Customizable: From infusing your brine with fragrant spices to using fresh herbs, the possibilities are endless, making it an exciting culinary project with each batch you create.
Ingredients
- 10 duck eggs: Ensure they’re as fresh as you can find. Organic or free-range options can elevate the flavor.
- 4 cups water: Filtered water is best for purity; it allows the flavor of the eggs to shine.
- 1 cup rock salt: Opt for high-quality salt; Himalayan pink salt works beautifully, but any non-iodized variety will do.
Prep Notes: Make sure your duck eggs are at room temperature before starting, and have a clean glass jar handy for storage.
Step-by-Step Instructions
Rinse the Eggs: Start by rinsing the duck eggs under running water. Use a soft sponge or cloth to gently scrub off dirt while ensuring you don’t crack the shells. Dry them thoroughly with a kitchen towel—any moisture left can ruin the curing process.
Boil Water and Salt: In a saucepan, combine 4 cups of water and 1 cup of rock salt. Bring it to a boil over medium heat, stirring occasionally until the salt is fully dissolved. Pay attention here; the brine should be clear when finished.
Cool the Brine: Once dissolved, turn off the heat and allow the brine to cool completely at room temperature. This is crucial, as pouring hot brine over the eggs can cook the whites slightly, altering the texture.
Jar the Eggs: Place the rinsed and dried eggs carefully into a clean glass jar. Pour in the cooled brine, ensuring that the eggs are completely submerged. If the eggs float, don’t worry—continue with the next step!
Seal with Leftover Brine: Take the remaining brine, pour it into a plastic bag, and seal it with an elastic band. Gently press this bag on top of the eggs to ensure they stay submerged.
Cure the Eggs: Close the lid on the jar and let the eggs sit at room temperature for about two weeks. You can sneak a taste testing after about 10 days—everyone’s palate is different!
Chef’s Tip: Although you might be tempted to speed up the process, resist the urge to open the jar early. Two weeks allows the flavors to fully develop and the eggs to cure to perfection.
Expert Tips & Tricks
- Storage: Once cured, you can store salted duck eggs in the refrigerator for up to a month, or even longer if kept in the brine.
- Make Ahead: Prepping these eggs in advance not only allows flavors to mature but also ensures your fridge is stocked with a delicious snack for any occasion.
- Avoiding Common Mistakes: Ensure your containers and utensils are clean to prevent any bacterial growth during the curing process. Also, utilize non-reactive containers (like glass or ceramic) to avoid altering the taste of your eggs.
Serving Suggestions
Salted duck eggs elevate simple meals to something extraordinary. Slice them and serve alongside congee or toss them onto a fresh salad for added texture. They make an appealing garnish atop avocado toast or an impressive appetizer when paired with pickles and cured meats.
For those casual family dinners, present them beautifully on a rustic wooden board, adding a few fresh herbs for color and aroma. Your guests will appreciate the effort and love you put into crafting such a delightful dish!
Variations & Substitutions
- Spicy Brine: Add crushed red pepper flakes or thin slices of chili for an exciting kick!
- Herbal Infusion: Toss in some fresh rosemary or thyme for a fragrant twist to the traditional flavor.
- Dietary Adaptations: Vegan? Try using tofu slices marinated in the brine for a fun alternative.
Nutrition & Storage Info
- Prep Time: 30 minutes (not including brining time)
- Cook Time: 15 minutes
- Total Time: Approximately 14 days (including curing time)
- Yield: Makes about 10 servings
- Estimated Calories: Around 70 calories per egg (depending on your preparation method)
Storage Instructions: Once cured, salted duck eggs can be stored at room temperature for a week or up to a month in the refrigerator— just keep them in their brine for added shelf life.
FAQ Section
Can I use chicken eggs instead of duck eggs?
Absolutely! Chicken eggs work well, but the flavor profile will be different.What if my eggs float in the brine?
Use a weight, such as a bag of the leftover brine or a sanitized stone to keep them submerged.What dishes can I use salted duck eggs in?
You can incorporate them into rice dishes, salads, or even enjoy them simply steamed.Can I reuse the brine for a second batch?
While you technically can, it’s best to use a fresh brine to ensure the eggs get the right flavor and salinity.How long do salted duck eggs last?
When stored properly in their brine, they can last up to a month in the fridge.The yolk turned out hard. What happened?
The curing time might have been too long. Next time, taste test a few days earlier for the perfect texture.Can I add flavorings to the brine?
Yes! Experiment with spices like star anise or bay leaves for a unique twist.Do I have to keep the eggs in the brine?
Once cured, they can be removed and stored individually, though keeping them in brine helps retain moisture.Is curing duck eggs safe?
Yes, as long as you follow clean practices and store them properly.What do I do with leftover brine?
Discard it or use it in marinades— it can add a salty kick to many dishes!
Conclusion
This recipe for how to make salted duck eggs using the brine method is special not only for its flavor but for its connection to shared family moments and rich tradition. I encourage you to embark on this culinary journey; you won’t regret it!
Share your experiences in the comments, or let me know how your batch turns out. And if you’re eager for more delicious recipes, check out similar posts on my blog. You’ll always find something to ignite your love for cooking!
Print
Deliciously Salty Duck Eggs: The Ultimate Brine Method Recipe
- Total Time: 20160 minutes
- Yield: 10 servings 1x
- Diet: Omnivore
Description
Learn how to make salted duck eggs using the traditional brine method for a flavorful culinary experience.
Ingredients
- 10 duck eggs
- 4 cups water
- 1 cup rock salt
Instructions
- Rinse the duck eggs under running water. Use a soft sponge or cloth to gently scrub off dirt while ensuring you don’t crack the shells. Dry them thoroughly with a kitchen towel.
- Boil the water and salt by combining 4 cups of water and 1 cup of rock salt in a saucepan. Bring it to a boil over medium heat, stirring occasionally until the salt is fully dissolved.
- Cool the brine completely at room temperature.
- Jar the rinsed and dried eggs carefully into a clean glass jar. Pour in the cooled brine, ensuring the eggs are completely submerged.
- Seal a plastic bag with the remaining brine on the eggs to ensure they stay submerged.
- Cure the eggs by closing the lid on the jar and letting them sit at room temperature for about two weeks.
Notes
Make sure your duck eggs are at room temperature before starting, and have a clean glass jar handy for storage. Avoid opening the jar before the curing time is finished for best results.
- Prep Time: 30 minutes
- Cook Time: 15 minutes
- Category: Snack
- Method: Brining
- Cuisine: Chinese
Nutrition
- Serving Size: 1 egg
- Calories: 70
- Sugar: 0g
- Sodium: 950mg
- Fat: 5g
- Saturated Fat: 2g
- Unsaturated Fat: 3g
- Trans Fat: 0g
- Carbohydrates: 1g
- Fiber: 0g
- Protein: 5g
- Cholesterol: 186mg
🥗 Free Custom Keto Meal Plan?
Do you want to lose weight while still enjoying delicious Asian & Thai Fusion meals? Take this quick quiz to get your personalized Keto plan based on your favorite foods!
- ✅ No more guessing what to eat
- ✅ Delicious & easy-to-make recipes
- ✅ Tailored to your body type
Get My Custom Plan Now! →
*Over 100,000+ people have transformed their lives with this quiz.