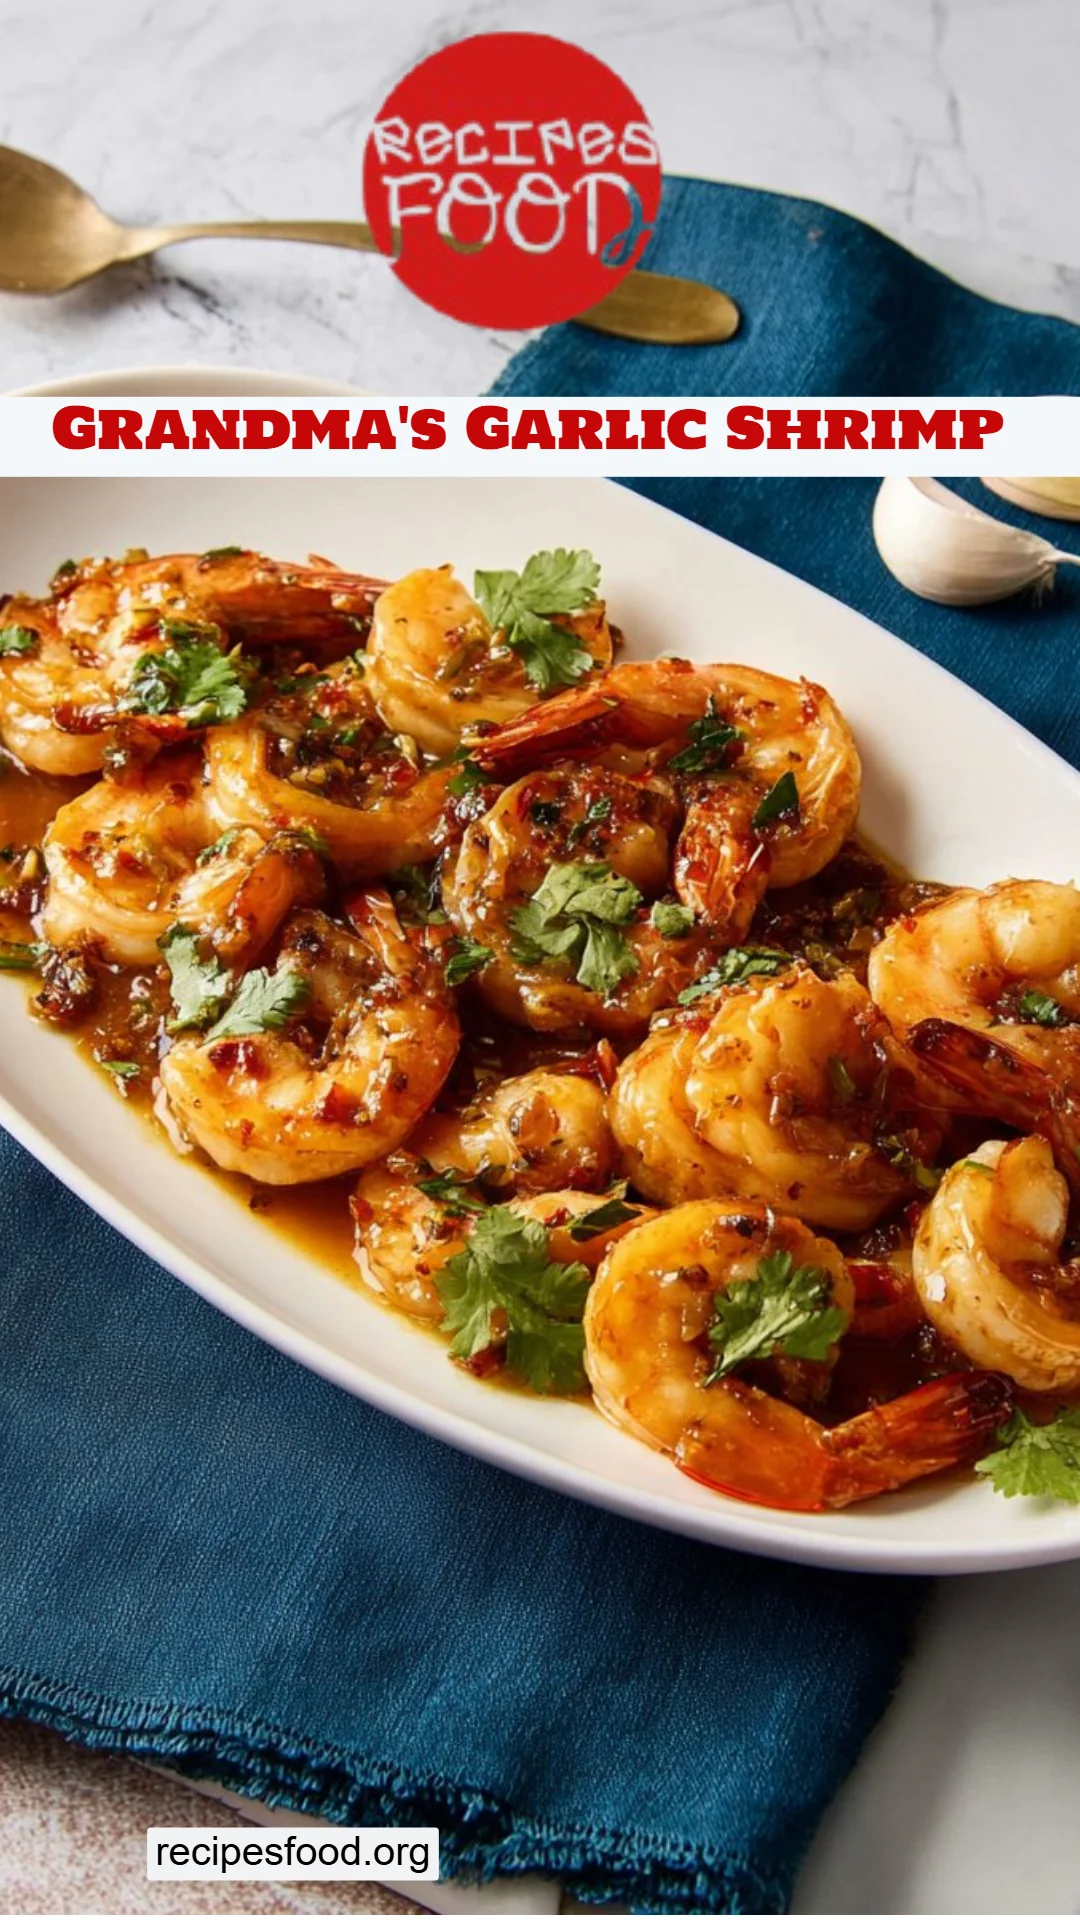
Grandma’s Garlic Shrimp: A Comforting Delight That’ll Make Your Taste Buds Dance!
When I think of my childhood, one dish fills my heart with warmth and brings back cherished memories – Grandma’s Garlic Shrimp. Picture it: warm, fragrant evenings spent in the kitchen, where the air is thick with the aroma of sizzling garlic and the laughter of family gathered around the table. My grandma had a way of turning simple ingredients into a feast fit for royalty, and her garlic shrimp was always the star of the show.
What sets Grandma’s Garlic Shrimp apart is the perfect balance of savory umami flavors combined with tender, juicy shrimp that make your taste buds sing. Unlike ordinary shrimp recipes that can be bland or overcooked, this version brings a depth of flavor to every bite, thanks to a secret blend of sauces, spices, and love. Each mouthful transports me to sun-soaked family gatherings, the joy of home-cooked meals, and the comfort that only Grandma’s cooking can provide.
In this recipe, you’ll not only learn how to recreate Grandma’s classic dish but also discover little tips and tricks to elevate the flavors, making it even better than you remember. So, roll up your sleeves and let’s dive into a culinary experience that promises to fill your kitchen with delightful aromas and your heart with nostalgia!
What Are Grandma’s Garlic Shrimp?
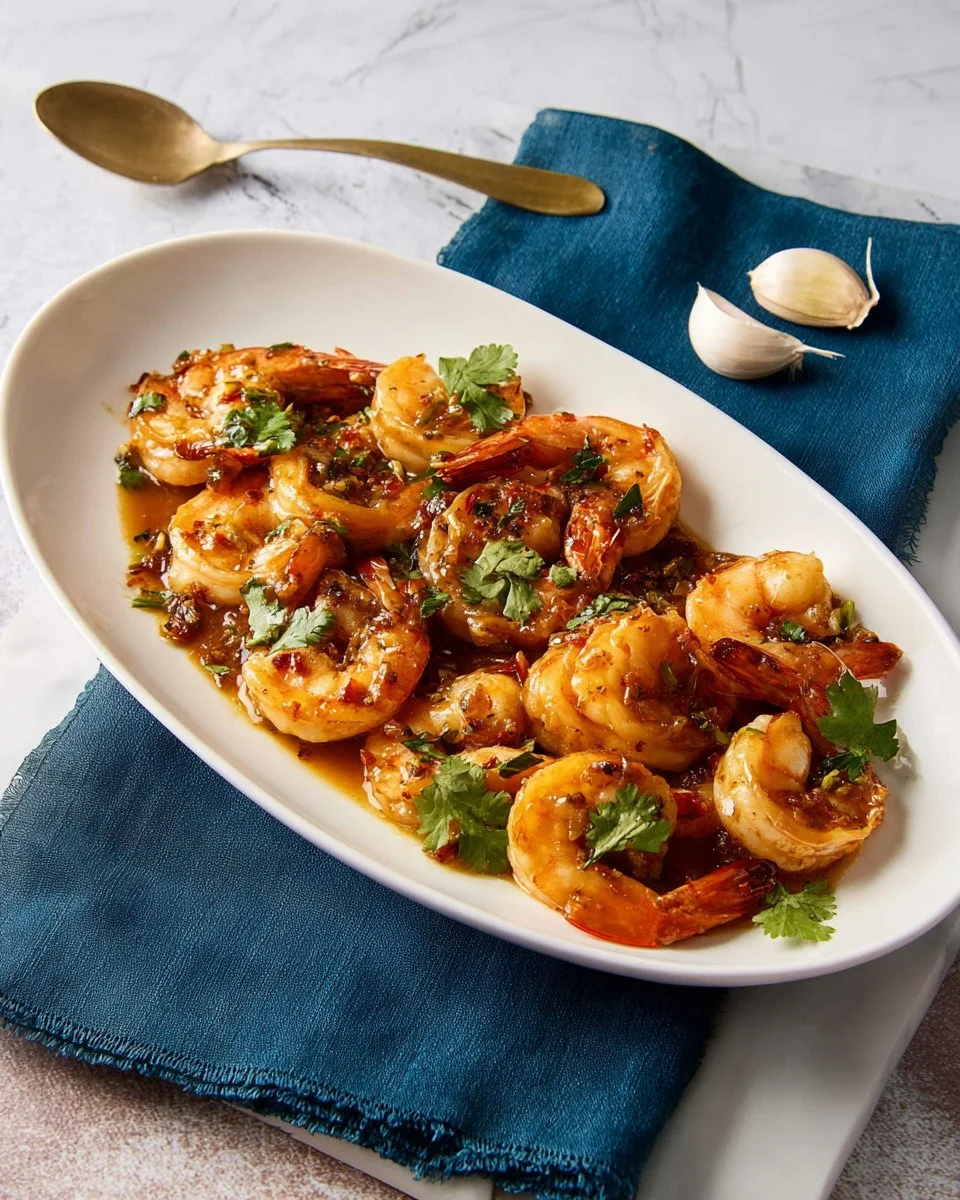
Grandma’s Garlic Shrimp traces its roots to her family’s rich culinary heritage, where seafood was a staple and garlic added that essential kick to every dish. This dish features large, succulent shrimp coated in a delicious sauce that marries sweetness and umami with a punch of garlicky goodness. The texture of the shrimp is tender yet firm, bursting with flavor that makes it an instant favorite.
What makes this recipe truly unique is its incredible sauce, which combines traditional Asian flavors with a hint of Western practicality. The harmonious blend of oyster sauce, fish sauce, and shrimp paste creates an addictive glaze that perfectly clings to the shrimp. It’s versatile, too – you can whip it up for a family dinner or impress guests at a gathering.
Whether it’s a casual weeknight meal or a special occasion, Grandma’s Garlic Shrimp is always a crowd-pleaser. It encapsulates the love and care of home cooking, making it the perfect comfort food for anyone looking to nurture their soul through food.
Why You’ll Love This Recipe
Bursting with Flavor: Unlike store-bought shrimp dishes that often lack personality, Grandma’s Garlic Shrimp is a flavor explosion. The combination of oyster sauce, fish sauce, and shrimp paste brings out the natural sweetness of the shrimp while packing in layers of umami that dance on your palate.
Cost-Effective Comfort: With just a handful of ingredients, you can create a gourmet dish right in your own kitchen without breaking the bank. This recipe is not only budget-friendly but also allows you to experience restaurant-quality flavors at home.
Customization Galore: One of the best aspects of this recipe is its versatility. Are you feeling adventurous? Toss in some veggies for added nutrition or switch up the protein with scallops or fish! You can easily adjust the flavors to suit your tastes, making it perfect for everyone at the table.
Quick and Easy: In a world that moves fast, this recipe shines. You can have a delectable meal on the table in less than 30 minutes, making it perfect for busy weeknights or impromptu gatherings.
A Skill Builder: Cook this dish again and again, and not only will you impress your friends and family, but you’ll also become a master in sautéing and flavor balancing. Plus, this is a great recipe for introducing younger cooks to shrimp – they’ll love getting hands-on while preparing something so delicious!
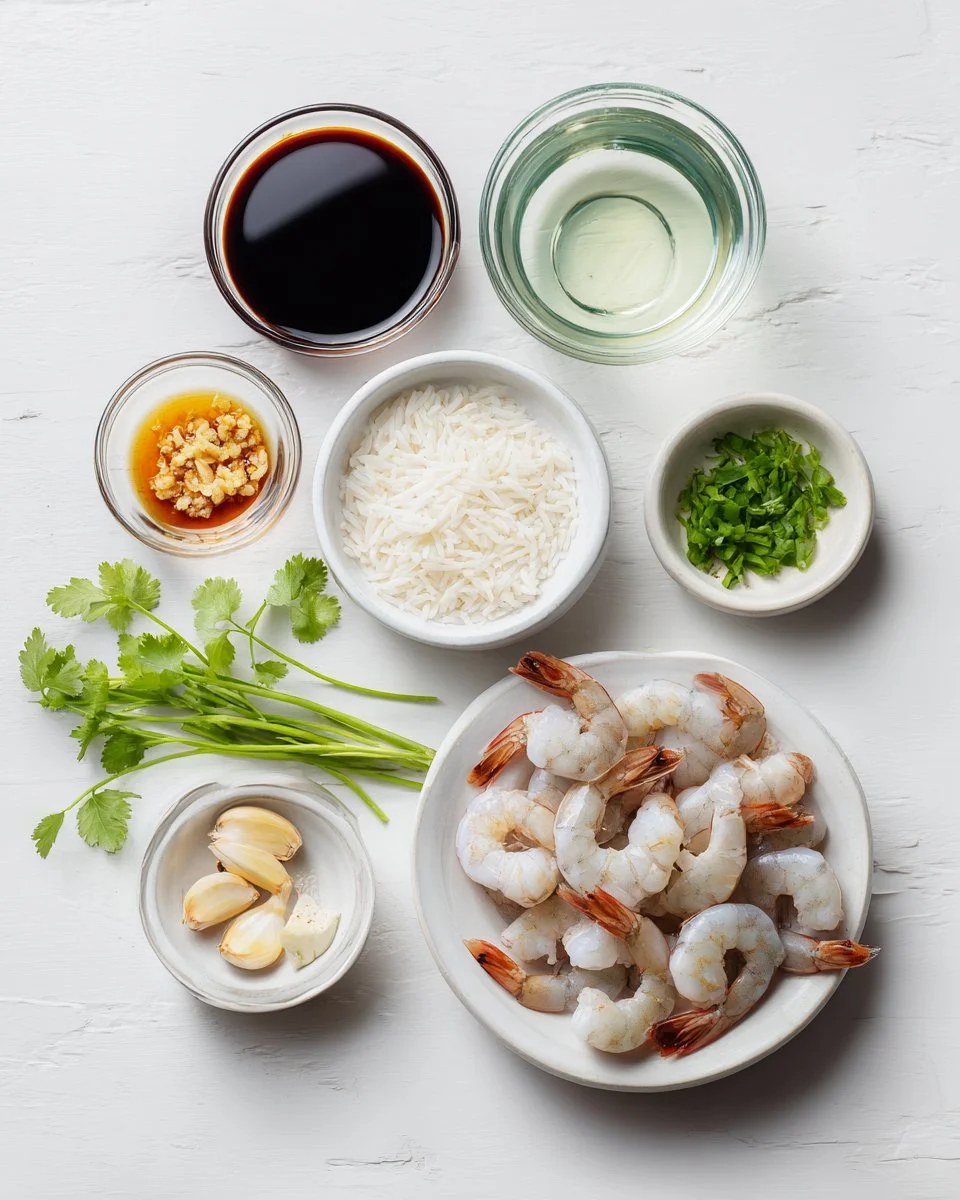
Ingredients
To make Grandma’s Garlic Shrimp, gather the following ingredients:
- 2 1/2 teaspoons oyster sauce: This adds a savory depth – I love Lee Kum Kee for its rich flavor.
- 1 1/2 teaspoons fish sauce: Adds the essential umami – try Red Boat fish sauce; it’s pure and authentic.
- 1 1/2 teaspoons sugar: Balances out the flavors beautifully.
- 2 tablespoons water: To help dissolve the sugar and create a smooth sauce.
- 1 1/2 teaspoons shrimp paste in oil: Adds a robust flavor; I recommend using a high-quality brand for the best results.
- 8 cloves garlic: The star ingredient! Freshly minced garlic enhances the dish.
- 3/4 teaspoon white peppercorns: Provides a light heat and aromatic flavor.
- 8 cilantro stems, chopped: Fresh cilantro brightens the dish; save the leaves for garnish.
- 1 lb large shrimp, peeled and deveined: I prefer using wild-caught shrimp for the best taste and texture.
- 3 tablespoons neutral oil (or as needed): For frying the shrimp; grapeseed oil works well.
- Chopped cilantro or green onions for garnish: Adds freshness at the end.
- Fried garlic (optional): A lovely crunch to finish off the dish.
- Jasmine rice: Serves as a fluffy base to soak up all the delicious sauce.
Ingredient Notes
- Quality Matters: Always opt for fresh, high-quality shrimp. If you’re unsure, inquire at your local fish market about their sourcing.
- Room Temperature Ingredients: Let your butter for the garlic sit out for 15-20 minutes if you choose to substitute; it incorporates easier when it’s not cold.
Step-by-Step Instructions
Make the Sauce: In a small bowl, stir together the oyster sauce, fish sauce, sugar, water, and shrimp paste until the sugar completely dissolves. Set this aside for later.
Prepare the Garlic Paste: In a mortar and pestle, pound your garlic until it’s chunky—don’t overdo it. Reserve about 1 clove’s worth for later use. Add the white peppercorns and chopped cilantro stems to the mortar, and pound until you achieve a paste-like consistency.
Dry the Shrimp: Pat the shrimp dry with paper towels. This is key! A dry shrimp will sear better and achieve that beautiful caramelization.
Sear the Shrimp: Heat a wok or deep skillet over high heat. Add enough oil to completely coat the bottom. When the oil is shimmering, arrange the shrimp in a single layer and sear until they turn pink and are halfway cooked (approximately 1-2 minutes per side). Remove the shrimp and repeat with the remaining batch.
Sauté the Garlic: Once all the shrimp are cooked and set aside, allow the pan to cool slightly. In the same pan, add the reserved chunky garlic and sauté in the residual oil for about 2 minutes until softened and fragrant.
Add the Herb Paste: Next, toss in the herb paste you prepared earlier, and sauté for an additional 15-20 seconds to release its flavors.
Combine Everything: Raise the heat to medium, return the cooked shrimp to the pan, and pour in your previously mixed sauce. Toss everything together for about 30 seconds, allowing the sauce to coat the shrimp and reduce slightly.
Serve: Plate your shrimp, sprinkling with chopped cilantro, green onions, and a generous pinch of fried garlic if desired. Serve alongside fluffy jasmine rice to soak up all the delectable sauce and enjoy!
Chef’s Tips:
- Timing is key: Don’t overcook the shrimp; they should be just cooked through and tender.
- Watch the heat: High heat is essential for that delightful sear; if the garlic burns, it’s time to lower the temperature.
Common Mistakes to Avoid:
- Don’t skip drying the shrimp! It’ll make all the difference in achieving the perfect sear.
- Be mindful of the garlic; burnt garlic can quickly ruin the flavor.
Expert Tips & Tricks
Storage: Leftovers can be stored in an airtight container in the fridge for up to 2 days. Reheat gently on the stove to prevent overcooking the shrimp.
Make Ahead: You can prepare the sauce ahead of time and store it in the fridge for up to a week. Allow it to come to room temperature before using.
Sauce Customization: Feel free to adjust the sweetness or saltiness of the sauce according to your taste!
Prevent Shrimp from Sticking: Make sure your pan is adequately oiled and hot before adding the shrimp.
Troubleshooting Texture: If your shrimp turns out rubbery, it’s likely they were overcooked. Keep an eye on them to maintain that tender texture.
Serving Suggestions
To make this meal truly special, serve your Grandma’s Garlic Shrimp with a side of steamed or stir-fried vegetables. A citrusy salad can also brighten up the plate! For a presentation touch, try serving it on a colorful platter garnished with additional cilantro or slices of lime. This dish is perfect for family dinners or celebratory gatherings where you want to impress without excessive effort.
Variations & Substitutions
- Add Veggies: Throw in some snap peas or bell peppers during the sautéing step for color and nutrition.
- Spice It Up: Want some heat? Mix in a few red pepper flakes or a dash of sriracha to elevate the dish.
- Dietary Variations: This recipe can easily be made gluten-free by ensuring the oyster and fish sauce are gluten-free. Vegetarian options can be made using tofu or mushrooms in place of shrimp.
Nutrition & Storage Info
- Prep Time: 15 minutes
- Cook Time: 15 minutes
- Total Time: 30 minutes
- Yield: Serves 4
- Estimated Calories: Approximately 300 calories per serving
- Storage: Keep leftovers in an airtight container for up to 2 days in the fridge. For longer storage, freeze in a suitable container for up to 3 months.
FAQ Section
1. Can I use frozen shrimp for this recipe?
Absolutely! Just make sure to thaw them completely and pat them dry before cooking.
2. Is there a vegetarian version of this dish?
Yes! Substitute shrimp with tofu or mushrooms and use vegan fish sauce alternatives if needed.
3. Can I prepare the sauce in advance?
Definitely! The sauce can be made ahead of time and stored in the fridge for up to a week.
4. What can I pair with this dish?
Jasmine rice is perfect, but it also goes well with quinoa or even a fresh salad.
5. How can I increase the spice level?
Feel free to add red pepper flakes or a splash of hot sauce to the shrimp towards the end of cooking.
6. How do I know when the shrimp are cooked perfectly?
The perfect shrimp will be pink and opaque, firm to the touch, but not rubbery.
7. Is there a way to store leftovers?
Store leftovers in an airtight container in the fridge for up to 2 days or freeze for up to 3 months.
8. What if I don’t have shrimp paste?
If you can’t find shrimp paste, you can omit it or substitute it with a combination of fish sauce and some soy sauce for the umami flavor.
9. Can I add more garlic to enhance the flavor?
More garlic will definitely amplify the flavor! Feel free to add to your taste.
10. What alternative to jasmine rice would work?
You could serve this over noodles, cauliflower rice for a low-carb option, or even crusty bread to soak up the sauce.

Conclusion
Grandma’s Garlic Shrimp is more than just a meal; it’s an experience rich with nostalgia, flavor, and love. Each bite tells the story of family gatherings and joyous celebrations. I hope you recreate this delightful dish in your kitchen, filling it with warmth and happiness. I can’t wait to hear how it turns out – please share your feedback in the comments below! And if you’re looking for more delicious recipes, be sure to check out my other posts for more culinary adventures.
Print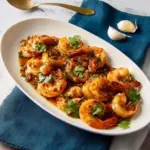
Grandma’s Garlic Shrimp
- Total Time: 30 minutes
- Yield: 4 servings 1x
- Diet: Pescatarian
Description
A comforting and flavorful dish featuring tender shrimp coated in a savory garlic sauce, perfect for family dinners or special occasions.
Ingredients
- 2 1/2 teaspoons oyster sauce
- 1 1/2 teaspoons fish sauce
- 1 1/2 teaspoons sugar
- 2 tablespoons water
- 1 1/2 teaspoons shrimp paste in oil
- 8 cloves garlic, minced
- 3/4 teaspoon white peppercorns
- 8 cilantro stems, chopped
- 1 lb large shrimp, peeled and deveined
- 3 tablespoons neutral oil
- Chopped cilantro or green onions for garnish
- Fried garlic (optional)
- Jasmine rice for serving
Instructions
- Make the Sauce: In a small bowl, stir together the oyster sauce, fish sauce, sugar, water, and shrimp paste until the sugar completely dissolves. Set this aside for later.
- Prepare the Garlic Paste: In a mortar and pestle, pound your garlic until it’s chunky—don’t overdo it. Reserve about 1 clove’s worth for later use. Add the white peppercorns and chopped cilantro stems to the mortar, and pound until you achieve a paste-like consistency.
- Dry the Shrimp: Pat the shrimp dry with paper towels. This is key! A dry shrimp will sear better and achieve that beautiful caramelization.
- Sear the Shrimp: Heat a wok or deep skillet over high heat. Add enough oil to completely coat the bottom. When the oil is shimmering, arrange the shrimp in a single layer and sear until they turn pink and are halfway cooked (approximately 1-2 minutes per side). Remove the shrimp and repeat with the remaining batch.
- Sauté the Garlic: Once all the shrimp are cooked and set aside, allow the pan to cool slightly. In the same pan, add the reserved chunky garlic and sauté in the residual oil for about 2 minutes until softened and fragrant.
- Add the Herb Paste: Next, toss in the herb paste you prepared earlier, and sauté for an additional 15-20 seconds to release its flavors.
- Combine Everything: Raise the heat to medium, return the cooked shrimp to the pan, and pour in your previously mixed sauce. Toss everything together for about 30 seconds, allowing the sauce to coat the shrimp and reduce slightly.
- Serve: Plate your shrimp, sprinkling with chopped cilantro, green onions, and a generous pinch of fried garlic if desired. Serve alongside fluffy jasmine rice to soak up all the delectable sauce and enjoy!
Notes
Use high-quality shrimp and fresh garlic for the best flavor. You can also prepare the sauce ahead of time and store it in the fridge for up to a week.
- Prep Time: 15 minutes
- Cook Time: 15 minutes
- Category: Main Course
- Method: Sautéing
- Cuisine: Asian
Nutrition
- Serving Size: 1 serving
- Calories: 300
- Sugar: 5g
- Sodium: 800mg
- Fat: 15g
- Saturated Fat: 2g
- Unsaturated Fat: 12g
- Trans Fat: 0g
- Carbohydrates: 30g
- Fiber: 1g
- Protein: 25g
- Cholesterol: 150mg
🥗 Free Custom Keto Meal Plan?
Do you want to lose weight while still enjoying delicious Asian & Thai Fusion meals? Take this quick quiz to get your personalized Keto plan based on your favorite foods!
- ✅ No more guessing what to eat
- ✅ Delicious & easy-to-make recipes
- ✅ Tailored to your body type
Get My Custom Plan Now! →
*Over 100,000+ people have transformed their lives with this quiz.