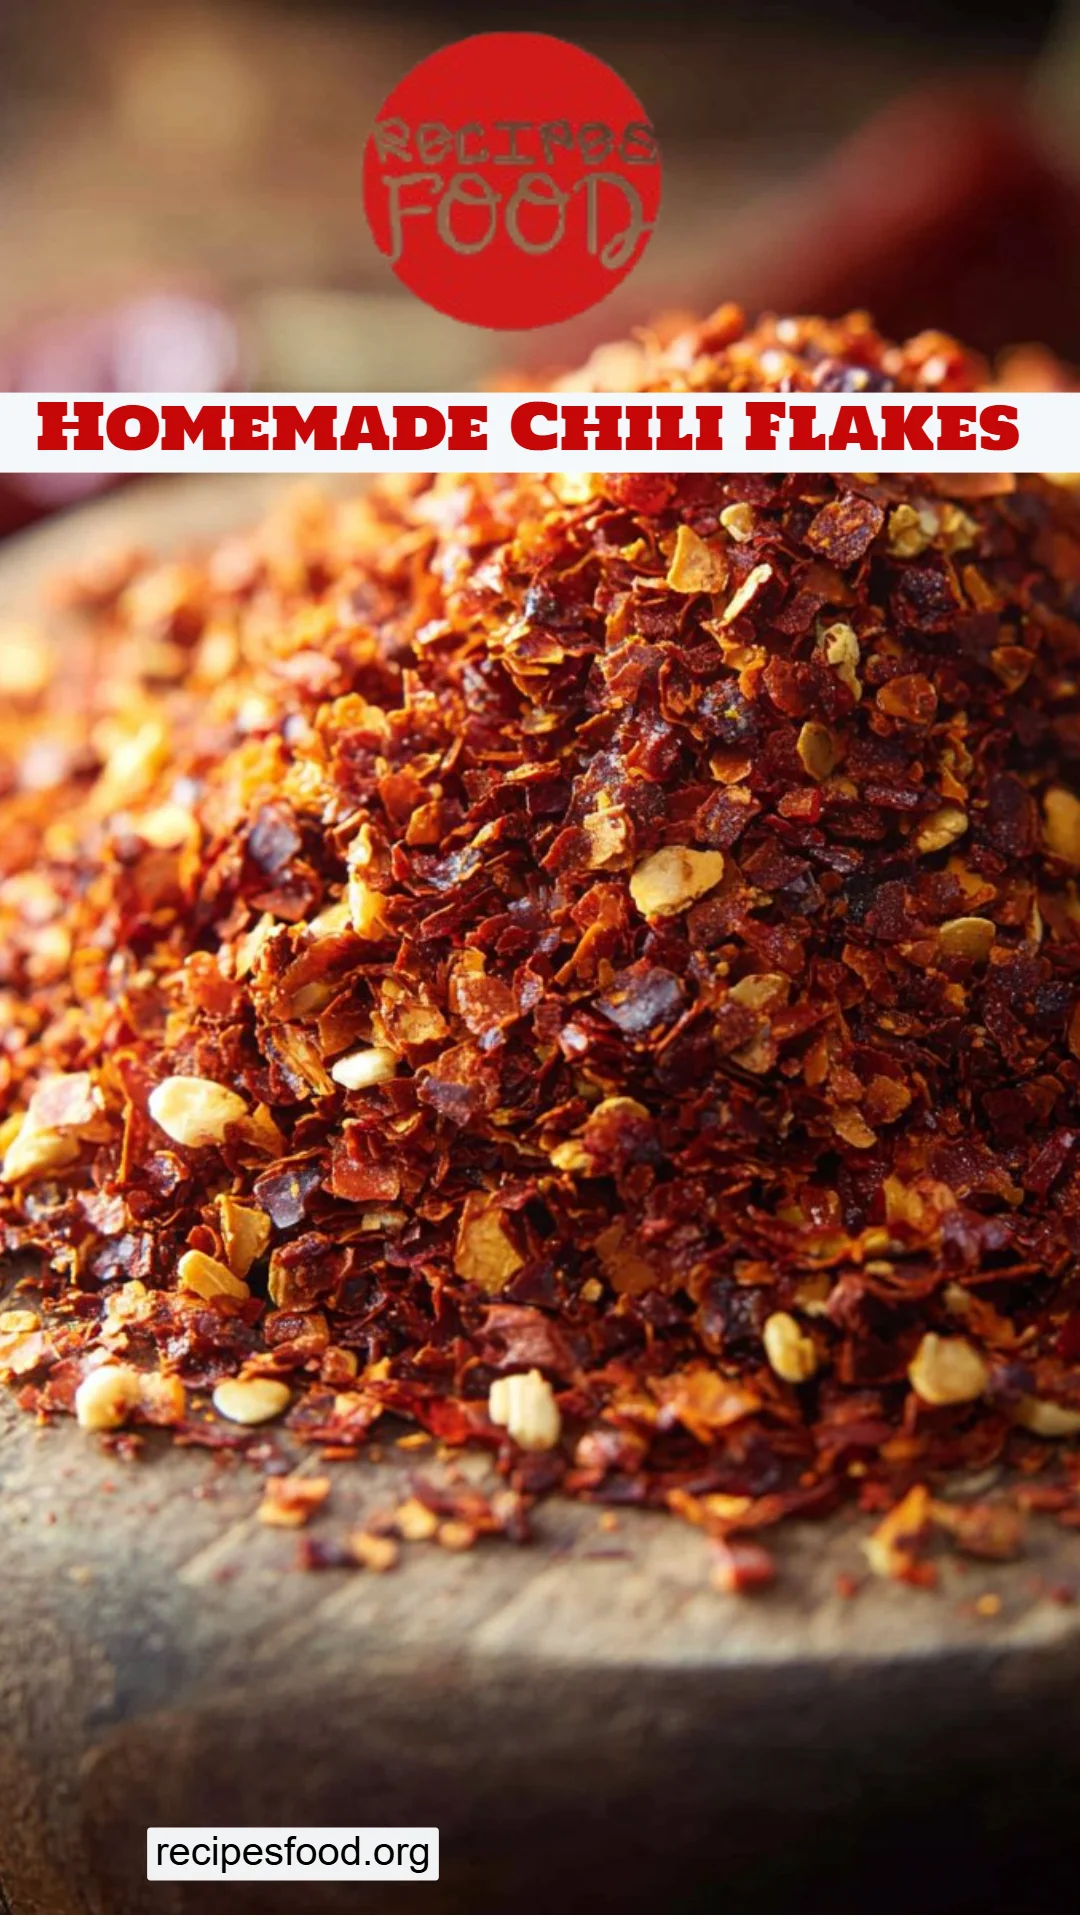
Spice Up Your Life: The Ultimate Guide to Homemade Chili Flakes
I still remember the first time my grandma took me to our local farmer’s market. The air was bursting with the aroma of spices and fresh produce, and in that colorful maze of stalls, she introduced me to the vibrant world of dried peppers. Today, those memories bring me to my kitchen, where I’ve turned my passion for cooking into something special—Homemade Chili Flakes. Creating my own chili flakes has become a cherished ritual, and I can assure you, once you try this simple recipe, you’ll wonder why you ever settled for the store-bought version.
What makes my Homemade Chili Flakes exceptional? It’s all about the quality of ingredients and the love infused into the process. Forget the bland, dusty shakers you find on grocery shelves; my homemade mix is bursting with flavor, just waiting to elevate your favorite dishes. By toasting and grinding the chilies yourself, you unlock an intensity that is simply unbeatable.
In this post, I’ll take you through the entire journey—from selecting the right chilies to perfecting the toasting technique. You’ll learn how easy it is to create a custom spice blend that captures the warmth of family meals and those cozy dinners that feel just like home.
What Are Homemade Chili Flakes?
Homemade chili flakes aren’t just a culinary ingredient; they are a labor of love. Originating from the traditional spice-making methods of various cultures worldwide, chili flakes are made by drying and crushing chili peppers into a coarse or fine powder. Depending on the chili variety, these flakes can range from mild to incredibly spicy, making them a versatile addition to any kitchen.
The taste and texture of homemade chili flakes are vibrant and dynamic, capturing not just heat but a complexity that enhances dishes in unexpected ways. The fiery burst of flavor complements everything from pizza to pasta and even salads. The unique quality of homemade chili flakes lies in their freshness; once ground, they release essential oils and aromas, enveloping your senses in a fragrant embrace.
Making your own chili flakes is a fun and rewarding process, perfect for when you have extra chilies on hand or for those moments when you want to gift a token of warmth and love to friends and family.
Why You’ll Love This Recipe
There are countless reasons to dive into the world of Homemade Chili Flakes, and here are just a few that will leave you eager to get started:
Unmatched Freshness: The flavor of homemade chili flakes far surpasses anything you’ll find in a store-bought jar. When you toast and grind the chilies yourself, you capture all the rich aromas and potent heat that fades over time in pre-packaged spices.
Cost-Effectiveness: Let’s face it—buying organic chilies and grinding them into flakes is usually cheaper than buying fancy jars of spices. Plus, a little goes a long way. You’ll ultimately save money while creating a delicious ingredient you’ll reach for time and again.
Customization Options: Love it hot? Go all in with fiery Thai bird’s eye chilies. Prefer something milder? Choose sweet bell pepper varieties. You can craft your chili flake mix exactly to your taste preferences, adding unique dimensions with herbs like Makrut lime leaves or lemongrass.
Easy & Fun: This process is beginner-friendly and takes minimal time! With just a few simple steps over an hour, you can produce a batch of homemade flakes that will impress anyone.
Family Tradition: Making chili flakes can become a cherished family tradition. Gather your loved ones around the kitchen and share stories while creating a delicious spice blend together.
I promise, once you experience the joy of harvested heat from your own kitchen, you’ll never look back!
Ingredients
Spicy Dried Chilies (e.g., Thai birds eye chilies or arbol chilies)
- Note: Look for bright, unblemished chilies. Dried chilies should have a rich color and a strong aroma for the best flavor.
Makrut Lime Leaves (optional)
- Substitution: Lemongrass can provide a similar citrusy note if you can’t find lime leaves.
Lemongrass (optional, as a substitute for lime leaves)
- Brand Recommendation: If using Lemongrass, go for fresh for the best aroma, or use high-quality dried lemongrass.
Preparation Notes:
- Ensure chilies are at room temperature before beginning.
Step-by-Step Instructions
Wash the chilies by dunking them in a bowl of cold water and swishing them around for 5 seconds. Lay them out on a kitchen towel and dry as much as possible. Let them dry completely overnight or use a fan for faster drying.
Optional: To tone down the heat, cut the chilies with scissors and remove the seeds—a small step that makes a significant difference for heat-sensitive palates.
Toasting Method 1 (Stovetop):
- Add dried chilies and optional Makrut lime leaves to a dry pot, wok, or skillet.
- Stir over medium heat until a few charred spots form—this should only take a few minutes. Watch carefully to prevent burning.
Toasting Method 2 (Oven):
- Preheat the oven to 300°F (150°C).
- Place chilies on a baking sheet and bake for 5 to 7 minutes until they darken slightly and smell smoky. Allow to cool for 10 minutes.
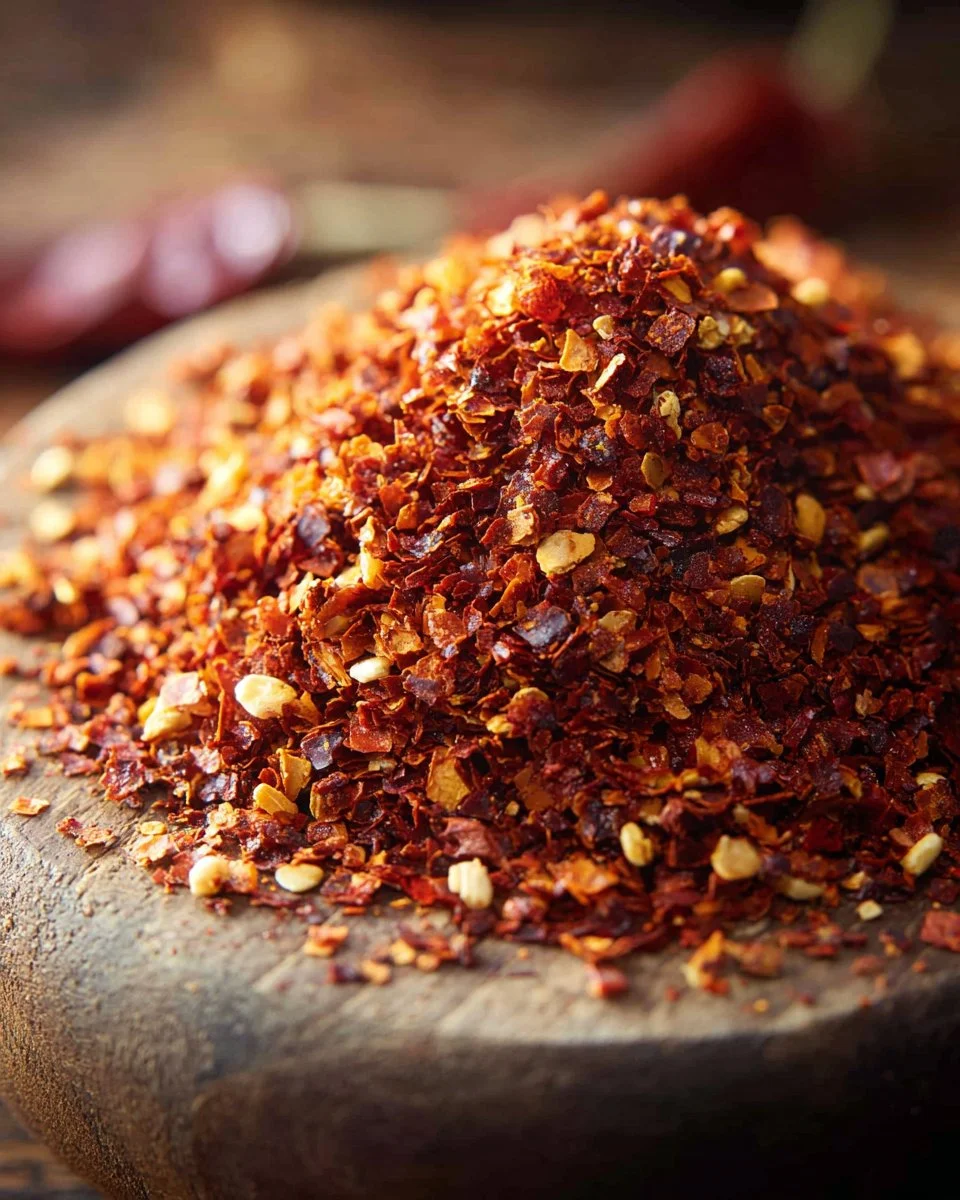
Grind: Transfer the toasted chilies to a coffee grinder or spice grinder and grind them into small flakes or a coarse powder. Allow chili dust to settle before carefully opening the grinder lid.
Store: Transfer the chili flakes into an airtight container. Store in the fridge or freezer, where they can last for up to 6 months.
Chef’s Tips:
- Use a clean, dry grinder to avoid moisture, which could spoil the flakes.
- Try incorporating different types of dried herbs for unique blends.
Expert Tips & Tricks
Creating the perfect batch of Homemade Chili Flakes comes with a few professional tips that can elevate your results:
Optimal Chili Choice: Experiment with different varieties of chilies for various flavor profiles. Each chili brings distinct characteristics and heat levels that can significantly alter your final mix.
Storage Recommendations: Keep the chili flakes in a dark, cool place in an airtight container to maintain freshness. If exposed to light and moisture, their potency will diminish.
Make-Ahead Instructions: Toast and grind in batches during dry weather so you have homemade chili flakes on hand for months. The flavors develop beautifully over time!
Troubleshooting: If your chili flakes taste too bitter, you may have over-toasted them. Next time, keep a close eye during the frying or baking process, ensuring a golden hue without darkening too much.
Adding Varieties: Don’t hesitate to infuse other spices (like garlic or onion powder) into your chili flake mix for extra flavor layers.
Serving Suggestions
There’s no limit to how you can use your Homemade Chili Flakes! Here are a few suggestions:
- Sprinkle generously on freshly popped popcorn for a spicy movie night snack.
- Top off pizzas or pastas just before serving to add vibrancy.
- Use as a rub for meats or tofu before grilling; the heat will deepen with the cooking process.
- For special occasions, make beautiful spice jars as gifts for friends and family.
Variations & Substitutions
If you adore experimenting in the kitchen as much as I do, you’ll love these creative variations:
- Smoky Blend: Add a pinch of smoked paprika to your final mixture for a deeper flavor profile.
- Sweet & Spicy: Combine with dried sweet bell pepper flakes for a milder blend.
- Seasonal Flavors: Try adding ingredients like dried garlic or onion during the harvest months for a unique twist.
Nutrition & Storage Info
- Prep Time: 15 minutes
- Cook Time: 15 minutes (plus drying time)
- Total Time: About 1 hour (including drying)
- Yield: Approximately 1 cup
- Estimated Calories: 15 calories per serving
- Storage Instructions: Store in an airtight container in the fridge or freezer. They’ll last up to 6 months when properly sealed.
FAQ Section
What types of chilies are best for homemade chili flakes?
- Thai bird’s eye chilies offer robust heat, while milder options like Ancho can provide sweetness. Always choose dried, vibrant, and aromatic chilies.
Can I make homemade chili flakes in small batches?
- Absolutely! Adjust your quantities based on needs. Even half a dozen chilies can yield a delightful blend.
What tools do I need?
- You’ll need a coffee grinder or spice grinder, a dry skillet or oven for toasting, and an airtight container for storage.
Can I use fresh chilies?
- Drying fresh chilies first is essential. Homemade chili flakes require dried peppers for the best texture and preservation.
Do I have to toast the chilies?
- While not strictly necessary, toasting enhances the flavor and aroma of the chilies, bringing out their best characteristics.
What if I want less heat?
- Simply remove seeds or mix in milder dried peppers and herbs for a flavorsome blend.
How can I incorporate homemade chili flakes into dishes?
- Use them as a finishing touch on soups, marinades, salad dressings, or even sprinkled atop breakfast eggs for an added kick.
Are homemade chili flakes gluten-free?
- Yes! Chili flakes are naturally gluten-free, making them safe for those with gluten sensitivities.
Can I add other spices to my chili flakes?
- Certainly! Spice blends can include garlic powder, onion powder, or even herbs like oregano for unique flavor profiles.
What if my chili flakes lose their potency?
- Store them away from heat and sunlight to maintain freshness. If they seem bland, a quick toast on the skillet can revive some of their flavor.
Conclusion
Homemade Chili Flakes are not just a recipe; they are a celebration of flavor, creativity, and heartfelt connections to family traditions. By making your own, you connect with each ingredient, ensuring that each sprinkle carries not just spice but memories and warmth. I encourage you to give this a try—your taste buds will thank you!
Don’t forget to share your experiences with me, or drop a line with your own twists on this recipe. And if you’re hungry for more delectable adventures, be sure to check out my blog for various sauces, seasonings, and spicy delights!

Homemade Chili Flakes
- Total Time: 60 minutes
- Yield: 1 cup
- Diet: Vegan
Description
Create your own homemade chili flakes bursting with fresh flavors by toasting and grinding dried chilies.
Ingredients
- Spicy Dried Chilies (e.g., Thai birds eye chilies or arbol chilies)
- Makrut Lime Leaves (optional)
- Lemongrass (optional, as a substitute for lime leaves)
Instructions
- Wash the chilies by dunking them in a bowl of cold water and swishing them around for 5 seconds. Lay them out on a kitchen towel and dry as much as possible. Let them dry completely overnight or use a fan for faster drying.
- Optional: To tone down the heat, cut the chilies with scissors and remove the seeds.
- Add dried chilies and optional Makrut lime leaves to a dry pot, wok, or skillet and stir over medium heat until charred spots form.
- Preheat the oven to 300°F (150°C), then place chilies on a baking sheet and bake for 5 to 7 minutes.
- Transfer the toasted chilies to a coffee grinder and grind into small flakes or a coarse powder.
- Store the chili flakes in an airtight container in the fridge or freezer.
Notes
Experiment with different varieties of chilies for a custom flavor profile. Use a clean, dry grinder to avoid moisture.
- Prep Time: 15 minutes
- Cook Time: 15 minutes
- Category: Condiment
- Method: Toasting and Grinding
- Cuisine: International
Nutrition
- Serving Size: 1 serving
- Calories: 15
- Sugar: 0g
- Sodium: 0mg
- Fat: 0g
- Saturated Fat: 0g
- Unsaturated Fat: 0g
- Trans Fat: 0g
- Carbohydrates: 4g
- Fiber: 1g
- Protein: 1g
- Cholesterol: 0mg
🥗 Free Custom Keto Meal Plan?
Do you want to lose weight while still enjoying delicious Asian & Thai Fusion meals? Take this quick quiz to get your personalized Keto plan based on your favorite foods!
- ✅ No more guessing what to eat
- ✅ Delicious & easy-to-make recipes
- ✅ Tailored to your body type
Get My Custom Plan Now! →
*Over 100,000+ people have transformed their lives with this quiz.