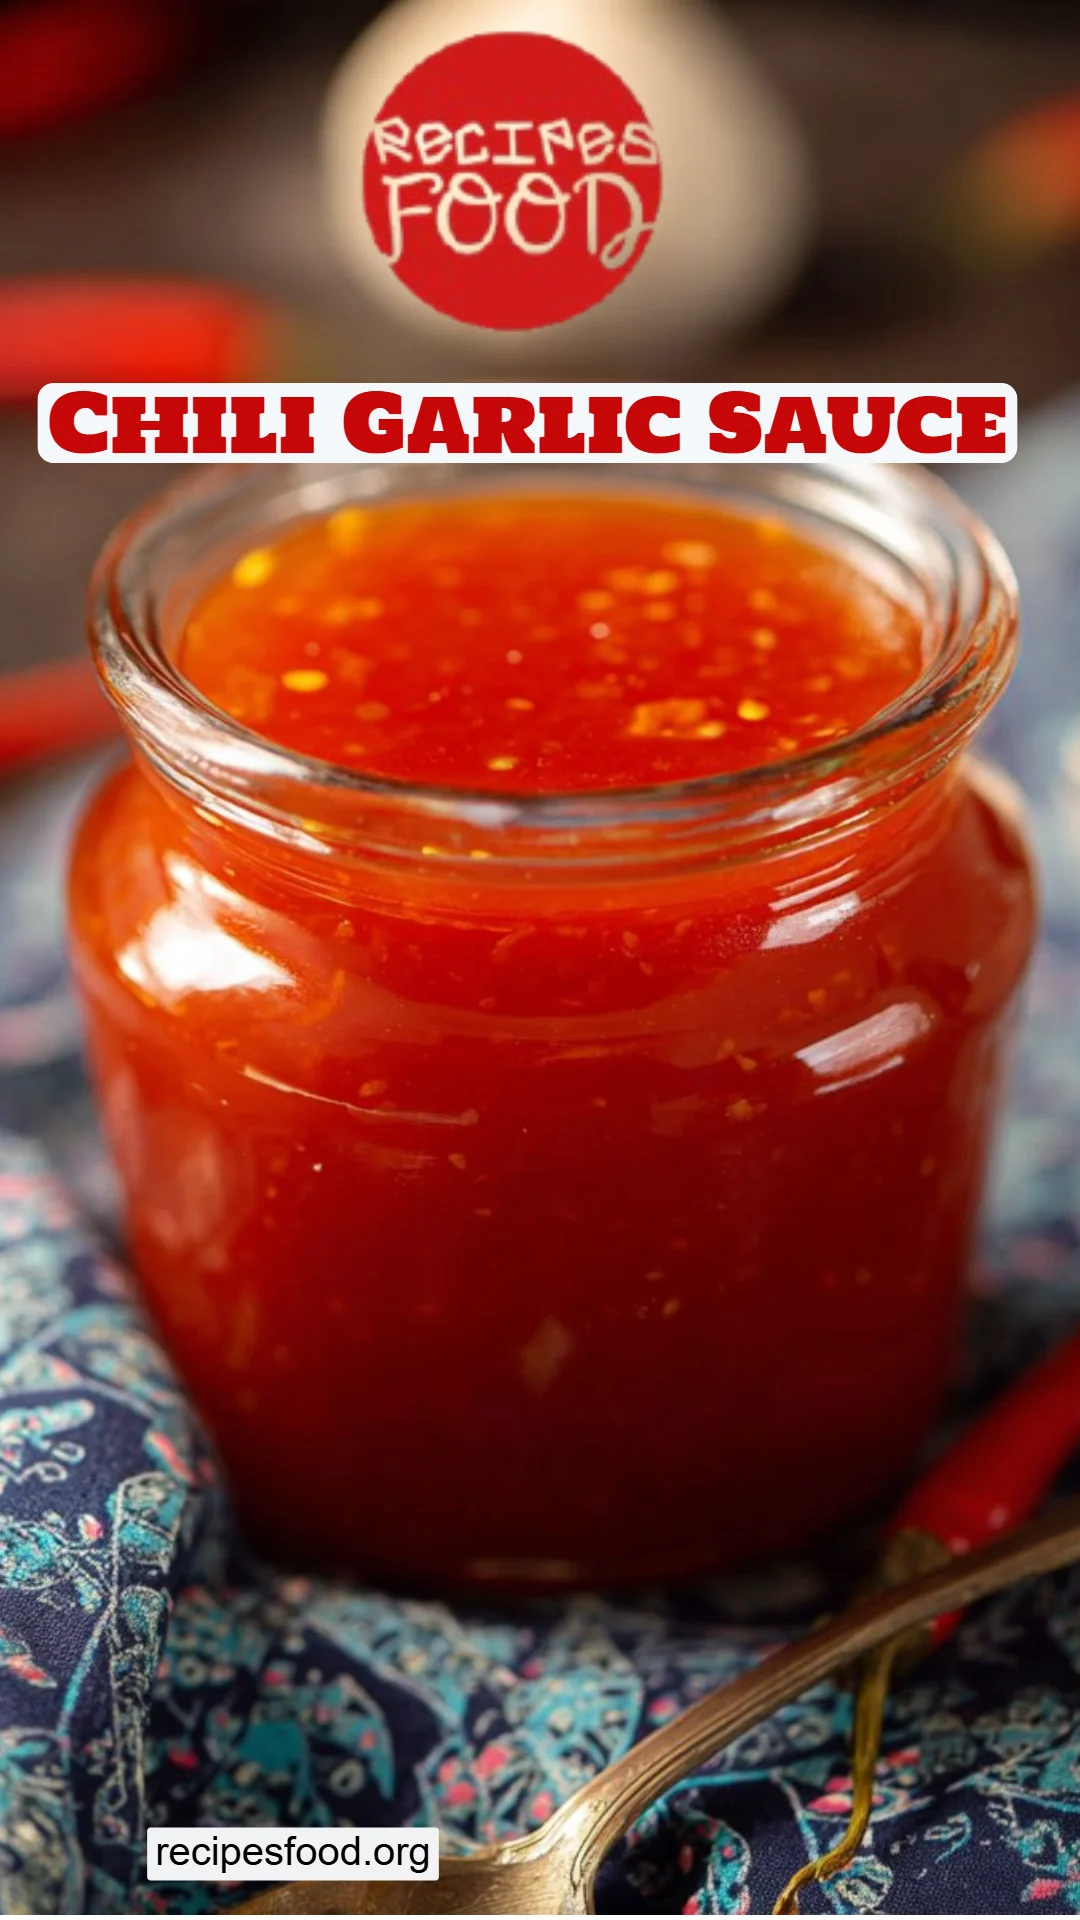
Homemade Chili Garlic Sauce: The Fiery Elixir Your Dishes Are Missing!
When I think of my childhood, aromas of spicy, tangy goodness come flooding back. Gathering around the dinner table with my family, giddily awaiting the moment my mom would bring out her homemade chili garlic sauce—a vibrant, spicy concoction that rocked our taste buds and brought us all together. From drizzling it on steaming bowls of pho to using it as the secret ingredient in my mom’s infamous dumplings, each spoonful was an explosion of flavors that not only ignited our meals but also our hearts.
There’s something special about making your own chili garlic sauce. Trust me, once you’ve tasted this version, you’ll never want to go back to store-bought. This recipe is unique because it captures that fresh, homemade flavor and allows you to tweak the heat level to your liking. In each batch, I pour in a bit of nostalgia and a whole lot of love, and I promise you will feel the same way when you create your own!
In this post, I’m excited to share with you my go-to chili garlic sauce recipe that’s packed with flavor, easy to make, and perfect for any dish. Not only will you dive into vibrant cooking tips, but I’ll also share some personal experiences that’ll inspire you to unleash your inner chef! So, let’s get cooking!
What is Chili Garlic Sauce?
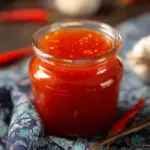
Chili garlic sauce is a hot and savory blend that combines the heat of red chilies with aromatic garlic. Its origins can be traced back to Southeast Asia, where it has become a staple in various cuisines, particularly Thai and Vietnamese. This zesty sauce typically boasts a thick, chunky texture, making it stand out from smoother condiments.
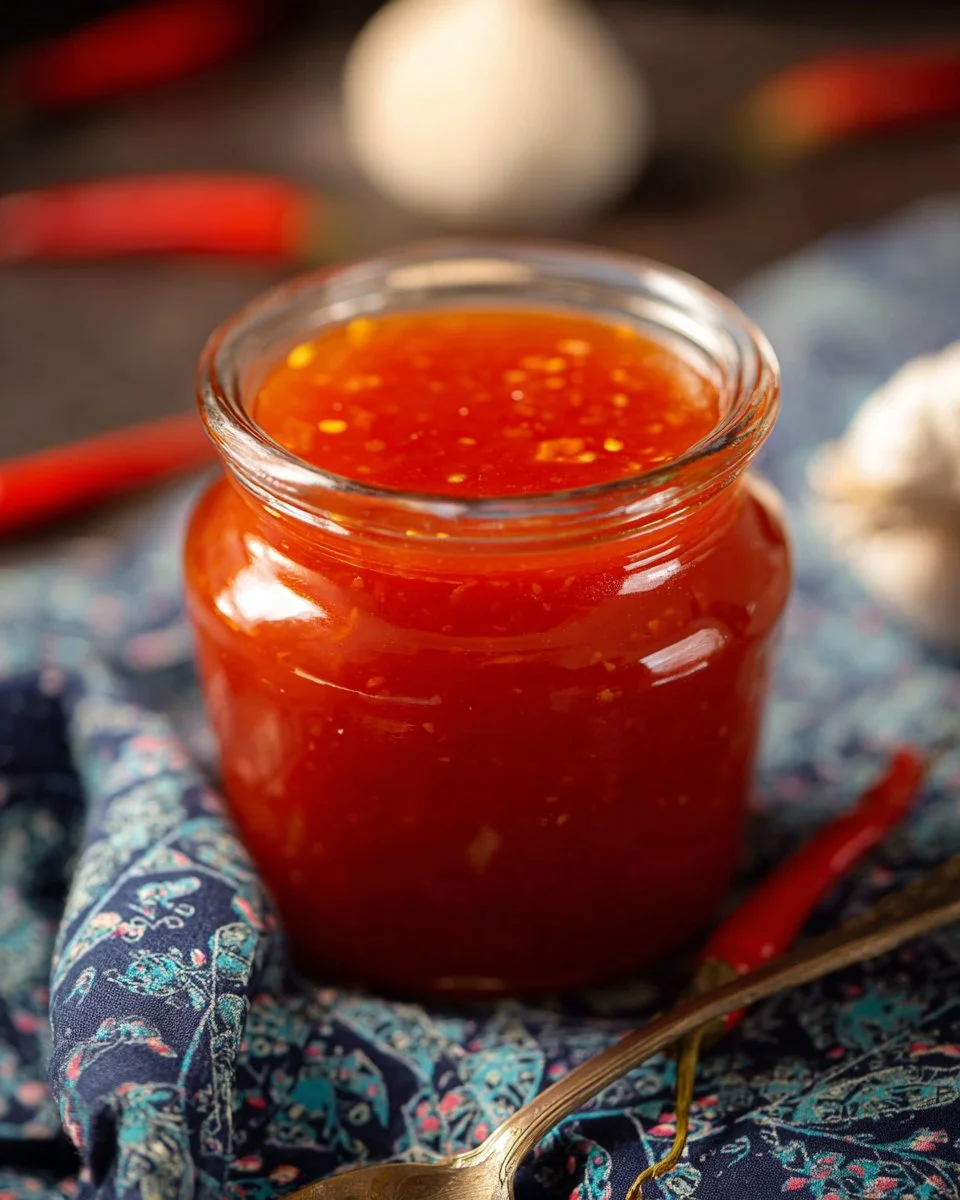
The beauty of chili garlic sauce lies in its versatility; it can elevate fried foods, soups, and marinades. Its bright red color is a feast for the eyes, while the spicy and garlicky flavor dances on your palate. Whether you’re using it as a dipping sauce for spring rolls or drizzling it over fried chicken and noodles, it brings dishes to life in a way that few other sauces can. You’ll want to make it again and again!
Why You’ll Love This Recipe
Fresh and Flavorful: Unlike many store-bought versions loaded with preservatives, this homemade chili garlic sauce bursts with freshness. The vibrant red chilies and pungent garlic lend a warmth that is hard to replicate.
Cost-Effective: Making your own means you can save money! Store-bought sauces can be pricey and often skimp on quality.
Customizable Spice Level: Adjust the heat factor by varying the number of Thai chilies, making it perfect for everyone from spice novices to hardcore chili lovers.
Short Time Investment: You’ll be amazed at how quickly this sauce comes together, taking around 20-30 minutes from start to finish.
Feel Like a Pro: With a foolproof method, this recipe gives you confidence in the kitchen. Plus, you’ll impress friends and family with your culinary skills!
Now that you’re pumped to make your own version, let’s gather our ingredients!
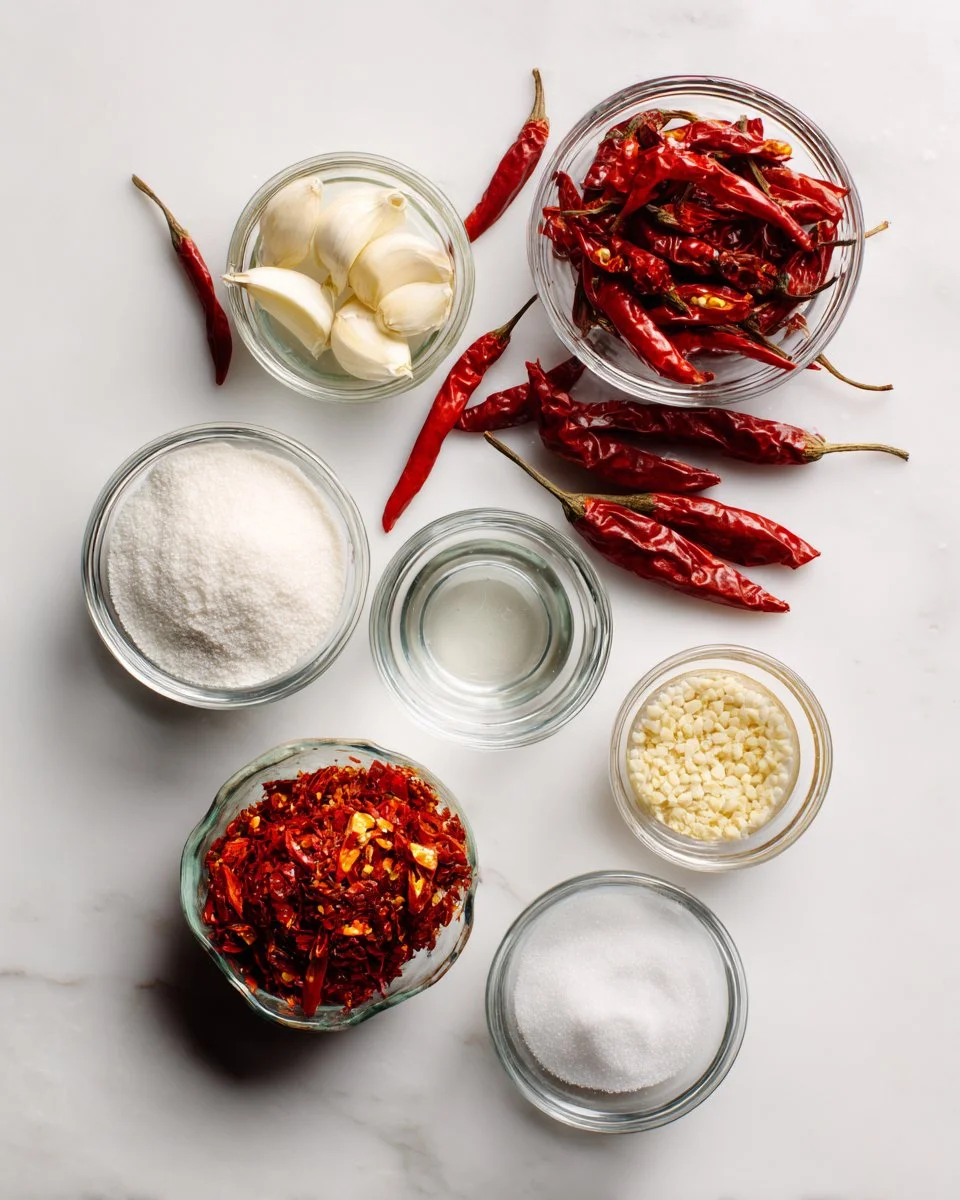
Ingredients
1 cup medium/mild red chilies, chopped (choose a vibrant variety for maximum flavor)
1 to 3 Thai chilies, or more to taste (add if you love extra heat)
8 cloves garlic, smashed (fresh garlic is key!)
1 cup sugar (this balances the heat)
1/3 cup water (for blending)
3/4 cup white vinegar (adds tang)
1 1/2 teaspoons fine grain salt (season to perfection)
1 tablespoon tapioca starch dissolved in 3 tablespoons water or cornstarch (for thickening)
Prep Notes: Make sure your ingredients are fresh for the best flavor. Let the chili and garlic sit at room temperature before using.
Brand Recommendations: I love using Fresno peppers for a delightful sweetness, and you can’t go wrong with organic garlic for boldness.
Step-by-Step Instructions
Blend the Base: In a food processor, blend together the chopped red chilies, Thai chilies, smashed garlic, and water. Stop once a chunky slushy consistency forms, ensuring there are no large pieces left. This should take about 1 minute; the goal is a mix that’s robust but not completely smooth.
Cook It Down: Transfer the blended mixture into a heavy-bottomed pot. Add the sugar, white vinegar, and salt; stir well to combine all ingredients. Bring the mixture to a simmer over medium heat. Stir continuously until the sugar has completely dissolved. This takes about 4-5 minutes.
Simmer with Passion: After achieving a simmer, let it bubble gently for another 5 minutes. Remember to use a wet pastry brush to wipe the sides of the pot clean—this prevents burnt bits from mixing in.
Thicken It Up: Stir in the tapioca starch slurry and keep stirring until it comes to a gentle boil and thickens up nicely (another 1-2 minutes).
Taste and Adjust: Remove from heat. Take a moment to taste your sauce and adjust the seasoning, adding more salt or chilies as needed.
Cool and Store: Transfer the sauce to a clean jar and let it cool. Once cooled, seal it up and store it in the fridge; it’ll last for several months.
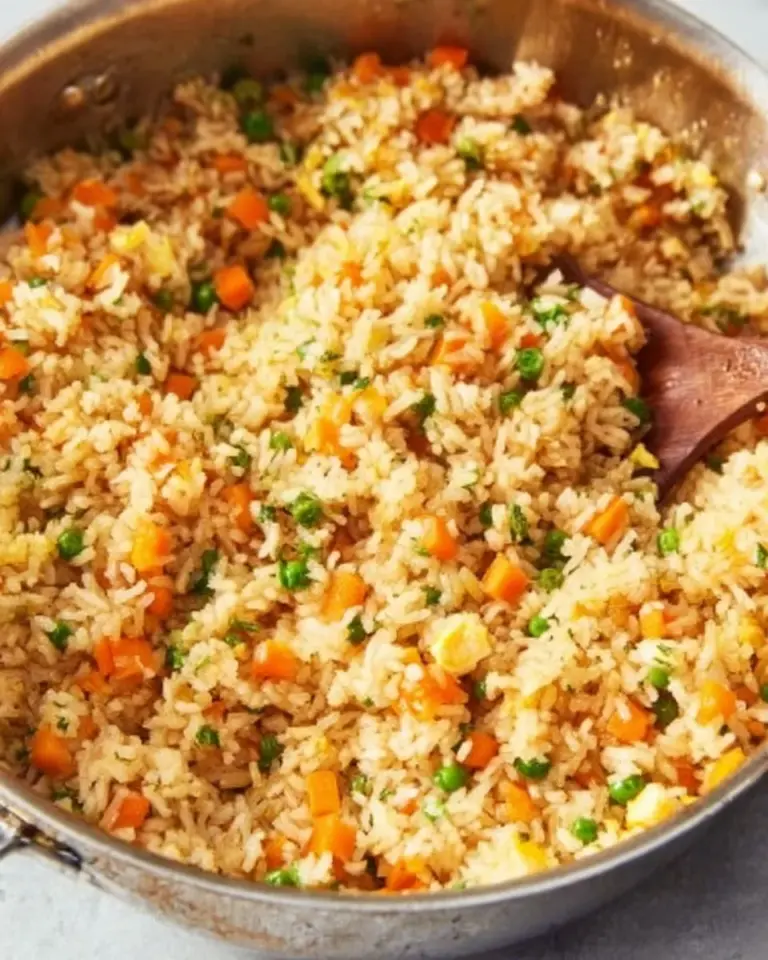
This chili garlic sauce is absolutely amazing when served with fried chicken, spring rolls, or drizzled over noodles. Get ready to spice up your meals!
Expert Tips & Tricks
Choosing the Right Chilies: The type of chilies you use can totally change the flavor profile! Experiment with different kinds to find your favorite combination.
Watch the Heat: If you’re not sure about the heat level, start with fewer Thai chilies. You can always add more later!
Storage: Keep it in an airtight container in the fridge. It stays fresh for 3-6 months.
Make-ahead Magic: You can make this sauce in bulk. It’s great to have on hand for quick meals or to share with friends!
Common Troubles: If your sauce is too thick, add a splash of water while reheating. If it’s too thin, simmer it longer to thicken up.
Delicious Reheating: When using leftovers, return the sauce to a gentle heat to loosen it up and revive those flavors.
Serving Suggestions
Chili garlic sauce is incredibly versatile! Here are some ideas:
Pair it with crispy fried chicken or tempura vegetables for an irresistible combination.
Use it as a dipping sauce for spring rolls, dumplings, or even fries!
Drizzle it over rice or noodles to give your everyday meals an exciting twist.
For special occasions, serve it alongside a homemade dumpling platter or as part of an Asian-inspired feast!
Variations & Substitutions
Fruit Infusions: Add fresh pineapple or mango in the blend for a fruity twist.
Herb Extraordinaire: Incorporate fresh cilantro or basil for a unique flavor combo.
Dietary Adaptations: For a low-sugar version, you can use alternatives like stevia or erythritol.
Seasons may also shape your sauce. If you have access to vibrant summer produce, consider using in-season peppers for an even better taste.
Nutrition & Storage Info
- Prep Time: 10 minutes
- Cook Time: 15 minutes
- Total Time: 25 minutes
- Yield: Approximately 2 cups (16 servings)
- Estimated Calories: 40 calories per tablespoon
- Storage: Refrigerate in an airtight container. Lasts 3-6 months.
FAQ Section
What can I use chili garlic sauce for?
Chili garlic sauce pairs perfectly with fried foods, noodles, and vegetables. You can also use it as a marinade or drizzle over proteins!Can I adjust the heat level?
Absolutely! Start with a smaller number of Thai chilies, and add more to taste as you blend the sauce.Is this recipe gluten-free?
Yes, all the ingredients used are gluten-free, but check any store-bought items, such as vinegar, to confirm.How long does it last in the fridge?
Stored properly in an airtight container, it can last 3-6 months in the refrigerator.Can I can this chili garlic sauce?
While this sauce is great for refrigeration, canning isn’t recommended without proper acid testing as the heat and acidity need to be balanced.What’s the difference between this and sambal oelek?
While both are chili pastes, sambal oelek is often smoother and less sweet without the garlic. This recipe has that kick of garlic and a sweeter profile.Can I freeze the sauce?
Yes! You can freeze the sauce in ice cube trays for easy doses. Thaw as needed!Is it suitable for vegans?
Yes! All the ingredients are plant-based and suitable for vegans.What if I don’t have tapioca starch?
You can substitute it with cornstarch using the same ratio for thickening.How can I make it less sweet?
Reduce the amount of sugar or try using a sugar alternative to maintain sweetness without the calories.
Conclusion
This homemade chili garlic sauce isn’t just a recipe; it’s a journey. It captures vibrant flavors that can transform everyday meals into extraordinary culinary experiences. I invite you to try this recipe and share your thoughts—did it bring back any fond memories or inspire new ones? Let’s chat in the comments below!
And if you’re hungry for more, don’t miss out on my other favorite recipes on the blog, such as spicy stir-fried noodles and delicious dumplings. Happy cooking, friends!
Homemade Chili Garlic Sauce
- Total Time: 25 minutes
- Yield: Approximately 16 servings (2 cups) 1x
- Diet: Vegan
Description
A vibrant, spicy sauce that combines the heat of red chilies and aromatic garlic, perfect for elevating various dishes.
Ingredients
- 1 cup medium/mild red chilies, chopped
- 1 to 3 Thai chilies, or more to taste
- 8 cloves garlic, smashed
- 1 cup sugar
- 1/3 cup water
- 3/4 cup white vinegar
- 1 1/2 teaspoons fine grain salt
- 1 tablespoon tapioca starch dissolved in 3 tablespoons water or cornstarch
Instructions
- Blend the chopped red chilies, Thai chilies, smashed garlic, and water in a food processor until chunky.
- Transfer the mixture to a heavy-bottomed pot. Add sugar, white vinegar, and salt; stir well and bring to a simmer.
- Simmer for about 5 minutes, stirring continuously until the sugar dissolves.
- Stir in the tapioca starch slurry and keep stirring until it thickens up nicely.
- Remove from heat, taste and adjust seasoning if necessary.
- Transfer to a clean jar, let it cool, then store in the fridge.
Notes
Fresh ingredients yield the best flavor. Store in an airtight container in the fridge for 3-6 months.
- Prep Time: 10 minutes
- Cook Time: 15 minutes
- Category: Sauce
- Method: Blending, Cooking
- Cuisine: Southeast Asian
Nutrition
- Serving Size: 1 tablespoon
- Calories: 40
- Sugar: 10g
- Sodium: 200mg
- Fat: 0g
- Saturated Fat: 0g
- Unsaturated Fat: 0g
- Trans Fat: 0g
- Carbohydrates: 10g
- Fiber: 0g
- Protein: 0g
- Cholesterol: 0mg
🥗 Free Custom Keto Meal Plan?
Do you want to lose weight while still enjoying delicious Asian & Thai Fusion meals? Take this quick quiz to get your personalized Keto plan based on your favorite foods!
- ✅ No more guessing what to eat
- ✅ Delicious & easy-to-make recipes
- ✅ Tailored to your body type
Get My Custom Plan Now! →
*Over 100,000+ people have transformed their lives with this quiz.