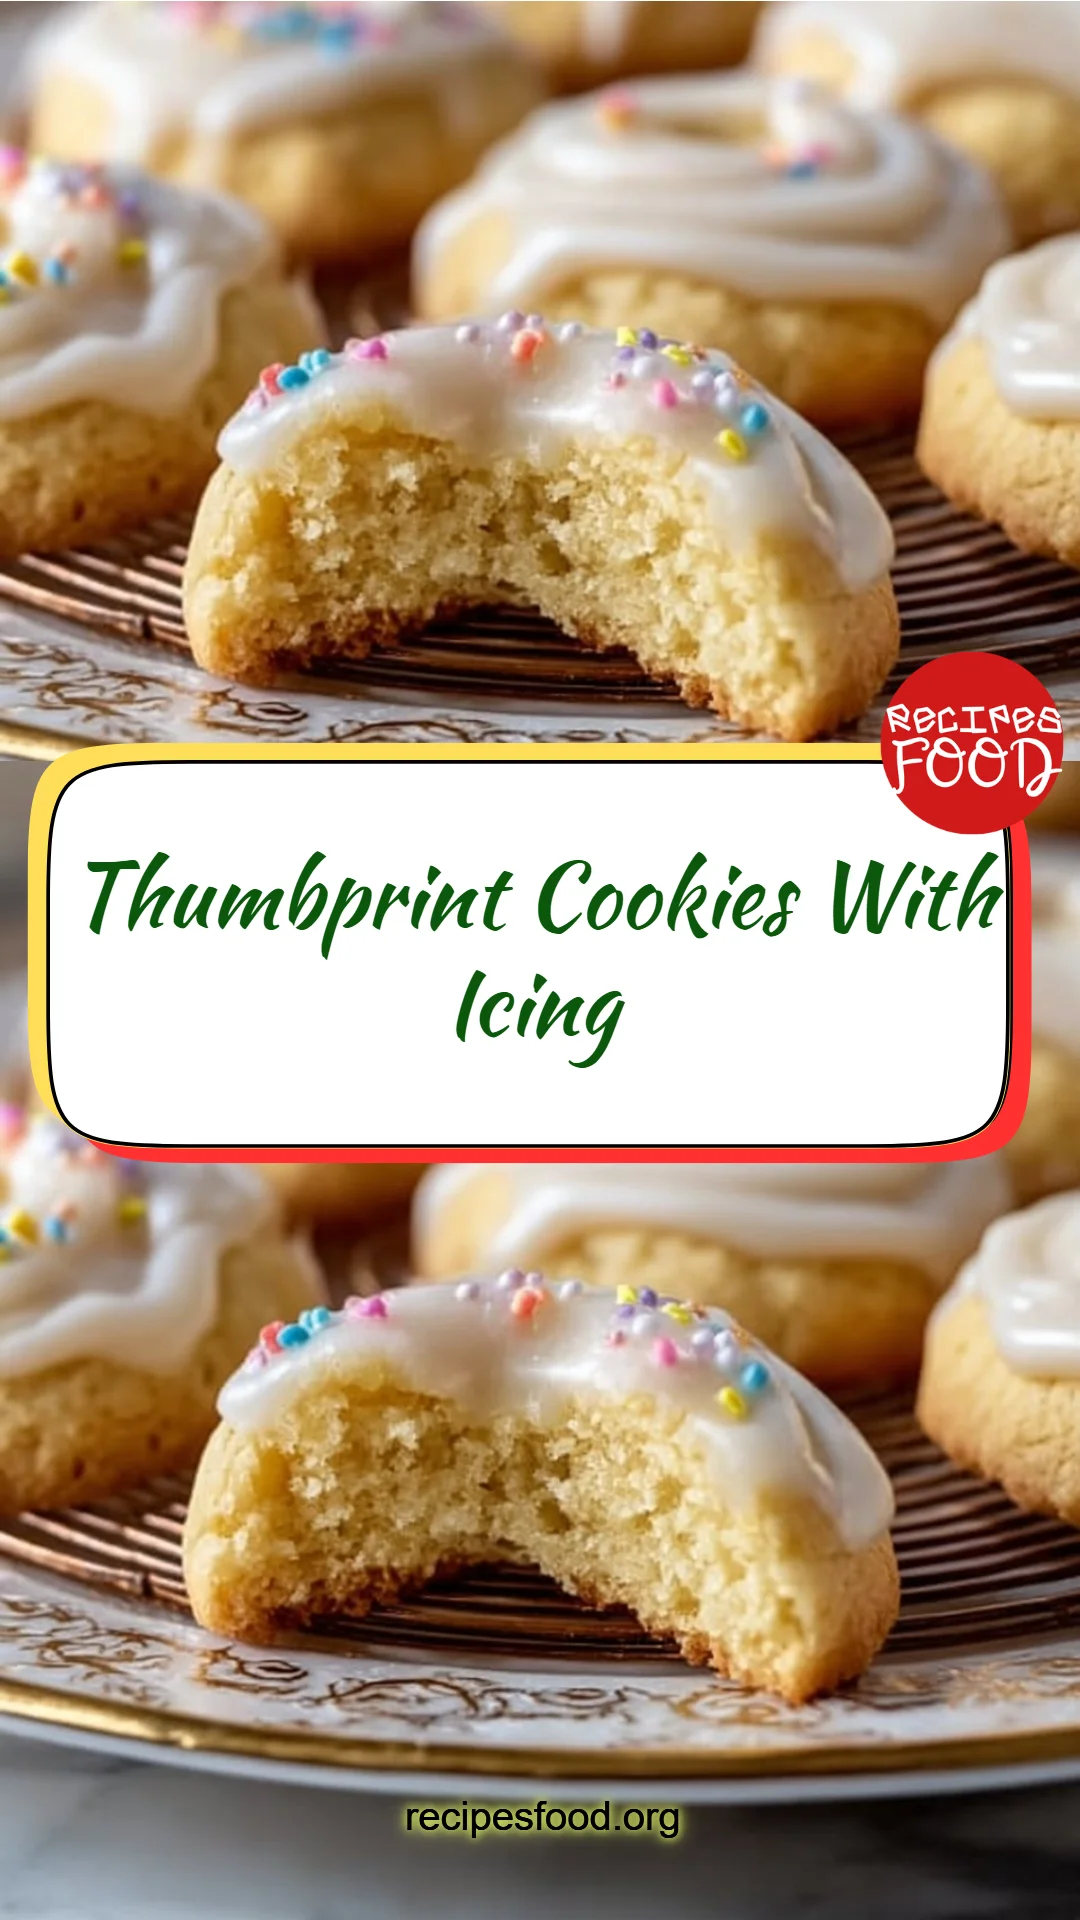
Absolutely Irresistible Thumbprint Cookies With Icing: A Family Favorite!
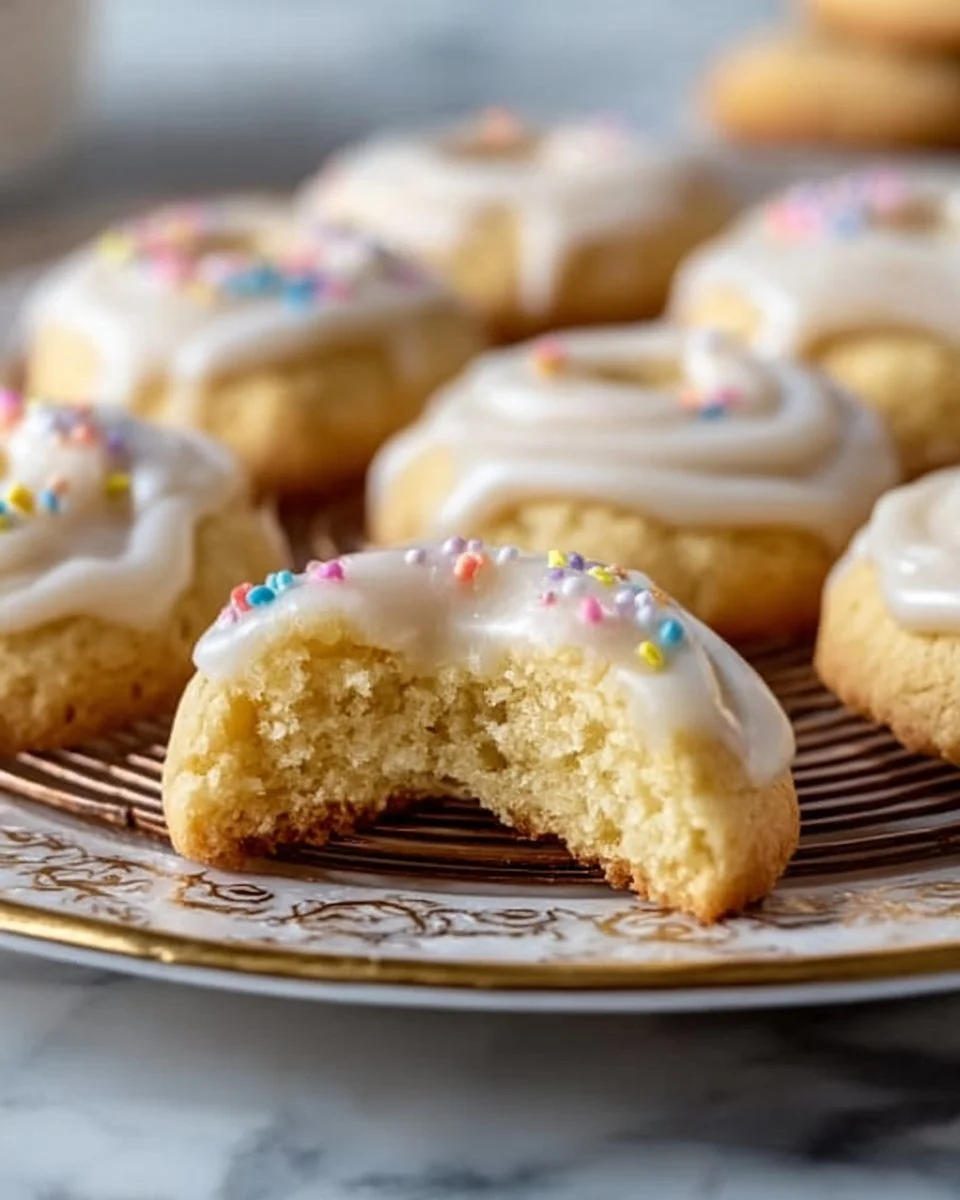
Growing up, I had a special nook in my grandma’s kitchen where magic happened—an aroma that could lift your spirits the moment you walked through the door. One of the cookies that always made an appearance at family gatherings was the beloved Thumbprint Cookies With Icing. Not only did they have that adorable little thumbprint in the middle, but they were also drizzled with a sweet, glossy icing that screamed comfort. I vividly remember gathering with my cousins, waiting impatiently for the cookies to cool just enough to sneak a few, crusty edges and all.
What makes these Thumbprint Cookies special is not just the delightful combination of soft, buttery texture kissed with vanilla, but also the heartwarming memories they bring. This recipe, passed down through generations, stands apart from other versions because it blends that nostalgia with a pinch of modern flavor and simplicity, making it easy for everyone to recreate at home. Here, I promise you’ll learn how to pull off these deliciously charming cookies, and perhaps create your own cherished memories along the way!
What Are Thumbprint Cookies With Icing?
Thumbprint Cookies With Icing trace their roots back to European traditions, likely evolving from very simple cookie recipes made to celebrate holidays and family gatherings. The classic thumbprint design is not only adorable—it serves a purpose! The indentation allows for a delightful spot to fill with fruit preserves or icing.
Imagine biting into a cookie that’s soft and buttery, with a slightly crisp edge. As you sink your teeth into it, your taste buds are greeted with the sweet, smooth icing that complements the rich flavor, making for an unforgettable experience. Their unique shape and delightful flavor scream homemade happiness, making them a perfect choice for any occasion, from birthday parties to cozy family evenings filled with laughter.
Why You’ll Love This Recipe
Simplicity and Ease: This recipe is incredibly straightforward, making it perfect for beginner bakers or anyone pressed for time yet wanting to impress. With just a few basic ingredients, you’ll have delicious cookies that will make your taste buds dance.
Cost-Effective: Forget spending $4 on a single gourmet cookie at the bakery! With this recipe, you can whip up a whole batch for a fraction of the cost, and believe me, they taste ten times better!
Customization Options: One of my favorite parts about making Thumbprint Cookies is the myriad of ways to customize them. You can swap out the icing for different flavor profiles—try adding a hint of lemon or almond extract. Want to use a jam instead of icing? Go for it! Raspberry, apricot, or even nut spreads are delicious alternatives!
Perfect for Any Occasion: These cookies are versatile; they shine during holidays, bake sales, or anytime you need a comforting treat. Plus, they make for adorable gifts wrapped in a lovely box or jar!
Family Bonding: Baking together is one of my favorite activities. These Thumbprint Cookies provide an opportunity for family members, young and old, to come together, learn, and create something delicious while sharing joyful memories.
Let’s dive into this delightful recipe, so you can make these wonderful cookies that will impress everyone at your next gathering!
Ingredients
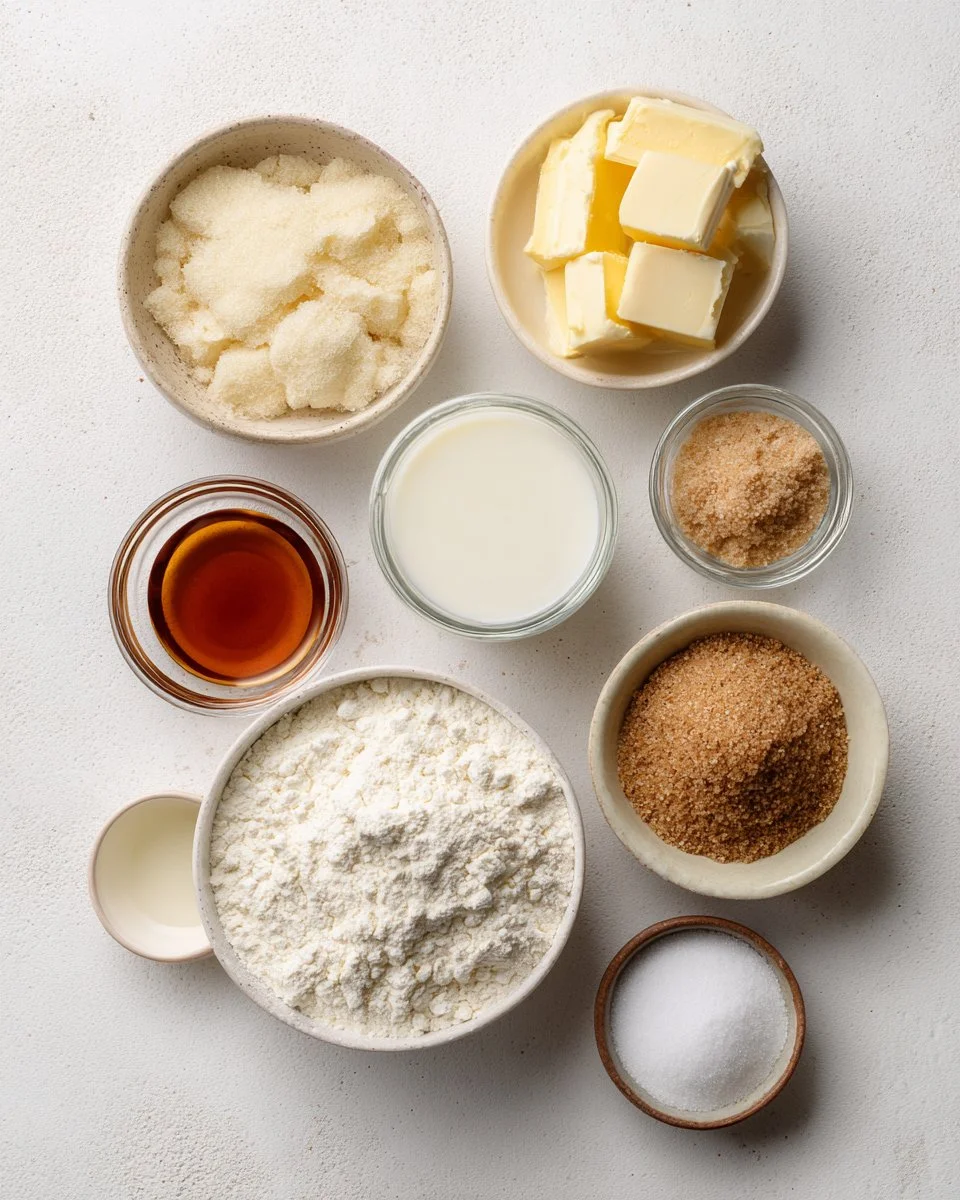
To make 24 delicious Thumbprint Cookies With Icing, gather the following ingredients:
- 1 cup butter, softened: Be sure it’s at room temperature for easy mixing. I love using Kerrygold for its rich flavor.
- 1/2 cup granulated sugar: Add sweetness without overwhelming the other flavors.
- 1/4 cup brown sugar, packed: This adds a hint of caramel flavor that elevates the cookies.
- 1 teaspoon vanilla extract: Choose high-quality pure vanilla extract for the best flavor.
- 2 cups all-purpose flour: A must-have for this classic cookie dough.
- 1/4 teaspoon salt: Balances out the sweetness beautifully.
- 1/2 cup icing sugar (for glaze): Feel free to use organic powdered sugar for a cleaner taste.
- 1-2 tablespoons milk (for glaze): Adjust based on desired consistency; I typically go with whole milk for creaminess.
Prep Notes: Remember to let your butter soften at room temperature before you start. It’ll make mixing so much easier!
Step-By-Step Instructions
Preheat the oven to 350°F (175°C). This ensures even baking.
Cream the fats and sugars: In a large mixing bowl, combine the softened butter, granulated sugar, and brown sugar. Using a hand mixer or stand mixer, beat them together on medium speed until smooth and creamy, about 3-4 minutes. You want it to be light and fluffy, so don’t rush this step!
Add the flavor: Mix in the vanilla extract and beat for an additional minute. The aroma will be heavenly!
Incorporate dry ingredients: Gradually add 2 cups of all-purpose flour and 1/4 teaspoon of salt to your creamed mixture. Stir until the dough just comes together. You may need to scrape down the sides of the bowl to ensure everything is mixed evenly.
Shape the cookies: Roll small portions of dough into balls, about 1 inch in diameter. Place them on a lined baking sheet, spacing them at least 2 inches apart.
Make the thumbprint: Using your thumb or the back of a spoon, press a gentle indentation into the center of each ball. Be careful not to press too hard!
Bake: Bake in the preheated oven for about 12-15 minutes or until the edges turn lightly golden. Keep an eye on them after the 10-minute mark, so they don’t overbake.
Cool them down: Allow the cookies to cool on the baking sheet for 5 minutes before transferring them to a wire rack to cool completely.
Prepare the icing: In a small bowl, whisk together the icing sugar with 1-2 tablespoons of milk until you achieve a smooth, drizzle-worthy consistency.
Decorate: Spoon or drizzle the icing into the center of each cooled cookie, allowing it to settle into the thumbprint.
Set it: Let the icing set for about 15-20 minutes, then they’re ready to serve!
Chef’s Tips:
- Don’t overmix the dough once you add the flour—this keeps your cookies tender.
- If the dough feels crumbly, add a small splash of milk to bring it together.
Expert Tips & Tricks
Make-Ahead Option: This dough can be made ahead of time and stored in the refrigerator for up to 3 days or frozen for up to a month. Just thaw and roll into balls when ready!
Check Your Oven: Every oven is different. If you notice the bottoms of your cookies browning too much, consider lowering the temperature to 325°F.
Storage Tips: Store cooled cookies in an airtight container at room temperature for up to a week. If they last that long!
Trouble with Icing: If your icing is too thick, add more milk a teaspoon at a time until you reach the desired consistency. If it’s too thin, add more powdered sugar until it thickens up.
Experimenting with Flavors: Adding spices like cinnamon or nutmeg can add a lovely twist to these cookies. Alternatively, try mixing in mini chocolate chips for a fun surprise.
Serving Suggestions
These Thumbprint Cookies are perfect on their own, but why not elevate your presentation? Serve them on a beautiful platter with fresh berries or a dollop of whipped cream to add a gourmet touch. They’re great for a cozy evening with hot cocoa or as a delightful treat for guests during the holidays.
Variations & Substitutions
- Flavor Combinations: Try lemon zest and a lemon glaze for a citrus kick! Alternatively, add almond extract instead of vanilla for a nutty depth.
- Dietary Adaptations: Substitute with dairy-free butter or vegan cream cheese to make these suitable for lactose intolerant individuals.
- Seasonal Variations: During the holidays, add spices like ginger or nutmeg for a festive flair, or try different colored icings suited to specific holidays!
Nutrition & Storage Info
- Prep Time: 20 minutes
- Cook Time: 15 minutes
- Total Time: 35 minutes
- Yield: 24 cookies
- Estimated Calories: 110 calories per cookie
- Storage: Keep in an airtight container at room temperature for up to a week or freeze for up to a month.
FAQ Section
Can I use different types of flour?
Yes, while all-purpose flour is best, you can experiment with oat flour or gluten-free blends, although results may vary.How do I make the cookies less sweet?
Reduce the amount of sugar slightly, but be cautious as it might affect the texture.Why are my cookies falling apart?
This could be due to under-mixing or not enough binding ingredients—make sure to cream your butter and sugars well.Can I add chocolate chips to this recipe?
Absolutely! Fold in 1/2 cup of your favorite chocolate chips before rolling into balls for extra indulgence.Is it necessary to cool the cookies before icing?
Yes! Icing warm cookies may lead to melting and an unsightly result, so let them cool fully.What if my icing is too runny?
Add more powdered sugar to thicken it up, adjusting until you reach your desired consistency.Can I freeze the dough?
Yes! Shape the dough into balls, place them on a lined baking sheet to freeze, then transfer to an airtight container or bag.What preserves work best for thumbprints?
Raspberry and apricot are classics, but don’t hesitate to experiment with flavors like blackberry or cherry.How can I make these cookies vegan?
Use vegan butter and a flax egg as a replacement for the regular egg if it’s a recipe variation.Should I use salted or unsalted butter?
Unsalted is generally recommended because you can control the level of salt in your cookies best this way.

Conclusion
These Thumbprint Cookies With Icing truly hold a special place in my heart, representing not just a delicious treat but also cherished moments with family. I encourage you to give this recipe a try—you may find that it becomes a new tradition in your home! Share your experiences and feedback in the comments; I would love to hear your stories. Check out my other baking recipes on the blog, and let’s spread the joy of baking together! Happy baking, everyone!

Thumbprint Cookies With Icing
- Total Time: 35 minutes
- Yield: 24 cookies 1x
- Diet: Vegetarian
Description
Delightfully soft and buttery cookies with a sweet icing, perfect for family gatherings and special occasions.
Ingredients
- 1 cup butter, softened
- 1/2 cup granulated sugar
- 1/4 cup brown sugar, packed
- 1 teaspoon vanilla extract
- 2 cups all-purpose flour
- 1/4 teaspoon salt
- 1/2 cup icing sugar (for glaze)
- 1–2 tablespoons milk (for glaze)
Instructions
- Preheat the oven to 350°F (175°C).
- Cream the butter, granulated sugar, and brown sugar together until light and fluffy, about 3-4 minutes.
- Add the vanilla extract and mix for an additional minute.
- Incorporate the flour and salt gradually, stirring until the dough comes together.
- Shape the dough into 1-inch balls and place them on a lined baking sheet.
- Make a thumbprint in the center of each ball.
- Bake for 12-15 minutes until the edges are lightly golden.
- Cool on the baking sheet for 5 minutes before transferring to a wire rack.
- Prepare the icing by whisking together icing sugar and milk until smooth.
- Decorate each cookie with a drizzle of icing and let set for 15-20 minutes.
Notes
For a festive flair, consider adding spices or experimenting with different glazes.
- Prep Time: 20 minutes
- Cook Time: 15 minutes
- Category: Dessert
- Method: Baking
- Cuisine: American
Nutrition
- Serving Size: 1 cookie
- Calories: 110
- Sugar: 6g
- Sodium: 70mg
- Fat: 8g
- Saturated Fat: 5g
- Unsaturated Fat: 3g
- Trans Fat: 0g
- Carbohydrates: 12g
- Fiber: 0g
- Protein: 1g
- Cholesterol: 30mg
🥗 Free Custom Keto Meal Plan?
Do you want to lose weight while still enjoying delicious Asian & Thai Fusion meals? Take this quick quiz to get your personalized Keto plan based on your favorite foods!
- ✅ No more guessing what to eat
- ✅ Delicious & easy-to-make recipes
- ✅ Tailored to your body type
Get My Custom Plan Now! →
*Over 100,000+ people have transformed their lives with this quiz.