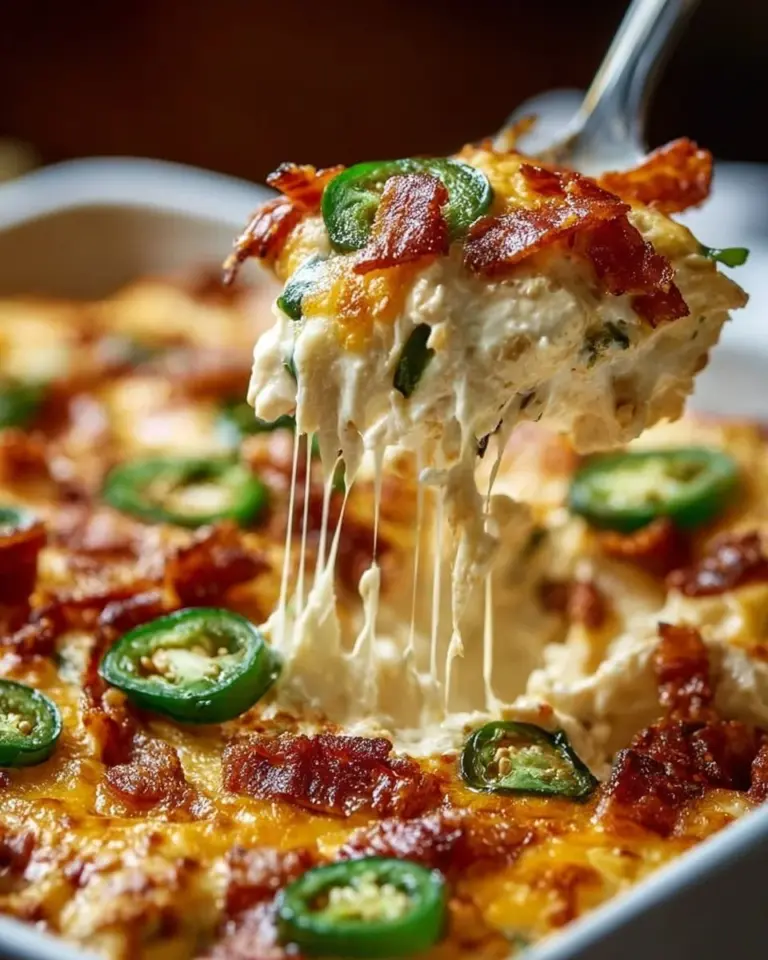

Table of Contents
Table of Contents
Picture this: It’s a chilly Sunday afternoon, and the air is filled with the comforting aroma of cheese melting and breadcrumbs toasting in the oven. I used to rush home after school, anticipating my mom’s famous crispy baked mac and cheese with breadcrumbs, a dish so rich and gooey that it could turn anyone’s bad day into a glorious one. It was our family’s special comfort food—a recipe steeped in tradition, warmth, and love.
What makes my version of this classic dish even more special? It’s not just the heavenly blend of cheeses or the satisfying crunch of the breadcrumb topping. It’s the memories we’ve created around the dinner table, the laughter shared, and that moment when the first bite transports you straight back to childhood.
Unlike other mac and cheese recipes that call for packages of powdered cheese or pre-made sauces, this one is crafted with love using fresh, simple ingredients that you probably already have in your pantry. I promise you will learn how to whip up a dish that is creamy on the inside, crispy on the outside, and full of flavor—a dish that your friends and family will be absolutely drooling over.
What Are Crispy Baked Mac and Cheese with Bread Crumbs?
Crispy baked mac and cheese, believe it or not, has its roots in the rich history of comfort food across cultures. The combination of pasta and cheese dates back to centuries ago but was popularized in the United States in the 18th century. This version with breadcrumbs takes it a step further—adding texture and a delightful crunch that elevates the dish to a whole new level.
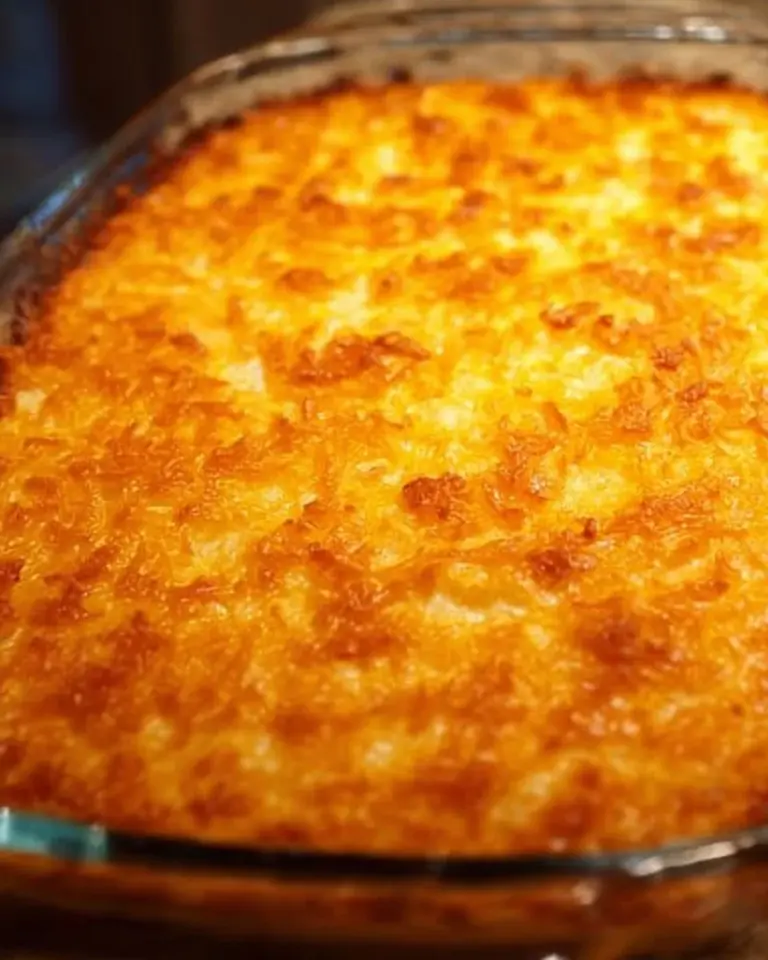
Imagine biting into a gorgeously gooey, cheesy pasta that is encased in a crisp, buttery breadcrumb topping. It’s like a warm hug that welcomes you home after a long day. The texture is a perfect blend of soft and crunchy, while the flavors are deeply cheesy and satisfying, making it an ideal dish for gatherings, potlucks, or just a treat for yourself.
You’ll want to make this dish on family movie nights, holiday parties, and any cozy gathering where delicious food is essential. Trust me; this mac and cheese will steal the spotlight!
Why You’ll Love This Recipe
Irresistible Flavor: Using a blend of sharp cheddar and creamy mozzarella creates a rich, layered flavor profile that can’t be found in store-bought versions. It’s a true taste explosion in every bite!
Cost-Effective: Compared to restaurant mac and cheese, making it at home is way more affordable. You get to indulge without emptying your wallet!
Customization: One of my favorite parts about this recipe is its versatility. Feel free to experiment with different cheeses like gouda, pepper jack, or even some crumbled blue cheese for that extra zing. Mix in veggies, bacon, or even barbecue chicken if you’re feeling adventurous!
Easy to Make: If you’re a beginner in the kitchen, don’t worry! This recipe is straightforward, taking only about 15 minutes of prep time, and about 30 minutes of baking—perfect for busy weeknights.
Make-Ahead Friendly: You can prepare the casserole a day in advance and pop it in the oven when you’re ready to eat. Just imagine your guests’ faces when they dig into this comforting delight!
Ingredients Section
To whip up this delicious crispy baked mac and cheese with breadcrumbs, you’ll need:
- 8 ounces elbow macaroni: Opt for high-quality pasta for better texture. Barilla or Ronzoni work great.
- 2 tablespoons butter: Use unsalted butter to control the flavors better.
- 2 tablespoons all-purpose flour: This will help thicken your cheesy sauce.
- 2 cups milk: Whole milk gives the creamiest results; you can also combine it with heavy cream for an indulgent twist.
- 2 cups shredded cheddar cheese: A sharp cheddar works wonderfully for a bold flavor.
- 1 cup shredded mozzarella cheese: For that gooey, stretchy cheesiness.
- Salt and pepper to taste: Freshly cracked pepper adds a nice touch.
- 1 cup bread crumbs: Use panko for extra crunch; plain or seasoned is fine depending on your preference.
- 2 tablespoons melted butter for topping: This step is essential for a beautifully golden crust.
Prep Notes
- Bring the butter and milk to room temperature for smoothing mixing.
- Consider shredding your cheese instead of buying pre-shredded for a smoother sauce.
Step-by-Step Instructions
Step 1: Preheat Your Oven
Preheat your oven to 350°F (175°C). This is essential for the perfect golden crust that we’re aiming for.
Step 2: Cook the Macaroni
Cook the elbow macaroni according to package instructions until al dente, usually around 7-8 minutes. Drain and set aside.
Step 3: Make the Roux
In a saucepan over medium heat, melt 2 tablespoons of butter. Once melted, stir in 2 tablespoons of flour to create a roux. Cook for 1-2 minutes: it should bubble slightly but not brown.
Step 4: Add Milk
Gradually whisk in 2 cups of milk while stirring constantly. Bring this mixture to a gentle simmer—watch it carefully, as it will thicken quickly.
Step 5: Cheese it Up!
Remove your thickened sauce from heat. Add 2 cups of shredded cheddar and 1 cup of shredded mozzarella, mixing well until everything is melted and creamy. Season with salt and pepper to taste.
Step 6: Combine
Throw the drained macaroni into the cheese sauce and stir to ensure every piece is coated in that heavenly mixture.
Step 7: Assemble
Pour the mac and cheese mixture into a greased baking dish.
Step 8: Prepare the Topping
In a separate bowl, mix 1 cup of breadcrumbs with 2 tablespoons of melted butter. Sprinkle this mixture evenly over the top of your mac and cheese.
Step 9: Bake
Place in your preheated oven and bake for 25-30 minutes, or until the top is golden brown and crispy. You’ll know it’s done when it’s bubbling around the edges.
Step 10: Cool and Serve
Let it cool slightly before serving. Enjoy this moment—you’ve earned it!
Chef’s Tips
- For extra flavor, consider adding a dash of garlic powder or smoked paprika to your cheese sauce.
- To avoid a grainy texture in your cheese sauce, add the cheese gradually while stirring.
Expert Tips & Tricks
Storage: Store leftovers in an airtight container in your fridge for up to three days. Reheat in the oven to revive that crispy topping.
Make-Ahead: Prepare the dish several hours in advance, up to a day. Just cover and refrigerate. You’ll need to bake it a little longer, around 35-40 minutes if straight from the fridge.
Common Mistakes to Avoid:
- Don’t boil your pasta for too long—you want it slightly undercooked since it will continue to cook in the oven.
- Avoid pre-shredded cheese; it often contains anti-caking agents that can result in a less smooth sauce.
Troubleshooting: If your sauce is too thick, whisk in a bit more milk; if too thin, cook it slightly longer over low heat while whisking.
Reheat Comfortably: For leftover mac and cheese, adding a splash of milk before reheating can help revive its creamy texture.
Serving Suggestions
Serve your crispy baked mac and cheese with breadcrumbs alongside a fresh garden salad tossed with vinaigrette for a nice crunch. Alternatively, pair it with grilled chicken or a side of roasted vegetables for a complete meal.
Presentation tip: use a colorful serving dish to highlight the late golden crispy topping and the creamy interior. This dish is perfect for gatherings, movie nights, or cozy Sundays at home!
Variations & Substitutions
Flavor Combinations: Mix in roasted veggies like broccoli or even spicy jalapeños for a kick. Add some bacon or ham for a savory twist—a great way to use up holiday leftovers!
Dietary Adaptations: For gluten-free mac and cheese, use gluten-free pasta and flour. If you’re vegan, consider using dairy-free cheeses and plant-based milk.
Seasonal Variations: In the fall, stir in pumpkin puree for a seasonal twist. During the summer, try adding fresh tomatoes and basil for a Caprese-inspired mac!
Nutrition & Storage Info
- Prep Time: 15 minutes
- Cook Time: 30 minutes
- Total Time: 45 minutes
- Yield: Serves 6-8
- Estimated Calories per Serving: 350 calories
- Storage Instructions:
- Room Temperature: Best served fresh.
- Fridge: Store for up to 3 days.
- Freezer: For up to a month. Consider freezing portions for an easy future meal!
FAQ Section
Can I make this in advance?
Yes! You can prepare it several hours ahead and bake it just before serving.What type of cheese is best?
Sharp cheddar and mozzarella blend beautifully, but feel free to mix and match based on your taste preferences.Can I use gluten-free pasta?
Absolutely! Just substitute regular pasta with your favorite gluten-free option.What if my cheese sauce is gritty?
This can happen if the cheese is added too quickly or if pre-shredded cheese is used. Go with block cheese and add slowly while stirring.How long will leftovers last?
Store leftovers in an airtight container for about 3 days in the fridge.What are some good toppings?
Try crispy fried onions, herbs like parsley or chives, or even a drizzle of hot sauce for some heat!Can I freeze baked mac and cheese?
Yes! Allow it to cool completely, then freeze in an airtight container. To reheat, bake from frozen, adding extra time as needed.Is this recipe suitable for kids?
Absolutely! Kids love mac and cheese, and this dish is sure to be a hit with all ages.Can I use non-dairy milk?
Yes, if you’re lactose intolerant or vegan, any non-dairy milk will work, though consider adding a little more cheese for flavor.Can I make this on the stove instead of baking?
Yes! Simply combine everything on the stove until heated through, but the baking step gives it that delightful crunchy topping.
Conclusion
This crispy baked mac and cheese with breadcrumbs is more than just a recipe; it’s a comprehensive celebration of nostalgia, flavor, and comfort. Whether you’re making it for a family dinner, a potluck, or just to indulge yourself on a quiet night, it’s bound to bring a smile to your face and warmth to your heart. Try it for yourself, and I’d love to hear how it turned out! Don’t forget to leave a comment and check out my other cheesy delights on the blog!
Best Southern Baked Mac and Cheese
Print
Crispy Baked Mac and Cheese with Bread Crumbs
- Total Time: 45 minutes
- Yield: 6–8 servings 1x
- Diet: Vegetarian
Description
A classic comfort food dish featuring creamy, cheesy elbow macaroni baked to perfection with a crispy, buttery breadcrumb topping. This baked mac and cheese delivers the perfect combination of creamy interior and crunchy exterior.
Ingredients
- 8 ounces elbow macaroni
- 2 tablespoons butter
- 2 tablespoons all-purpose flour
- 2 cups milk
- 2 cups shredded cheddar cheese
- 1 cup shredded mozzarella cheese
- Salt and pepper to taste
- 1 cup breadcrumbs
- 2 tablespoons melted butter (for topping)
Instructions
- Preheat oven to 350°F (175°C). Cook macaroni according to package directions until al dente; drain.
- Melt 2 tablespoons butter in saucepan over medium heat. Whisk in flour and cook 1-2 minutes to make roux.
- Gradually whisk in milk until smooth and cook until thickened, about 3-5 minutes.
- Remove from heat and stir in cheddar and mozzarella cheeses until melted and smooth.
- Season with salt and pepper to taste.
- Combine cheese sauce with cooked macaroni and transfer to greased baking dish.
- Mix breadcrumbs with 2 tablespoons melted butter and sprinkle evenly over macaroni.
- Bake 25-30 minutes until golden brown and bubbly.
- Cool slightly before serving.
Notes
- Use freshly shredded cheese for best melting quality.
- Panko breadcrumbs provide extra crunch for topping.
- Store leftovers in airtight container in refrigerator for up to 3 days.
- Reheat in oven to maintain crispy topping.
- For gluten-free version, use gluten-free pasta and breadcrumbs.
- Prep Time: 15 minutes
- Cook Time: 30 minutes
- Category: Main Course
- Method: Baking
- Cuisine: American
Nutrition
- Serving Size: 1 serving
- Calories: 350
- Sugar: 6g
- Sodium: 420mg
- Fat: 18g
- Saturated Fat: 11g
- Unsaturated Fat: 5g
- Trans Fat: 0g
- Carbohydrates: 32g
- Fiber: 1g
- Protein: 16g
- Cholesterol: 55mg
Ask the Community
🥗 Free Custom Keto Meal Plan?
Do you want to lose weight while still enjoying delicious Asian & Thai Fusion meals? Take this quick quiz to get your personalized Keto plan based on your favorite foods!
- ✅ No more guessing what to eat
- ✅ Delicious & easy-to-make recipes
- ✅ Tailored to your body type
Get My Custom Plan Now! →
*Over 100,000+ people have transformed their lives with this quiz.