The Ultimate Crispy Chicken Cutlet: A Family Favorite
There’s something magical about the way food can transport us back in time. For me, that magic often takes the form of the crispy chicken cutlet—golden, crunchy, and bursting with flavor. Growing up, my weekends were filled with the mouthwatering scent of my mom frying up these delicious cutlets, creating a symphony of crispy goodness that brought our family together around the dinner table. They were our go-to comfort food, the dish that turned an ordinary day into something extraordinary.
What makes my crispy chicken cutlet recipe stand out? It’s the love and attention I pour into every step, using quality ingredients that elevate the experience from good to unforgettable. No more soggy store-bought versions; this recipe promises a texture that is perfectly crispy on the outside while tender and juicy within. Plus, I’ll share my secret sauce that takes it over the top!
In this post, you’ll discover not only how to make the most irresistible crispy chicken cutlet but also the stories behind it and the little tweaks that will make my recipe your new family favorite. So, roll up your sleeves, and let’s dive into this delightful journey of flavor and family tradition!
What Are Crispy Chicken Cutlets?
Crispy chicken cutlets are thin, breaded pieces of chicken that are fried to perfection, making them a favorite worldwide. The origins of chicken cutlets can be traced back to Italian and French cuisines, where the method of breading and frying meats became popular as a way to elevate flavors and textures.
When you take a bite of a well-made crispy chicken cutlet, you’re greeted by an irresistible crunch followed by the juicy tenderness of the perfectly cooked chicken. The contrast between the crispy exterior and the succulent interior is what makes them unique and downright addictive.
These cutlets are your versatile weeknight savior—whether served alongside a vibrant salad, nestled in a sandwich, or dressed up with your favorite dipping sauce, they are perfect for any occasion. The next time you’re looking to impress but also want something comforting, reach for this recipe!
Why You’ll Love This Recipe
Here’s why you’ll want to take this journey with me:
Superior Flavor: Homemade crispy chicken cutlets knock the socks off any store-bought variety. By using fresh, quality ingredients, you elevate each bite, making it an experience rather than just a meal.
Cost-Effective: Making crispy chicken cutlets at home is not only fun but much cheaper than dining out or buying pre-made options. You can whip up a batch for a family of four for about the price of one restaurant order!
Customization: One of the best things about this crispy chicken cutlet recipe is its flexibility. Want to spice it up? Add some cayenne pepper to the flour or mix in some herbs with your breadcrumbs. Feeling adventurous? Try adding Parmesan cheese or sesame seeds for extra crunch.
Easy to Follow: This recipe is easy enough for even beginner cooks. I’ve broken down each step so that you can follow along and feel confident in your cooking skills.
Quick and Rewarding: With a total preparation and cooking time of about 30 minutes, you’ll be enjoying your delicious cutlets in no time. It’s perfect for busy weeknights or surprise guests!
So, whether you’re entertaining friends or cooking for your loved ones, this crispy chicken cutlet recipe will win hearts (and stomachs) every time.
Ingredients Section
To make your very own crispy chicken cutlet, you’ll need the following ingredients:
- 2 boneless, skinless chicken breasts: For best flavor, opt for organic or free-range if available.
- 1 cup all-purpose flour: This forms the base of your breading; you can substitute with whole wheat for a healthier twist.
- 2 large eggs, beaten: Room temperature eggs coat the chicken better and create a fluffier texture.
- 1 1/2 cups panko breadcrumbs: These Japanese-style breadcrumbs will give your cutlet that extra crispiness.
- Salt, to taste: Sea salt is always my go-to for enhanced flavor.
- Black pepper, to taste: Freshly ground adds the best bite!
- Vegetable oil for frying (about 1-2 cups): Canola or avocado oil also work well here.
- 3 tbsp soy sauce: A touch of umami magic.
- 1 tbsp Worcestershire sauce: Adds depth to the dipping sauce.
- 2 tbsp ketchup: For sweetness and tang.
- 1 tbsp mirin: This Japanese sweet rice wine adds an elegant touch.
- 1 tsp sugar or honey (optional): For those who like a touch more sweetness in their sauce.
Prep Notes:
- Take the chicken out of the refrigerator about 30 minutes before cooking; this helps to reduce cooking time and ensures they cook evenly.
- Use fresh ingredients for the best flavor!
Step-by-Step Instructions
Prepare the Chicken: First, trim any excess fat and tendons from the chicken breasts. Place each breast between two sheets of plastic wrap and gently pound them with a meat mallet or rolling pin until they are about 1/2 inch thick. This step ensures even cooking and tenderness—trust me, it makes a difference!
Setup Your Breading Stations: Arrange three shallow dishes for the classic breading process: one with flour lightly seasoned with salt and pepper, one with beaten eggs, and one with panko breadcrumbs.
Dredge the Chicken: Take each chicken breast and dredge it first in the seasoned flour, shaking off any excess. Then, dip it fully into the beaten eggs, allowing any excess to drip off before pressing it firmly into the panko breadcrumbs, ensuring that both sides are well coated.
Heat the Oil: In a large skillet, pour enough vegetable oil to cover the bottom in about 1/4 inch. Heat it over medium-high heat until shimmering; you should reach a temperature of about 350°F (175°C).
Fry the Chicken: Carefully place the breaded chicken into the hot oil, frying for approximately 3-4 minutes on each side. Maintain that high heat to achieve a perfect golden brown. Avoid overcrowding the pan; if needed, fry in batches.
Draining: Once fully cooked, transfer the chicken to a wire rack or paper towels to absorb excess oil and preserve that delicious crunch. Let rest for a few minutes before slicing to keep all those juices in.
Make the Dipping Sauce: In a small bowl, whisk together soy sauce, Worcestershire sauce, ketchup, mirin, and sugar or honey until well combined.
Chef’s Tips:
- Use a thermometer to check the oil temperature for perfect frying.
- Using panko breadcrumbs ensures that extra crunch that everyone loves.
Expert Tips & Tricks
Storage: Keep any leftover cutlets in an airtight container in the fridge for up to 3 days. Recrisp them in the oven for a few minutes to regain their crunchy texture.
Make-Ahead: For busy nights, you can prepare the breaded chicken a day in advance and store it in the fridge before frying—just don’t coat it until you’re ready to cook.
Common Mistakes: Prevent soggy cutlets! Always ensure the oil is hot enough before frying. If the heat is too low, your chicken will absorb too much oil.
Troubleshooting: If your cutlets are browning too fast but are raw inside, lower the heat and cook for a little longer. Alternatively, if they’re not browning at all, crank up the temperature slightly.
Dredging: Make sure to shake off excess flour when dredging for a light coating. Too much flour can interfere with achieving that crispy crust.
Serving Suggestions
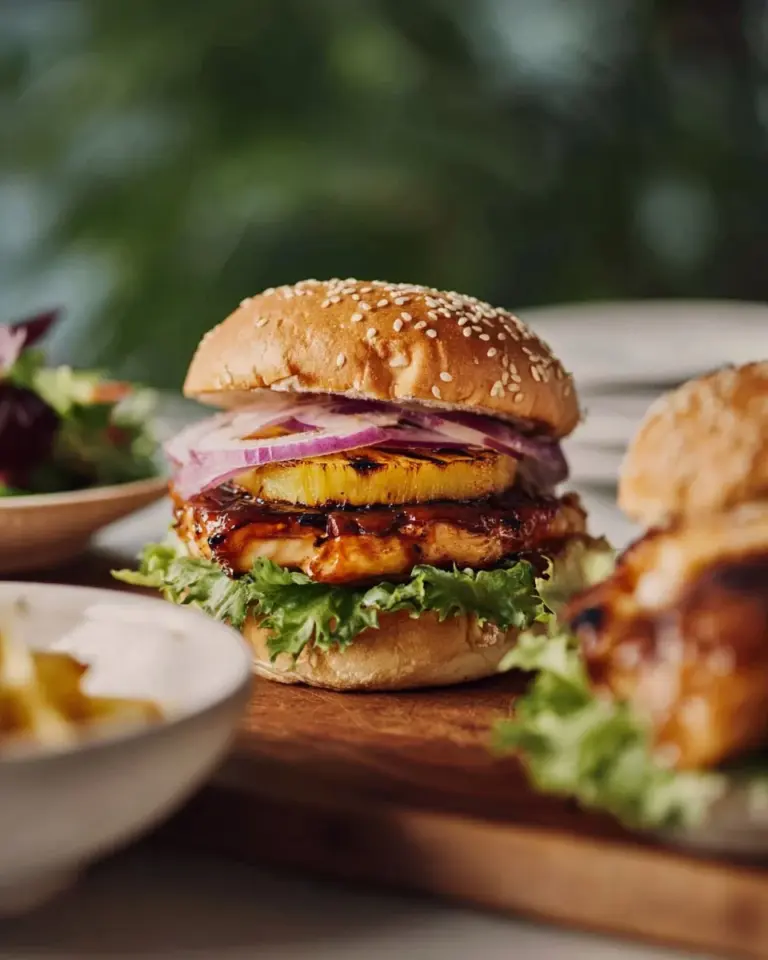
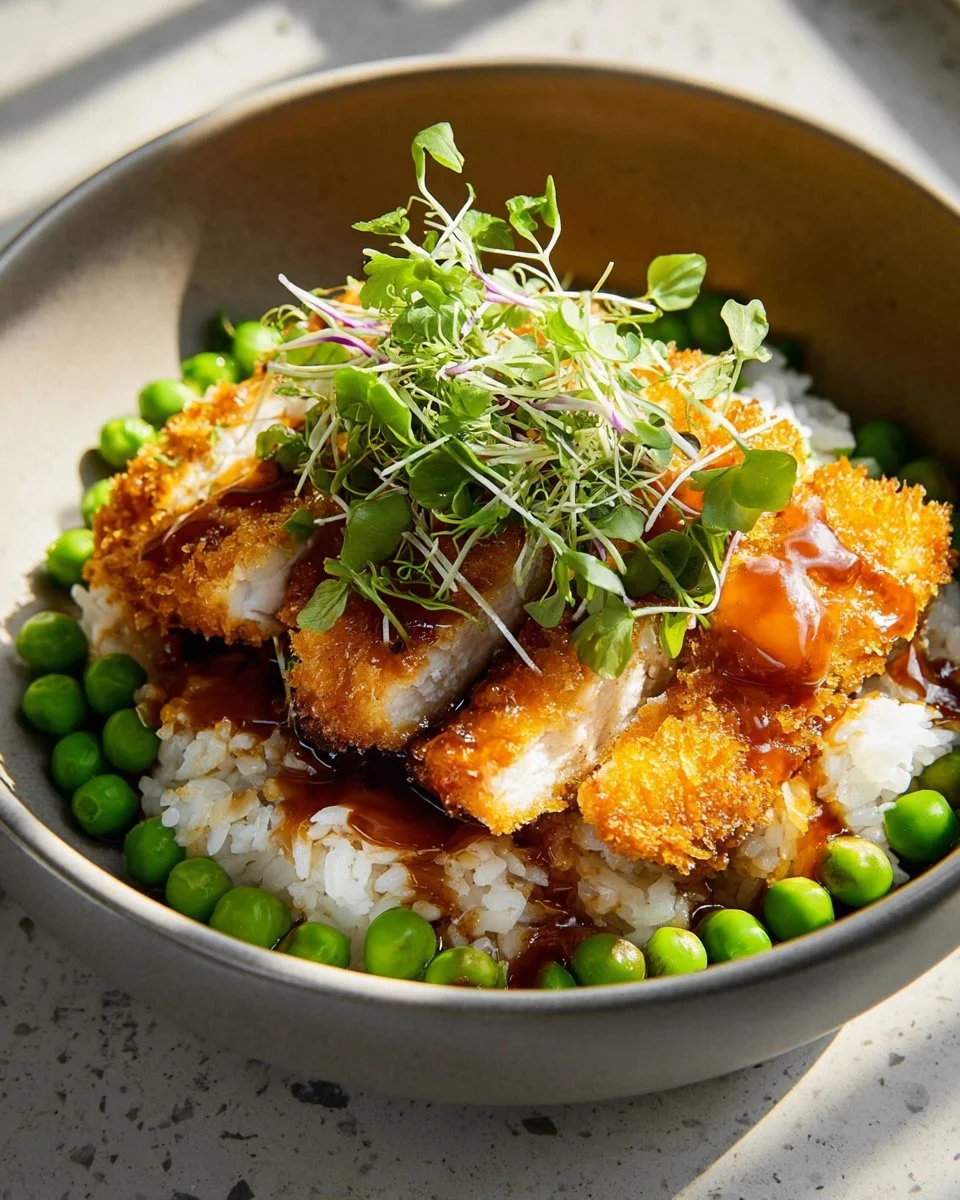
These crispy chicken cutlets are incredibly versatile! Serve them with a light mixed greens salad for a refreshing counterpoint or place them in a hearty sandwich with lettuce, tomato, and a dollop of garlic mayo. They also shine in a classic “cutlet parmesan” style, topped with marinara and melted cheese.
For a delightful presentation, serve two cutlets on a plate, drizzling the dipping sauce artistically around them along with a sprinkle of fresh herbs.
Variations & Substitutions
- Spicy Twist: Add a teaspoon of cayenne or chili powder into the flour for a kick.
- Gluten-Free: Substitute all-purpose flour with a gluten-free blend and replace panko with gluten-free breadcrumbs.
- Herb Variations: Add dried oregano, basil, or your favorite spice blend to the panko for an aromatic touch.
Nutrition & Storage Info
- Prep Time: 15 minutes
- Cook Time: 15 minutes
- Total Time: 30 minutes
- Yield: 4 servings
- Estimated Calories: 450 per serving (varies based on ingredient brands)
- Storage Instructions: Store in an airtight container in the fridge for up to 3 days or freeze for up to 2 months.
FAQ Section
Can I bake the chicken cutlets instead of frying?
For a healthier option, you can bake them at 400°F (200°C) for about 20-25 minutes, flipping halfway through. Just be sure to spray them with some oil to get that golden color.What can I substitute for panko breadcrumbs?
You can use traditional breadcrumbs, crushed cornflakes, or even ground almonds for a gluten-free version.How can I make these cutlets ahead of time?
You can bread the chicken and store it in the fridge uncooked for a day.What’s the best way to reheat leftovers?
Reheat in a preheated oven at 375°F (190°C) for about 10-15 minutes or until crispy.Can I use chicken thighs instead?
Absolutely! Chicken thighs will yield a juicier and more flavorful cutlet.What dipping sauces pair well?
Try honey mustard, ranch, or even a homemade barbecue sauce!Can I freeze the uncooked breaded cutlets?
Yes, you can freeze them for up to 2 months. Just make sure to layer them with parchment paper to avoid sticking.How do I prevent the breading from falling off during frying?
Ensure that your breading is packed onto the chicken and avoid moving it around too much when frying.Are these cutlets kid-friendly?
Yes! They’re a hit with kids; they love the crunch and can customize their dipping sauces!What sides pair well with crispy chicken cutlets?
Try roasted vegetables, coleslaw, or mashed potatoes for a complete meal.
Conclusion
This crispy chicken cutlet recipe is more than just a dish; it’s a pathway to wonderful family memories, simple gatherings, and heartfelt conversations. I encourage you to give it a try—your kitchen will become a hub of laughter and joy as you serve up these delightful cutlets. Don’t forget to share your thoughts and experience in the comments below!
If you enjoyed this recipe, be sure to check out my personal take on other favorites like Chicken Parmesan and Buttermilk Fried Chicken on the blog. Happy cooking, and bon appétit!

Crispy Chicken Cutlet
Ingredients
Main Ingredients
- 2 pieces boneless, skinless chicken breasts For best flavor, opt for organic or free-range if available.
- 1 cup all-purpose flour This forms the base of your breading; substitute with whole wheat for a healthier twist.
- 2 large eggs, beaten Room temperature eggs coat the chicken better and create a fluffier texture.
- 1.5 cups panko breadcrumbs These Japanese-style breadcrumbs will give your cutlet that extra crispiness.
- to taste salt Sea salt is always my go-to for enhanced flavor.
- to taste black pepper Freshly ground adds the best bite!
- 1-2 cups vegetable oil for frying Canola or avocado oil also work well.
Dipping Sauce Ingredients
- 3 tbsp soy sauce A touch of umami magic.
- 1 tbsp Worcestershire sauce Adds depth to the dipping sauce.
- 2 tbsp ketchup For sweetness and tang.
- 1 tbsp mirin This Japanese sweet rice wine adds an elegant touch.
- 1 tsp sugar or honey (optional) For those who like a touch more sweetness in their sauce.
Instructions
Preparation
- Trim any excess fat and tendons from the chicken breasts.
- Place each breast between two sheets of plastic wrap and gently pound them with a meat mallet or rolling pin until they are about 1/2 inch thick.
Breading Setup
- Arrange three shallow dishes: one with seasoned flour, one with beaten eggs, and one with panko breadcrumbs.
Dredging the Chicken
- Dredge each chicken breast in the seasoned flour, shake off excess, dip into the beaten eggs, then roll in panko breadcrumbs.
Cooking
- Heat enough oil in a large skillet to cover the bottom by about 1/4 inch over medium-high heat until shimmering.
- Fry the chicken for approximately 3-4 minutes on each side, maintaining high heat.
- Transfer cooked chicken to a wire rack or paper towels to absorb excess oil.
Making Dipping Sauce
- In a small bowl, whisk together soy sauce, Worcestershire sauce, ketchup, mirin, and sugar or honey until well combined.
Notes
🥗 Free Custom Keto Meal Plan?
Do you want to lose weight while still enjoying delicious Asian & Thai Fusion meals? Take this quick quiz to get your personalized Keto plan based on your favorite foods!
- ✅ No more guessing what to eat
- ✅ Delicious & easy-to-make recipes
- ✅ Tailored to your body type
Get My Custom Plan Now! →
*Over 100,000+ people have transformed their lives with this quiz.