Table of Contents
There’s something undeniably magical about the smell of freshly baked Challah wafting through the house. I vividly remember the weekends spent with my grandmother, where we would dust the kitchen counters with flour and work side by side, shaping the soft, pillowy loaves before letting them rise in a cozy corner of the kitchen. Each braid felt like a hug, weaving memories into the fabric of our family traditions. This Challah Bread Recipe isn’t just a recipe; it’s the gateway to recreating those cherished moments and creating new ones with your loved ones.
What sets my Challah apart from countless others out there? For starters, it’s the love embedded in each step, from the bubbling yeast to the golden crust that’s simply irresistible. I promise you will learn the secrets to that perfect rise, how to achieve a beautifully braided loaf, and even tips for experimenting with flavors. You’ll find yourself reaching for this recipe time and time again, just as I do, not only during special occasions but any day that calls for a bit of warmth and sweetness.
What Are Challah Bread Recipes?
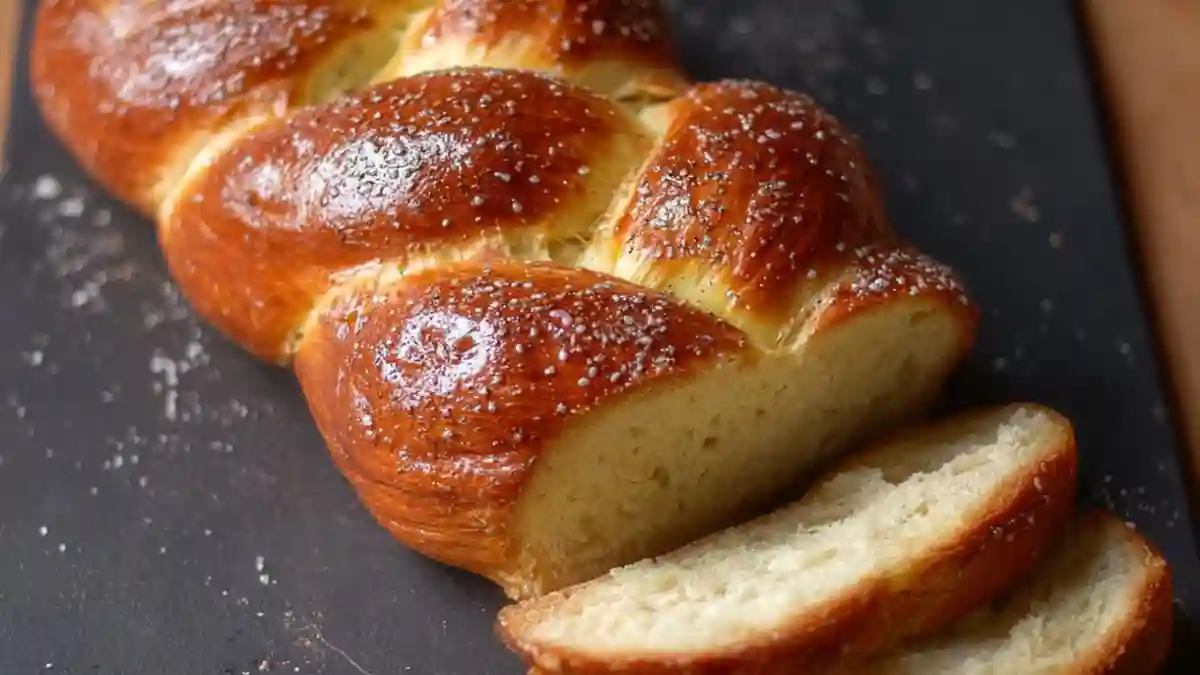
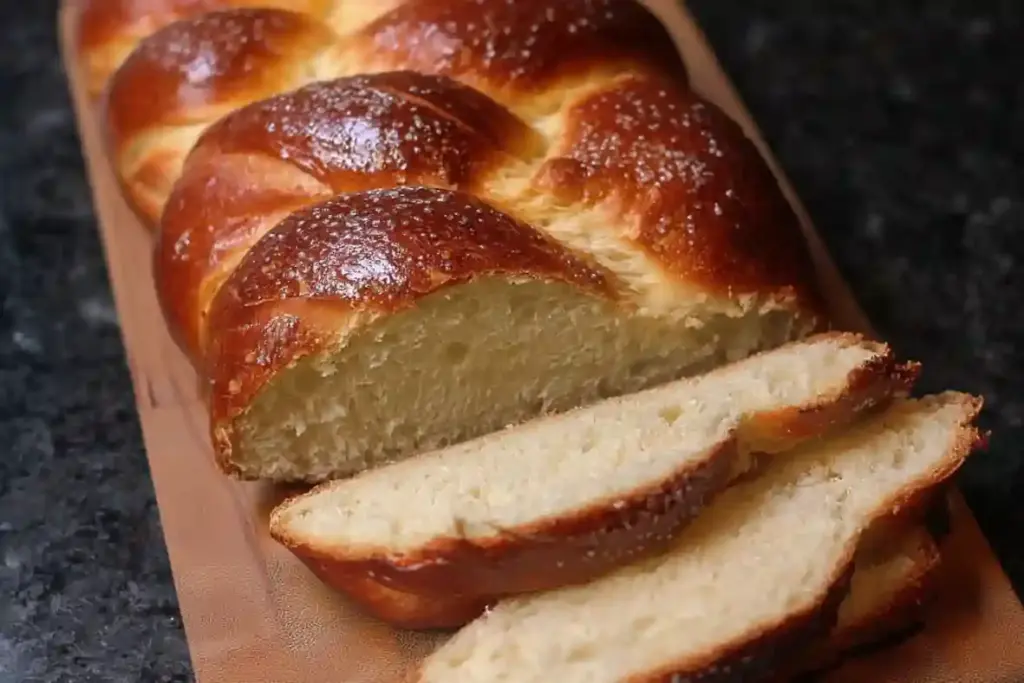
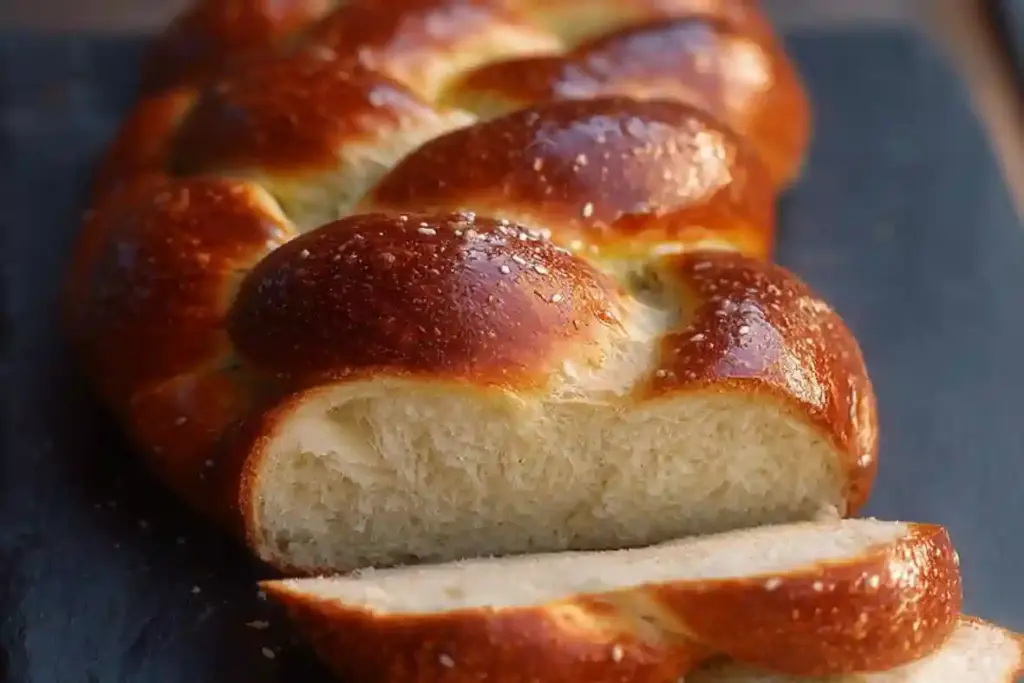
Challah is more than just a loaf of bread; its roots can be traced back centuries to Jewish traditions, where it has been a staple for Sabbath and other festive occasions. This beautiful bread is often braided and adorned with egg wash that gives it a shiny, golden crust. The taste? Oh, it’s a delightful balance of sweet and savory, with a tender crumb that practically melts in your mouth.
What makes Challah unique is its versatility and cultural significance. Whether enjoyed plain, dipped in honey, or transformed into decadent French toast, it satisfies both simple breakfasts and extravagant spreads alike. You can make Challah for any occasion or simply as a comforting treat for yourself after a tough week.
Why You’ll Love This Recipe
- Homemade Happiness: This Challah Bread Recipe is and will always be fresher than any store-bought version. The moment you pull it out of the oven, the aroma fills your kitchen, creating an inviting atmosphere that can’t be replicated.
- Cost-Effective: With basic pantry staples—like flour, sugar, and eggs—you can make not just one, but two glorious loaves of Challah at a fraction of the cost of artisanal bakeries. Trust me, your wallet will appreciate this!
- Customizable Delight: I love to infuse my Challah with all sorts of flavors—think orange zest, cinnamon, or even chocolate chips! You can adjust this recipe to suit your family’s taste buds, making it a fun and flexible baking project.
- Beginner Friendly: Not a baking expert? No problem! This recipe is perfect for novices, yet satisfying enough for seasoned bakers. You can easily knead the dough by hand or use a stand mixer, and either way, it’s bound to impress!
- Quality Time in the Kitchen: Baking Challah is a great way to connect with family or friends. I can’t even count how many wonderful conversations I’ve had while waiting for the dough to rise!
Ingredients Section
Here’s what you’ll need to create your delicious Challah bread:
- 1 3/4 cup water (lukewarm, at 110°F)
- 3 1/2 tsp active dry yeast
- 1/2 cup sugar (plus 1 tbsp for activating yeast)
- 1/2 cup vegetable oil (or melted coconut oil, if preferred)
- 4 large eggs (room temperature)
- 1 tsp salt
- 7 cups flour (all-purpose; depending on your flour brand, you may need slightly less or more)
- 1 large egg (for brushing the tops)
- 1 tsp poppy seeds (for garnish)
Notes:
- Make sure your water is at the right temperature! Too hot will kill the yeast, and too cold won’t activate it.
- I love using King Arthur Flour for its consistency and quality.
- Keep your eggs at room temperature; they’ll blend into the dough more easily.
Step-by-Step Instructions
- Activate the Yeast: In a mixing bowl, combine the lukewarm water with 1 tablespoon of sugar and yeast. Let it sit for about 5-10 minutes until it bubbles—a sign that your yeast is alive and ready for action!
- Mix It Up: Pour in the vegetable oil and whisk in the four eggs (don’t forget to save one for brushing later!). Add the remaining sugar and the salt to the bowl.
- Incorporate the Flour: Slowly stir in the flour, one cup at a time, until everything is combined into a beautiful dough. It should be soft and slightly tacky but not overly sticky.
- Knead Away: Switch to a dough hook if you’re using a stand mixer, or knead by hand for about 8-10 minutes until the dough is smooth and elastic. If your dough is still sticky, gradually add more flour until it holds its shape.
- Let it Rise: Place your kneaded dough into a large oiled bowl, cover with a towel, and let it rise for about 1 hour in a warm place until it doubles in size.
- Second Rise: Punch down the dough to release air, then let it rise again for 30 more minutes.
- Braid it Up: Divide the dough into 8 pieces (4 pieces for each loaf). Roll each piece into long ropes, and braid them together! Pinch the ends to seal.
- Final Rise: Place the loaves on a baking sheet lined with parchment paper and let them rise for another 30 minutes. Preheat your oven to 375°F during this time.
- Brush & Bake: Whisk the remaining egg and brush the tops of the loaves. Sprinkle with poppy seeds if desired, then bake in the preheated oven for 30-40 minutes until golden brown.
- Cool Down: Let the loaves cool on a wire rack before slicing. Enjoy the fruits of your labor!
Chef’s Tips:
- For an even richer flavor, you can add an extra yolk to the egg wash.
- Be mindful of common mistakes like over-kneading (which can make the bread tough) or under-proofing (causing the bread to be dense).
Expert Tips & Tricks
- Check Your Yeast: Always check the expiration date. Active dry yeast should bubble within the timeframe given in the yeast activation step. If it doesn’t, your bread won’t rise.
- Control the Temperature: If your kitchen is chilly, place the dough near a warm appliance, like an oven or radiator. A slightly warmer environment helps with rising.
- Storage: Homemade Challah is best enjoyed fresh, but boy, does it store well! Keep it wrapped in plastic wrap at room temperature for up to 3 days. For more extended storage, slice and freeze it—individually wrap the pieces for easy access!
- Make Ahead: You can prepare the dough up to the first rise, then freeze it. Just remember to thaw it in the fridge overnight before braiding and baking.
- Troubleshooting: If your dough is too wet, add flour gradually during kneading. If it’s too dry, a small splash of water or oil can help.
- Experiment: Don’t hesitate to try new flavors! Whether it’s herbs, spices, or sweet additions, make this recipe your own!
Serving Suggestions
What could be better than enjoying your freshly baked Challah on its own? Well, I’ll tell you! Pair it with creamy spreads like butter, jam, or even ricotta for breakfast. You can also turn it into an indulgent French toast, perfect for weekends or special brunches. And don’t forget about serving it at family gatherings or holiday dinners—it’ll be the centerpiece of your spread!
Variations & Substitutions
- Flavor Add-Ins: Try incorporating chocolate chips for a sweet twist, cranberries and nuts for a fall-inspired loaf, or herbs like rosemary for freshness.
- Dietary Adaptations: Want to make it vegan? Substitute the eggs with flax eggs or aquafaba, and use plant-based milk instead of water.
- Seasonal Variations: For a festive touch, add spices like cinnamon and nutmeg for winter celebrations, or top with sesame seeds and sea salt for a savory twist.
Nutrition & Storage Info
- Prep Time: 20 minutes
- Cook Time: 30-40 minutes
- Total Time: 2 hours (including rise time)
- Yield: 2 large loaves (about 12 slices each)
- Estimated Calories per Serving: Approximately 150 calories (for a slice)
- Storage: Store at room temperature for up to 3 days; slices can be frozen for up to 3 months. Wrap them tightly to prevent freezer burn.
FAQ Section
- Can I double the recipe?
- Absolutely! This recipe can be easily doubled for bigger gatherings.
- How do I know when my Challah is done baking?
- The loaves should be golden brown on the outside, and an inserted thermometer should read 190°F internally.
- Why is my dough not rising?
- If your yeast isn’t bubbly after activation, it means it’s dead and you’ll need fresh yeast.
- Can I use bread flour instead of all-purpose flour?
- Yes! Bread flour can give your Challah a chewier texture, but you can also use all-purpose for a soft result.
- How can I get a shinier crust?
- A second egg wash applied just before baking can give you that glossy finish.
- What if I want to make smaller rolls instead of loaves?
- You can certainly form smaller rolls, adjust baking time to about 15-20 minutes.
- Can I add raisins?
- Definitely! Just toss in about 1 cup of raisins during the mixing stage.
- What’s the best way to slice my Challah?
- Use a serrated knife and slice slowly to avoid squishing the soft bread.
- Is this a good recipe for novice bakers?
- For sure! This Challah recipe is fun, engaging, and forgiving for beginners.
- How does this recipe fare in sunny weather?
- If it’s hot, you may find your dough rises faster. Keep an eye on it to prevent over-proofing!
Conclusion
This Challah Bread Recipe has been a labor of love, and I’m thrilled to share it with you. It’s more than just a recipe—it’s a way to create extraordinary moments, find comfort, and embrace your loved ones at the table. I encourage you to give it a try and watch how it fills your house with warmth and aroma, just as it has in mine. I can’t wait to hear your feedback or any fun twists you try! And if you’re hungry for more, don’t miss my other cozy recipes on the blog that celebrate home-baked goodness.
Oatmeal Pumpkin Bread with Apple Cider Sauce
Deliciously Moist Blueberry Zucchini Bread
Happy baking!
Print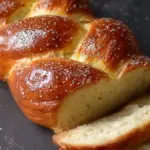
Challah Bread
- Total Time: 2 hours 30 minutes (includes rising)
- Yield: 1 loaf (10 slices)
- Diet: Vegetarian
Description
A traditional Jewish egg bread, Challah is rich, slightly sweet, and braided into a beautiful loaf. Perfect for holidays, Shabbat, or any special occasion.
Ingredients
- 1 3/4 cup water (lukewarm, at 110°F)
- 3 1/2 tsp active dry yeast
- 1/2 cup sugar (plus 1 tbsp for activating yeast)
- 1/2 cup vegetable oil (or melted coconut oil, if preferred)
- 4 large eggs (room temperature)
- 1 tsp salt
- 7 cups flour (all-purpose; depending on your flour brand, you may need slightly less or more)
- 1 large egg (for brushing the tops)
- 1 tsp poppy seeds (for garnish)
Instructions
- In a large bowl, whisk together flour, sugar, yeast, and salt.
- In a separate bowl, beat eggs, warm water, and oil. Add to dry ingredients and mix until a dough forms.
- Knead on a floured surface for 8-10 minutes until smooth and elastic.
- Place in a greased bowl, cover, and let rise in a warm place for 1-2 hours, until doubled.
- Punch down dough and divide into 3 equal pieces. Roll each into a long rope.
- Braid the ropes together, tucking ends under. Place on a parchment-lined baking sheet.
- Cover and let rise for 45-60 minutes, until puffy.
- Preheat oven to 375°F (190°C). Whisk egg yolk with water and brush over loaf. Sprinkle with seeds if desired.
- Bake for 25-30 minutes, until golden brown and sounds hollow when tapped. Cool on a wire rack.
Notes
- For a richer flavor, substitute 1/4 cup of water with milk.
- Dough can be made ahead and refrigerated overnight for a slow rise.
- Leftover challah makes excellent French toast or bread pudding.
- Ensure all ingredients are at room temperature for best results.
- Prep Time: 30 minutes
- Cook Time: 30 minutes
- Category: Bread
- Method: Baking
- Cuisine: Jewish
Nutrition
- Serving Size: 1 slice
- Calories: 210
- Sugar: 4g
- Sodium: 180mg
- Fat: 5g
- Saturated Fat: 1g
- Unsaturated Fat: 3g
- Trans Fat: 0g
- Carbohydrates: 35g
- Fiber: 1g
- Protein: 6g
- Cholesterol: 40mg
Ask the Community
🥗 Free Custom Keto Meal Plan?
Do you want to lose weight while still enjoying delicious Asian & Thai Fusion meals? Take this quick quiz to get your personalized Keto plan based on your favorite foods!
- ✅ No more guessing what to eat
- ✅ Delicious & easy-to-make recipes
- ✅ Tailored to your body type
Get My Custom Plan Now! →
*Over 100,000+ people have transformed their lives with this quiz.