Vanilla is a beloved flavor found in countless desserts and baked goods. Making your own Homemade Vanilla Extract is not only easy, but it also adds a richer, more authentic taste to your recipes. Plus, it’s an opportunity to engage in a fun kitchen project with family and friends! In this article, we’ll explore the incredible benefits of homemade vanilla extract, the essentials you’ll need, and a step-by-step guide to crafting your own delightful mix. Perfect for cozy weekends or those busy evenings, you’ll soon find this homemade extract becoming a staple in your pantry.
Table of Contents
Why You’ll Love Homemade Vanilla Extract
Creating your own homemade vanilla extract is rewarding, not just for the flavor but for the experience itself. Here are just a few reasons why you’ll adore having this essence at your fingertips!
Benefit 1: Perfect for Families
There’s something special about gathering in the kitchen and creating something together. Making homemade vanilla extract is an easy and engaging project for the whole family! Your kids will have fun helping with the process, from splitting the beans to pouring the vodka, and you’ll be imparting valuable cooking skills along the way. Plus, you’ll have a product that enhances your family’s favorite desserts!
Benefit 2: Simple Ingredients with Nutritional Benefits
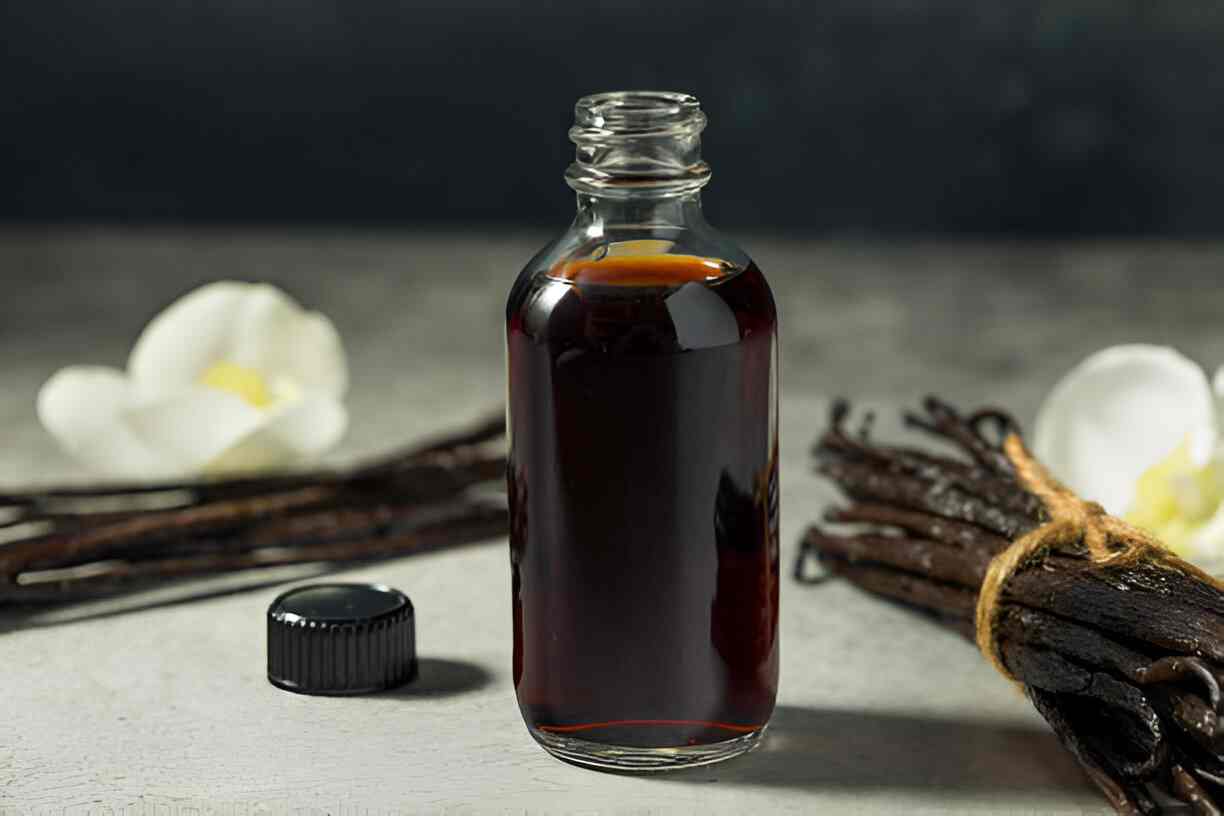
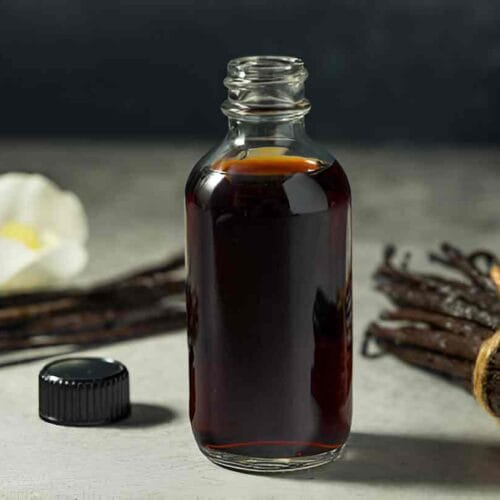
Homemade Vanilla Extract requires just three simple ingredients: vanilla beans, vodka (or a suitable alcohol), and a glass jar. Unlike store-bought extracts that can contain artificial flavors and additives, homemade versions are pure and free from undesirable ingredients. Vanilla beans themselves are packed with antioxidants and have been linked to numerous health benefits.
Benefit 3: Flexibility and Budget-Friendly
One of the best parts about making homemade vanilla extract is its flexibility. You can customize the flavor based on the type of alcohol you use, try different types of vanilla beans, and even control the intensity by adjusting the steeping time. Plus, it’s budget-friendly! A bottle of quality vanilla extract can cost a pretty penny, but you can create a delicious variant at home for much less.
Essential Ingredients for the Recipe
Ingredients:
- 3-4 whole vanilla beans (Madagascar, Tahitian, or Mexican)
- 1 cup (240ml) high-proof vodka or bourbon (at least 35% ABV)
- A glass jar with a tight-fitting lid
Vanilla Beans
Vanilla beans are the star of the show! These long pods contain tiny seeds that are full of flavor. When selecting vanilla beans, look for plump pods that are dark and slightly glossy. You can also experiment with different varieties, such as Madagascar or Tahitian, to achieve unique flavors in your extract.
Vodka (or Alternatives)
While vodka is the typical choice for making vanilla extract due to its neutral flavor, you can also use rum or bourbon for a different twist. Each option adds its unique undertones to the final product. If you prefer an alcohol-free option, you can use food-grade vegetable glycerin, but the extraction process will take longer.
Glass Jar
Choosing the correct glass jar is essential for successful vanilla extraction. A jar with a tight-fitting lid will keep out contaminants and allow the extract to steep properly. Ensure your jar is clean and dry before you start.
Ingredient Preparation
Step 1 – Splitting the Vanilla Beans
Using a sharp knife, carefully slice each vanilla bean lengthwise down the middle, leaving about an inch of the top uncut. This exposes the tiny seeds inside, which will release their wonderful flavor into your alcohol.
Step 2 – Placing the Beans in the Jar
Once the beans are split, place them into your glass jar. Feel free to cut the beans into smaller pieces if they don’t fit. The more surface area you expose, the more flavorful your extract will be!
Step 3 – Adding the Alcohol
Pour your vodka or chosen alcohol over the vanilla beans, ensuring they are completely submerged. Seal the jar tightly to avoid any air leaks.
Step-by-Step Cooking Instructions
Step 1 – Initial Preparation
Begin by gathering all your ingredients and equipment. Ensure your glass jar is clean and dry, as any moisture could affect the extraction process.
Step 2 – Ingredient Assembly
Open your vanilla beans and carefully place them in the jar, ensuring they fit snugly. Pour in the vodka, allowing the beans to soak thoroughly. Remember to leave a small space at the top for air, as this will help the steeping process.
Step 3 – Cooking and Finishing Touches
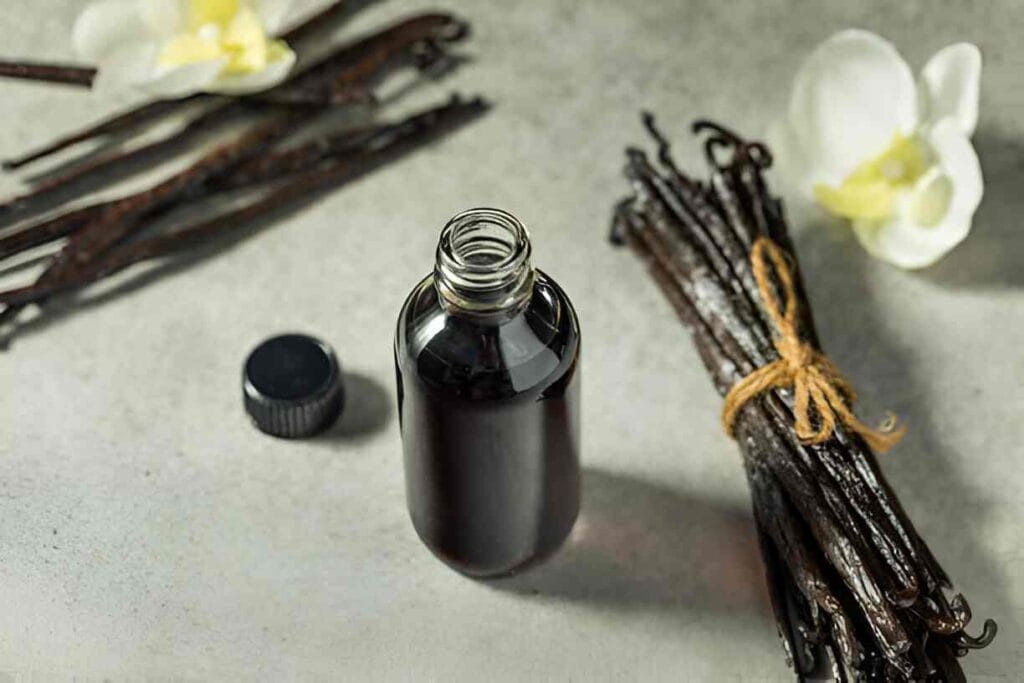
Seal the jar tightly and shake gently to combine the contents. Store the jar in a cool, dark place for a minimum of 8 weeks. Give it a little shake every week, and soon, you’ll start to notice the dark, rich color of your extract developing.
Tips for an Even Tastier Version
Adding Extra Ingredients
Consider adding spices like cinnamon or bourbon for a unique twist! These can complement the vanilla flavor and add complexity to your extract.
Techniques to Enhance Flavor
To enhance the flavor further, experiment with infusing your vanilla extract. If you love chocolate, a few cocoa nibs can create a deliciously decadent extract. Or, try adding a citrus peel for a bright, zesty touch!
Adjustments for Preferences
If you have special dietary needs, such as gluten-free or vegan diets, ensure you choose a compatible alcohol and adjust any additional ingredients accordingly.
Recipe Variations and Adaptations
Vegetarian Option
This recipe is inherently vegetarian, making it perfect for those who avoid meat. It allows everyone to enjoy the natural flavors without compromise.
Gluten-Free or Low-Carb Option
Since vodka is gluten-free, you don’t have to worry about this aspect. Just ensure any additional ingredients you add are also gluten-free if necessary.
Other Adaptations
Feel free to exchange vanilla beans for other flavored beans, such as tonka beans, to create diverse flavor profiles tailored to the season or occasion.
Serving Suggestions
Salad or Soup Ideas
While vanilla extract is primarily used for desserts, why not infuse your salad dressings or soups with a hint of sweetness? Just a drop can elevate your recipes for a special touch!
Hearty Sides
Consider pairing your baked goods made with vanilla extract alongside delicious homemade bread or even roasted vegetables that can handle sweetness.
Drink Recommendations
Serve your desserts with tea, coffee, or perhaps a delightful mocktail—a splash of homemade vanilla extract can add an enticing twist to beverages!
Storage and Reheating Tips
How to Store Leftovers
While homemade vanilla extract has a long shelf life, it’s best to keep it in a cool, dark place away from direct sunlight. It should last indefinitely, but for optimal flavor, use it within two years.
Reheating Techniques
You won’t need to reheat vanilla extract, but make sure to shake the jar before each use, as some sediment may settle over time.
Portioning Tips
If you’re planning to gift vanilla extract, consider dividing it into smaller bottles. This makes it easy to share the wealth with friends and family!
Nutritional Information and Benefits
Nutritional Values per Serving
Vanilla extract isn’t typically consumed in large quantities, but a teaspoon does provide about 12 calories, along with antioxidants and potential health benefits.
Ingredient Benefits
Vanilla beans are not only delicious but are also rich in antioxidants, which can help combat oxidative stress, support digestion, and improve mood.
Recommended Portions
For most recipes, a teaspoon of homemade vanilla extract is sufficient to impart that wonderful flavor without overwhelming other ingredients.
Common Mistakes to Avoid
Issue 1 – Inadequate Steeping Time
One of the most common mistakes is not allowing enough time for the vanilla beans to steep. Remember, patience is key! Eight weeks gives you a rich, vibrant flavor.
Issue 2 – Not Using Enough Beans
Be generous with your vanilla beans! Using fewer than five may leave your extract tasting weak.
Issue 3 – Skipping the Shake
Don’t forget to shake your jar weekly! This helps mix the flavors and promotes even extraction from the vanilla beans.
Inspiring Conclusion
Homemade Vanilla Extract is not just a flavoring; it’s a labor of love that brings families together. The satisfaction you’ll feel when using your own homemade extract in desserts far outweighs store-bought varieties. I encourage you to roll up your sleeves, gather your loved ones, and embark on this flavorful journey. Let’s make memories in the kitchen—experimenting and sharing your creations with each other!
FAQ (Frequently Asked Questions)
- Can I prepare this recipe in advance?
- Absolutely! You can make homemade vanilla extract ahead of time, as it lasts for years.
- What are the best substitutes for vanilla beans?
- You can use vanilla extract, but the flavor won’t be as rich. For a vegan option, try food-grade glycerin.
- How long will homemade vanilla extract last?
- When stored properly, homemade vanilla extract can last indefinitely. However, for the best flavor, use within two years.
- Can I use this extract for savory dishes?
- While it’s primarily for sweet recipes, a tiny touch can add complexity to savory sauces or dressings!
- How can I tell when my vanilla extract is ready?
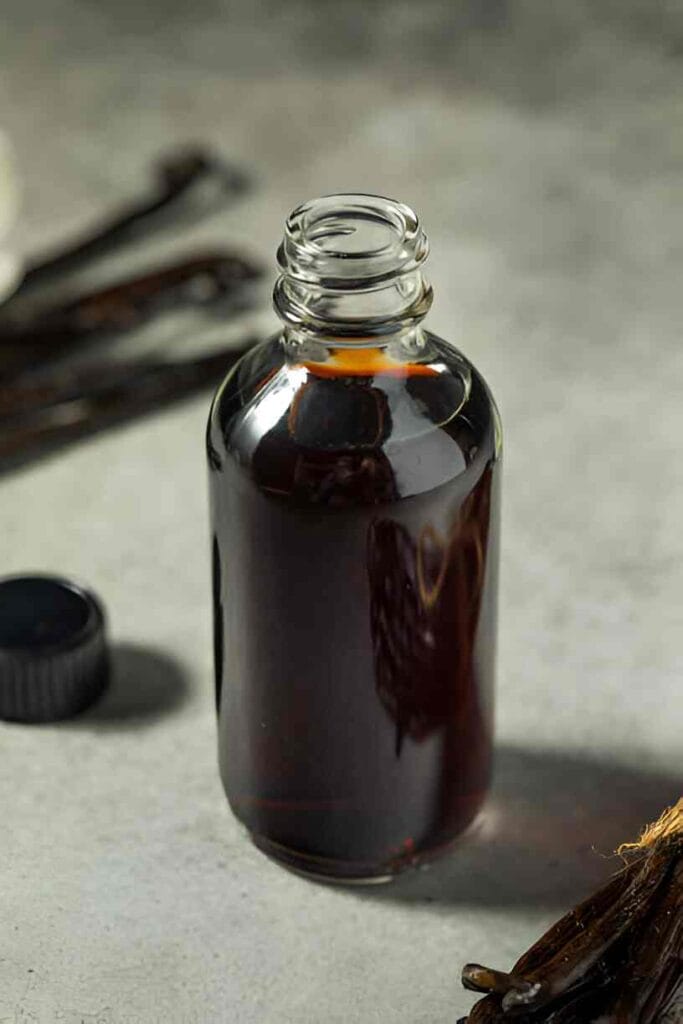
- Check the color! A thoroughly steeped extract will have a deep amber hue, and the aroma will be fragrant and rich.
- Can I use an alcohol-free option?
- Yes, food-grade vegetable glycerin can be a nice alternative, though extraction will take longer.
- What if I’m allergic to alcohol?
- Opt for glycerin or consider using non-alcoholic beer, but the flavor may differ from traditional extracts.
- Can I double the recipe?
- Sure! Just ensure you use a larger jar that can accommodate the increased volume.
- How do I use homemade vanilla extract in baking?
- Use it in place of store-bought extracts, usually in the same quantity as your recipe calls for.
- Is homemade vanilla extract suitable for gifts?
- Definitely! It makes a thoughtful and personal gift for bakers and food lovers.
With all these details, you’re now ready to embark on your homemade vanilla extract adventure! Enjoy the process, and happy baking!
Fig and Goat Cheese Pinwheels: A Delightful and Easy Recipe
Homemade Vanilla Extract
Ingredients
- 3-4 whole vanilla beans (Madagascar, Tahitian, or Mexican)
- 1 cup (240ml) high-proof vodka or bourbon (at least 35% ABV)
Instructions
- Split Vanilla Beans: Slice beans lengthwise to expose seeds (optional: scrape seeds into jar).Combine: Place beans in a clean glass jar and cover with alcohol.Infuse: Seal tightly and store in a cool, dark place for 2+ months, shaking occasionally.Strain: Optional—remove beans after 6 months for stronger flavor or leave them in indefinitely.
Notes
- Use glass jars (never plastic) to avoid chemical reactions.
- Flavor improves over time—best after 6–12 months.
- Vanilla beans can be reused to make a second batch.