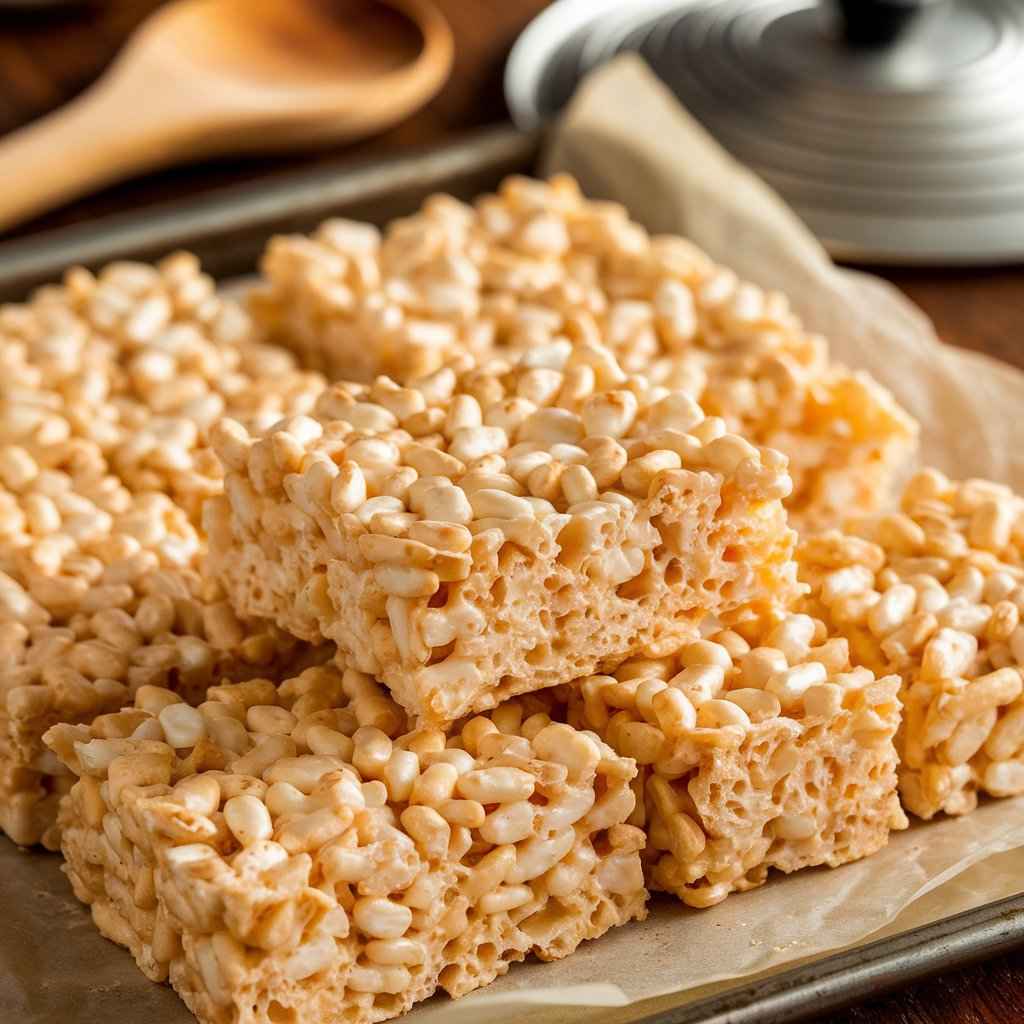
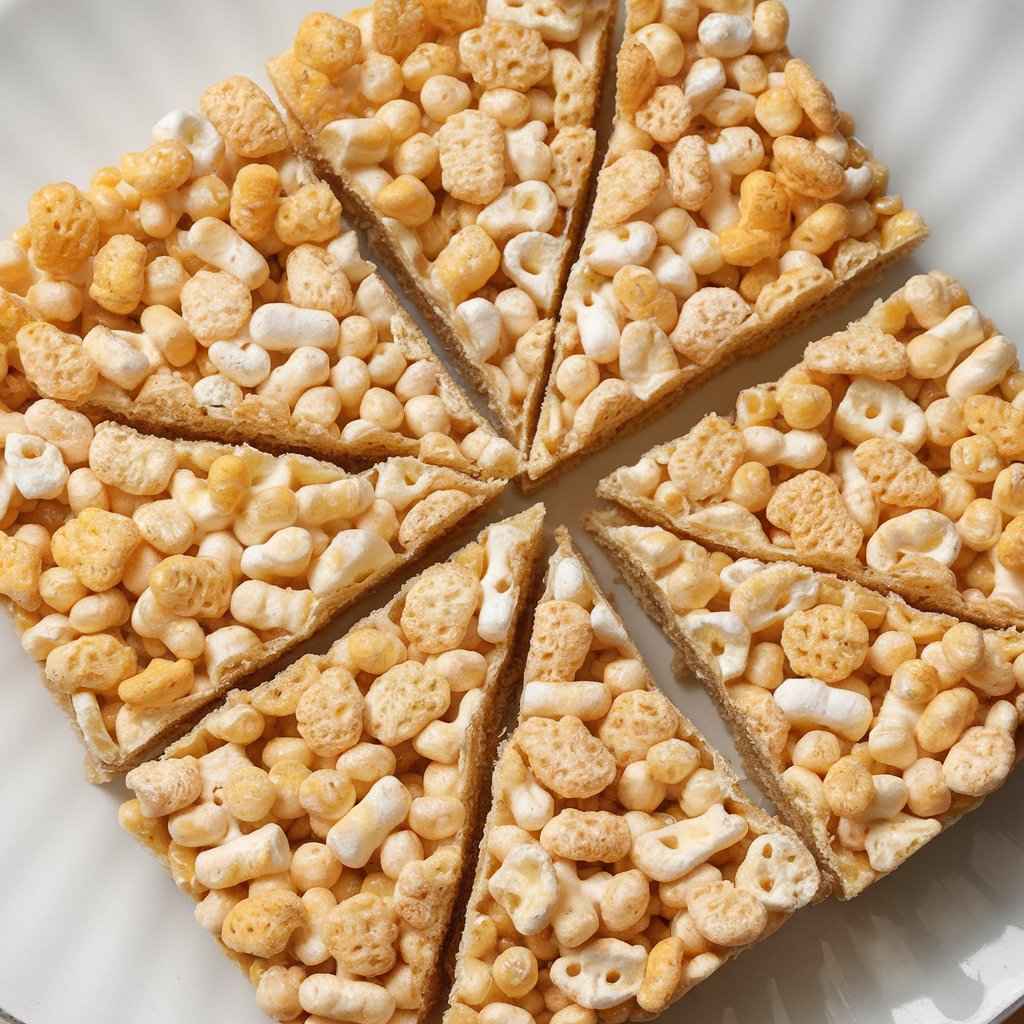
Who doesn’t love a good homemade treat that brings back childhood memories? Classic Rice Krispies Treats’s sweet, chewy texture has been a beloved snack for generations. Whether you’re making them for a family gathering, a school event, or to satisfy a craving, these treats are always a hit. They are incredibly easy to make and require just a few simple ingredients you likely already have in your pantry.

Table of Contents
Why You’ll Love This Recipe
- Quick and Easy: Ready in just 20 minutes, perfect for last-minute treats.
- Kid-Friendly: A favorite among children and adults alike.
- Minimal Ingredients: Uses only three simple ingredients.
- Customizable: You can easily customize them with different mix-ins and toppings.
- Budget-Friendly: Cost-effective and made with pantry staples.
Nutrition Information (per serving):
- Serving Size: 1 square
- Calories: 120
- Sugar: 10g
- Sodium: 80mg
- Fat: 3g
- Saturated Fat: 1.5g
- Unsaturated Fat: 1g
- Trans Fat: 0g
- Carbohydrates: 22g
- Fiber: 0g
- Protein: 1g
- Cholesterol: 5mg
Ingredients:
- 6 cups Rice Krispies cereal
- 4 cups mini marshmallows
- 3 tablespoons unsalted butter
Ingredients and Substitutions
- Rice Krispies Cereal: The recipe’s star, providing the signature crunch. You can substitute with any puffed rice cereal if needed.
- Mini Marshmallows: Use mini marshmallows to ensure a smooth, sticky texture. Regular-sized marshmallows work as well; chop them for quicker melting.
- Unsalted Butter: Adds richness and flavor. Salted butter can be used, but omit any additional salt.
How to Make Classic Rice Krispies Treats (Step-by-Step)
- Melt the Butter: Start by melting the butter over low heat in a large saucepan. This prevents the butter from browning and ensures a smooth base.
- Add Marshmallows: Stir in the mini marshmallows, constantly mixing until they melt into a creamy consistency. This step is crucial for the right texture.
- Mix in Cereal: Remove the saucepan from the heat and gently fold in the Rice Krispies cereal. Stir until every piece is evenly coated with the marshmallow mixture.
- Press into Dish: Transfer the mixture into a greased 9×13-inch baking dish. Use a spatula or wax paper to press down evenly, ensuring compactness.
- Cool and Cut: Allow the mixture to cool completely before cutting into squares. This ensures clean, easy-to-handle pieces.

Expert Tips for Success
- Don’t Overheat: Keep the heat low while melting the butter and marshmallows to prevent scorching.
- Use Fresh Marshmallows: Stale marshmallows don’t melt as well and can affect the texture.
- Grease Your Tools: Lightly grease your spatula or hands with butter or cooking spray to prevent sticking when pressing the mixture into the dish.
Variations and Customizations
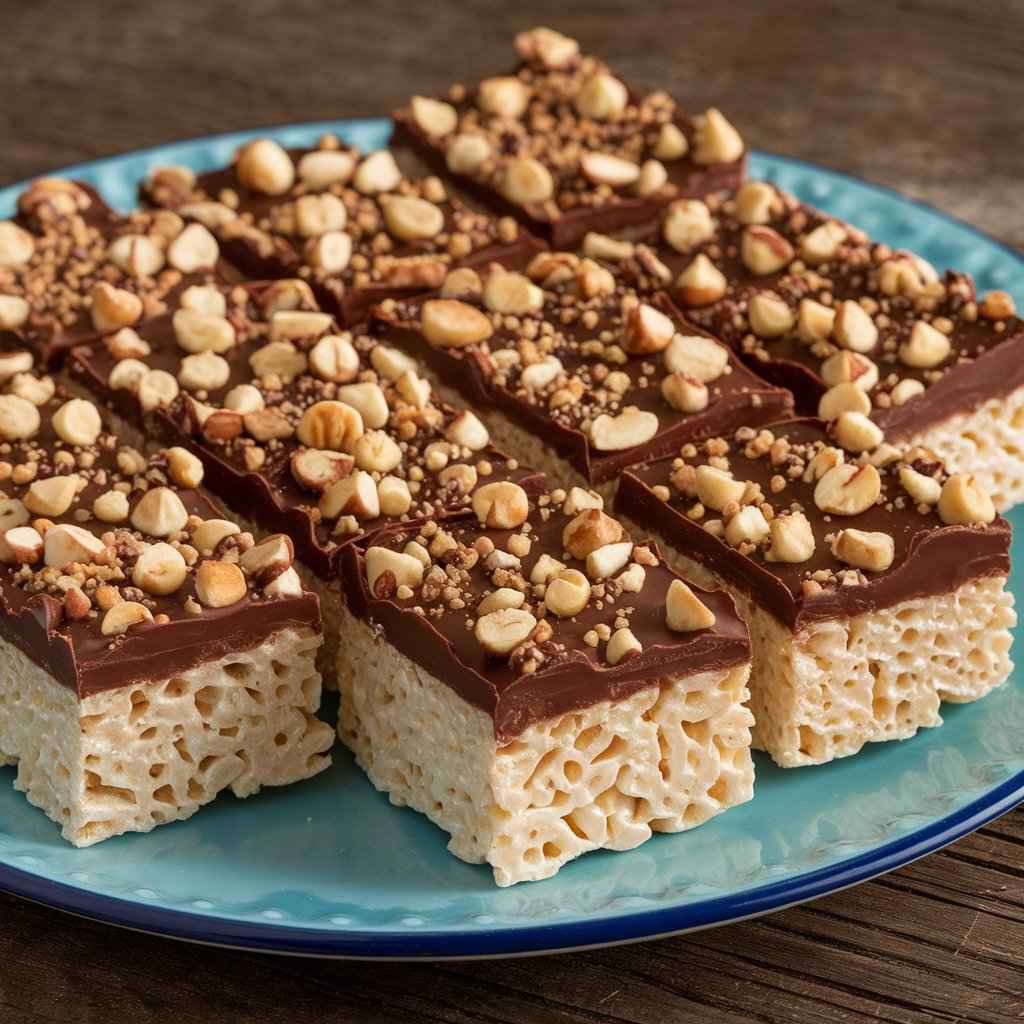
- Chocolate Drizzle: Drizzle melted chocolate over the top for an extra sweet touch.
- Peanut Butter Twist: Add a couple of tablespoons of peanut butter to the melted marshmallows for a nutty flavor.
- Holiday Sprinkles: Mix in festive sprinkles for holiday-themed treats.
- Healthier Option: Use brown rice cereal and replace butter with coconut oil for a healthier version.
Storage and Reheating Instructions
- Storage: Store the treats in a sealed container at room temperature. They’ll stay good for about three days. If you want them to last longer, pop them in the fridge, and they’ll keep for up to a week.
- Reheating: These treats are best enjoyed fresh. If they become hard, microwave for a few seconds to soften before eating.
Serving Suggestions
- With Milk: Enjoy with a glass of milk for a classic snack.
- As a Dessert: Serve alongside ice cream for a delightful dessert.
- On-the-Go Snack: Perfect for lunchboxes or road trips.
Frequently Asked Questions (FAQs)
Q: Can I use margarine instead of butter?
A: Margarine can be used as a substitute, but it may slightly alter the flavor.
Q: How do I prevent the treats from sticking to my hands?
A: Lightly grease your hands with butter or cooking spray before pressing the mixture into the dish.
Q: Can I freeze Rice Krispies Treats?
A: Yes, wrap them individually in plastic wrap and store them in a freezer-safe bag for up to 6 weeks. Thaw at room temperature before serving.
Q: What can I do if my treats turn out too hard?
A: Next time, use lower heat while melting the marshmallows and avoid over-pressing the mixture into the dish.
Related Recipes
- Chocolate Chip Cookie Bars: Another easy, crowd-pleasing dessert.
- Peanut Butter Rice Krispies Treats: A nutty twist on the classic.
- S’mores Bars: A campfire favorite in bar form.
- Caramel Popcorn: Sweet, crunchy, and irresistible.

Conclusion
Classic Rice Krispies Treats are a timeless snack that never fails to please. Their simple ingredients and quick preparation make them perfect for any occasion. Try this easy, delicious recipe today, and enjoy a homemade treat that brings a smile to everyone’s face. Whether you stick to the classic version or add your own twist, these treats will surely become a staple in your dessert repertoire.
Jack Daniel’s Whiskey Fudge Recipe

Classic Rice Krispies Treats
Ingredients
- 6 cups Rice Krispies cereal
- 4 cups mini marshmallows
- 3 tbsp unsalted butter
Instructions
- In a large saucepan, melt the butter over low heat.Add the mini marshmallows to the saucepan, stirring continuously until fully melted and smooth.Remove the saucepan from heat and gently fold in the Rice Krispies cereal until evenly coated.Press the mixture into a greased 9×13-inch baking dish using a spatula or wax paper.Allow the treats to cool completely before cutting into squares.
Notes
- For a firmer texture, press the mixture more firmly into the dish.
- Store in an airtight container at room temperature for up to 3 days.

