Cannellini Bean Salad: A Fresh and Flavorful Delight
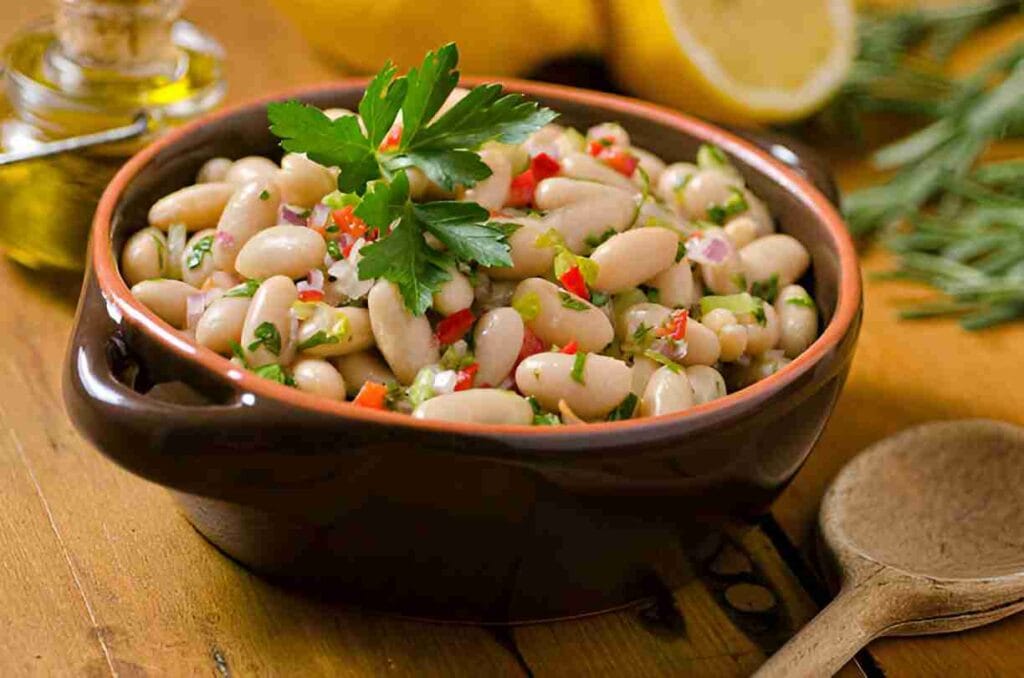
Discover the quick and easy Cannellini Bean Salad recipe that’s perfect for families. Packed with nutrients, it’s adaptable and budget-friendly! Bright, wholesome, and effortlessly delicious, this Cannellini Bean Salad is a celebration