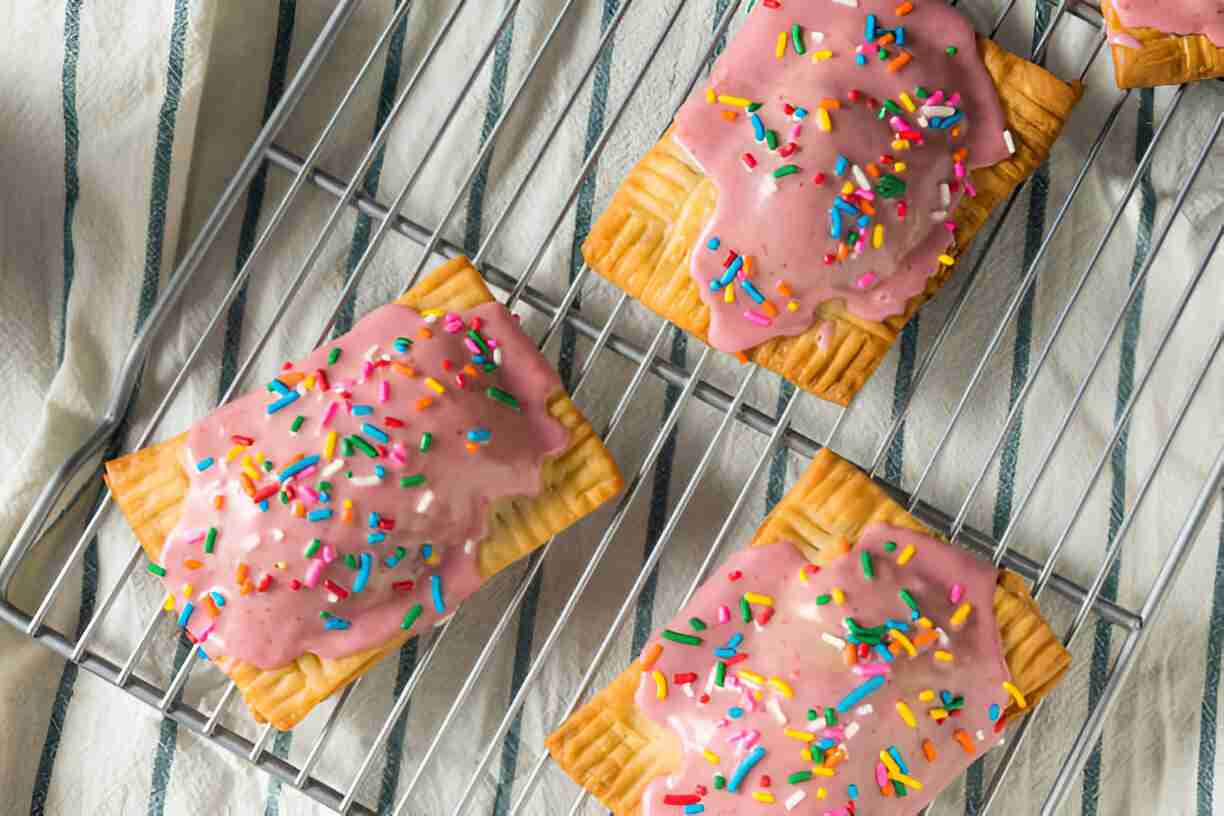
Are you looking for a fun and delicious way to spend some quality family time in the kitchen? Look no further than these Easy Homemade Pop Tarts! Not only are they quick to prepare, but they also allow for creativity and personalization, making them a beloved snack for both kids and adults alike. Imagine the joy on your children’s faces as they bite into their very own Pop Tart, filled with their favorite jam or preserve, and know that you’ve made it together. Let’s dive into all the amazing aspects of this delightful recipe, perfect for any day of the week!
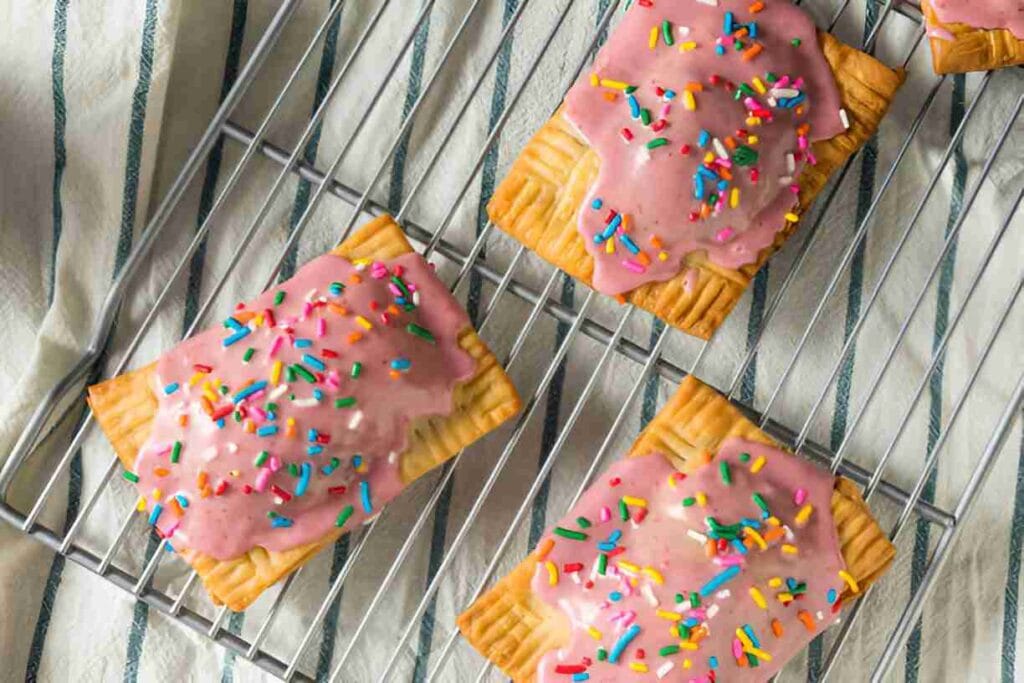
Table of Contents
Why You’ll Love Easy Homemade Pop Tarts
Perfect for Families
What makes Easy Homemade Pop-Tarts the perfect family treat? First and foremost, they are incredibly easy to make. Children love to be involved in the kitchen, and this recipe allows them to get hands-on. They can help roll out the pastry, choose their favorite fillings, and even assist with decorating the Pop-Tarts once they’re baked. It turns an ordinary day into a special occasion filled with laughter and bonding.
Nutritional Benefits
Homemade Pop-Tarts can also be healthier than their store-bought counterparts. By making them yourself, you have control over what goes in, allowing you to use natural ingredients and even sneak in some nutritious options. You can opt for whole fruit preserves, reducing the sugar content while still keeping their delightful taste. This way, you can feel good about serving them to your family.
Flexibility and Adaptability
One of the best benefits of Easy Homemade Pop Tarts is their flexibility. Whether you’re on a tight budget or need to cater to certain dietary preferences, this recipe can adapt to fit your needs. Substitute your favorite jam for whatever you have on hand, use puff pastry for a flaky crust, or even get creative with fillings like peanut butter and banana. The possibilities are endless!
Essential Ingredients for the Recipe
Ingredients:
- 1 package of rolled puff pastry
- 1 cup plus 2 tablespoons of jam or preserve
- 1 large egg
- 1 cup powdered sugar
- 2-3 tablespoons of milk or cream
- 2 tablespoons of jam
- 1/2 teaspoon of vanilla extract
Main Ingredient 1: Puff Pastry
Puff pastry is the star of this recipe. It’s buttery and flaky and provides that lovely texture we associate with pop-tarts. While store-bought is super convenient, you can also make your own if you’re feeling adventurous. If you need alternatives, consider using pastry dough or even a pie crust—though the texture will differ slightly.
Main Ingredient 2: Jam or Preserve
This is where the flavor shines! You can use any flavor of jam or preserve what you love. Whether it’s strawberry, blueberry, or apricot, choose your favorites. For a healthier option, look for lower-sugar or homemade jams made from fresh fruit.
Main Ingredient 3: Egg
The egg acts as a binding agent and helps give the finished product a beautiful golden color. If you’re looking for an egg substitute, you can use a little milk mixed with cornstarch or some flaxseed meal combined with water, though the final result may vary in texture.
Ingredient Preparation
Step 1 – Gather Your Ingredients
Begin by gathering all the ingredients listed above. Making sure everything is ready will save you time and ensure the process runs smoothly. Preheat your oven to 200°C (about 400°F) as you prepare.
Step 2 – Roll Out the Puff Pastry
On a lightly floured surface, roll out the puff pastry until it’s about 1/8 inch thick. Use a sharp knife or pizza cutter to slice it into rectangles, about 3 inches by 5 inches. Don’t stress if they aren’t perfect—homemade is always better!
Step 3 – Prepare the Egg Wash
In a small bowl, crack your egg and whisk it until the yolk and white are well combined. This egg wash will not only help seal your Pop-Tarts but will also give them that lovely, shiny finish.
Step-by-Step Cooking Instructions
Step 1 – Initial Preparation
Once your oven is preheated, line a baking sheet with parchment paper. This will prevent the pastries from sticking and make cleanup a breeze!
Step 2 – Ingredient Assembly
Lay half of your pastry rectangles on the prepared baking sheet. Take about 1 1/2 tablespoons of your chosen jam and place it in the center of each rectangle. Be sure to leave some space around the edges for sealing.
Step 3 – Cooking and Finishing Touches
Top each filled rectangle with the remaining pastry rectangles, pressing the edges together to seal. Use a fork to crimp the edges and poke a few holes on top to allow steam to escape. Brush the tops with the egg wash and bake in the preheated oven for 12-15 minutes or until the tops are golden brown.
Tips for an Even Tastier Version
Adding Extra Ingredients
Feeling adventurous? Add a sprinkle of cinnamon or nutmeg into your jam for some warm spice, or mix in some chocolate chips for a dessert Pop Tart that is truly decadent.
Techniques to Enhance Flavor
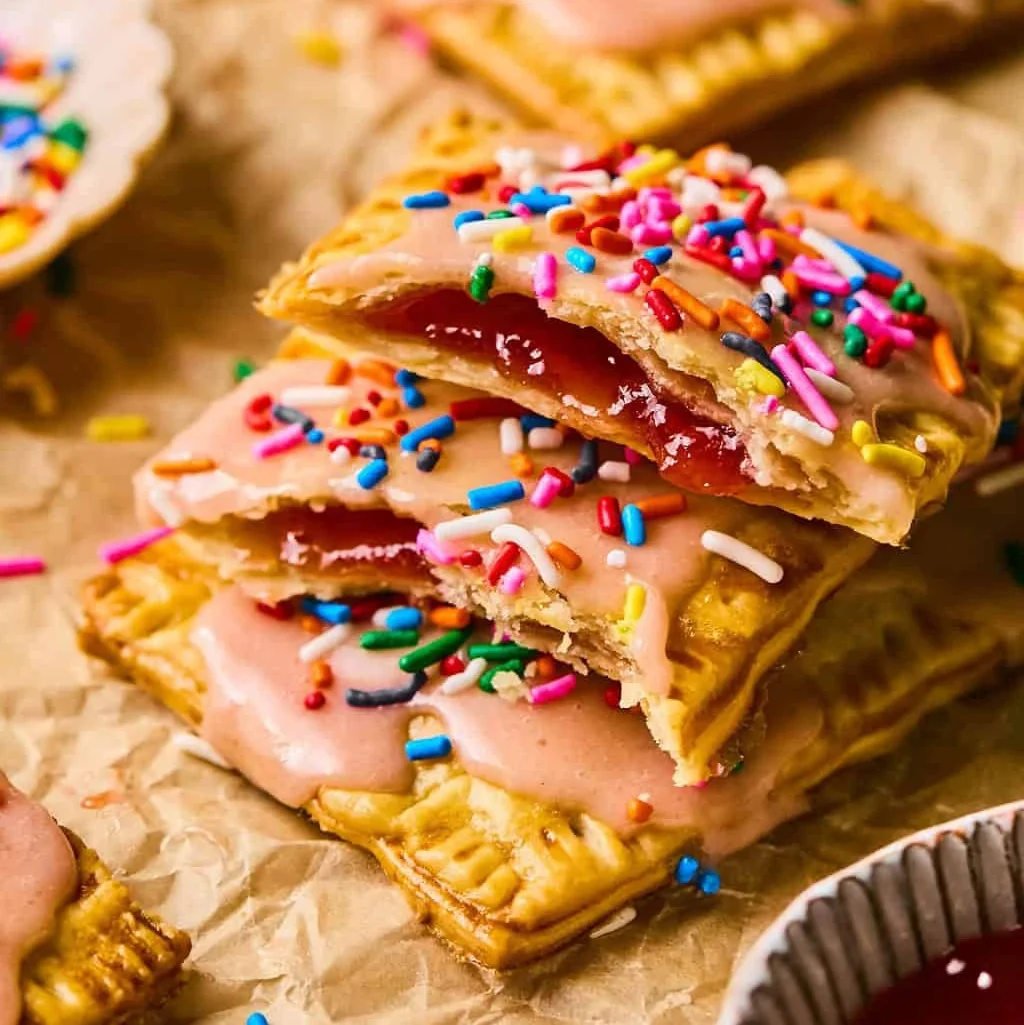
Don’t forget about toppings! After they cool down, glaze them with a simple mixture of powdered sugar, milk, and vanilla for that classic finish. You can even decorate them with sprinkles to make them extra special.
Adjustments for Preferences
If you’re watching your sugar intake or have dietary restrictions, consider using sugar-free jam or a low-carb crust alternative. The versatility of Pop Tarts makes them easy to adapt to special diets without compromising on taste!
Recipe Variations and Adaptations
Vegetarian Option
No meat in this recipe, so it’s perfect for vegetarians! You can even create savory versions using cheese and veggies for a unique twist.
Gluten-Free or Low-Carb Option
For a gluten-free or low-carb recipe, opt for gluten-free pastry or almond flour to create a low-carb crust. Just make sure to adjust the baking time since the texture will differ!
Other Adaptations
Seasonal ingredients can take your Pop Tarts to new heights! Consider using pumpkin puree and spice for a fall-inspired treat, or citrus zests and fruit preserves for a refreshing summer snack.
Serving Suggestions
Salad or Soup Ideas
These Pop-Tarts can be a fun side served with a light salad or a warm bowl of soup. They pair especially well with a creamy tomato soup.
Hearty Sides
For something more substantial, consider pairing them with a side of roasted vegetables or homemade bread to round out a meal.
Drink Recommendations
To complement your homemade Pop-Tarts, serve them with a lovely cup of tea or coffee. For kids, try a refreshing fruit punch or milk—perfect for dipping!
Storage and Reheating Tips
How to Store Leftovers
Once cooled, store any leftover Pop-Tarts in an airtight container. They can last for 2-3 days at room temperature or a week in the fridge.
Reheating Techniques
When you’re ready to enjoy them again, you can pop them in the oven at 175°C (about 350°F) for a few minutes until warmed through. Microwaving is an option, though they won’t have that delightful crispiness.
Portioning Tips
For meal prep, consider making a larger batch and portioning them out for quick breakfasts or snacks throughout the week.
Nutritional Information and Benefits
Nutritional Values per Serving
An approximate serving of a homemade Pop Tart can provide around 200-300 calories, depending on the jam and additional ingredients used. You’ll also get a bit of protein and some fiber, but be mindful of the sugars—homemade always helps control that!
Ingredient Benefits
Using whole fruits in your jam can contribute to vitamins like vitamin C and fiber. The simplicity of the ingredients means you’re enjoying a treat without all the preservatives and additives.
Recommended Portions
Enjoy a single Pop Tart as a snack, or serve two alongside a small salad or cup of soup for a more filling lunch or dinner option.
Common Mistakes to Avoid
Issue 1 – Overfilling
One common pitfall is overfilling your Pop-Tarts. Too much jam can cause it to leak out during baking. Stick to the recommended amount for best results!
Issue 2 – Not Sealing Properly
Make sure to crimp the edges well. If they aren’t sealed, the filling can escape, leading to a messy baking sheet and less-than-great appearances.
Issue 3 – Skipping the Egg Wash
The egg wash is key for that appealing shine and helping the pastries brown nicely. Don’t skip this step!
Inspiring Conclusion
In wrapping up, Easy Homemade Pop Tarts are more than just a simple recipe; they offer a chance for family bonding, creativity, and culinary exploration. A touch of personal flair transforms your kitchen into a sweet haven. So grab your ingredients, invite your loved ones, and create something delicious together! I can’t wait to hear about your flavorful experiments and the cherished moments you share while making these delightful treats!
FAQ (Frequently Asked Questions)
- Can I prepare this recipe in advance?
- Yes! You can prepare the dough and filling ahead of time; store them separately in the fridge until you’re ready to bake.
- What are the best substitutes for puff pastry?
- Alternatives include pie crust or homemade pastry dough, although the texture might be different.
- Can I freeze the baked Pop-Tarts?
- Absolutely! They freeze well and can be reheated later for a quick treat.
- How do I avoid a soggy bottom?
- Ensure your pastry is baked well and not overfilled, as excess moisture can lead to sogginess.
- What kind of jam works best?
- Any jam or preserve you love! Go for traditional fruit flavors or even chocolate spreads for a twist.
- How do I know when the Pop-Tarts are done?
- They should be golden brown on the top. Keep an eye on them, as baking times can vary.
- Can I make these gluten-free?
- Yes! Use gluten-free pastry options, and adjust the baking time as necessary.
- What’s the best way to glaze them?
- Mix powdered sugar, milk, and flavor extract to create a smooth glaze, then drizzle over cooled Pop-Tarts.
- How long do these keep?
- They can last 2-3 days at room temperature or longer if refrigerated.
- What’s the best way to serve these?
- Enjoy them warm or cold with your favorite hot drink with a side of fresh fruit!
French Toast with Orange: A Delightfully Sweet Start to Your Day

Easy Homemade Pop-Tarts
Ingredients
- 1 package of rolled puff pastry
- 1 cup plus 2 tablespoons of jam or preserve
- 1 large egg
- 1 cup powdered sugar
- 2-3 tablespoons of milk or cream
- 2 tablespoons of jam
- 1/2 teaspoon of vanilla extract
Instructions
- 1.Make Dough: Pulse flour, sugar, salt, and butter in food processor. Add water until dough forms. Chill 30 mins.2.Roll & Cut: Roll dough to ⅛" thickness. Cut into 16 rectangles (3"x4").3.Fill: Place 1 tbsp jam mixed with cornstarch on 8 rectangles. Top with remaining pieces. Seal edges with fork.4.Bake: At 375°F (190°C) for 20-25 mins until golden. Cool completely.5.Decorate: Drizzle with icing and sprinkles.
Notes
- Use store-bought pie crust for shortcut version
- Prevent leaks: Don’t overfill and seal edges well
- Freeze unbaked pop-tarts for up to 1 month
Ask the Community
🥗 Free Custom Keto Meal Plan?
Do you want to lose weight while still enjoying delicious Asian & Thai Fusion meals? Take this quick quiz to get your personalized Keto plan based on your favorite foods!
- ✅ No more guessing what to eat
- ✅ Delicious & easy-to-make recipes
- ✅ Tailored to your body type
Get My Custom Plan Now! →
*Over 100,000+ people have transformed their lives with this quiz.